

Last week I shared a little bit of the makeover I gave our small bathroom and I'm back to give you the full details of what I did - all the way from the beginning. I feel like you need to see the true before photos to really appreciate how it looks now. :)
In case you haven't been around since we started renovating out little row house in Philadelphia back in the fall, let me show you where we started with this bathroom beginning with a real estate listing photo:
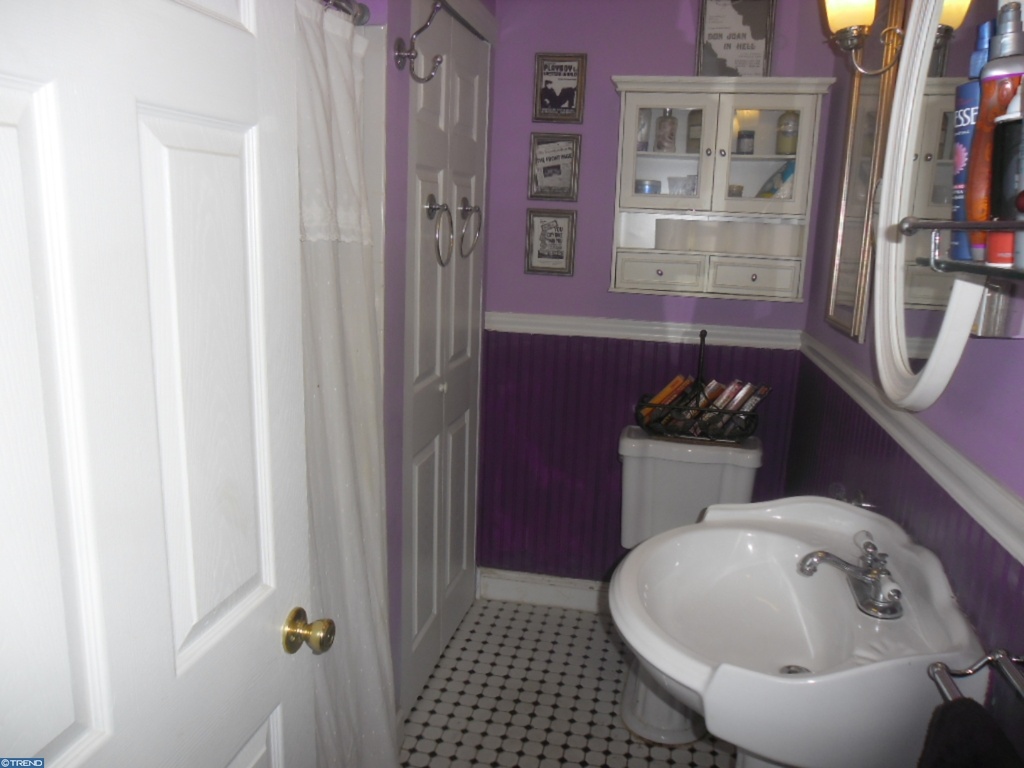
Helloooo purple! Two shades of purple, in fact. This was the actual photo the real estate agent put in the listing (crooked, poorly lit and just so much stuff). They certainly weren't doing the house any favors here, but thankfully we were able to see past all that and realize that the bones were good - it just needed some serious help in the paint and decluttering department.
Let's move on to how it looked once all the previous owner's stuff was gone:
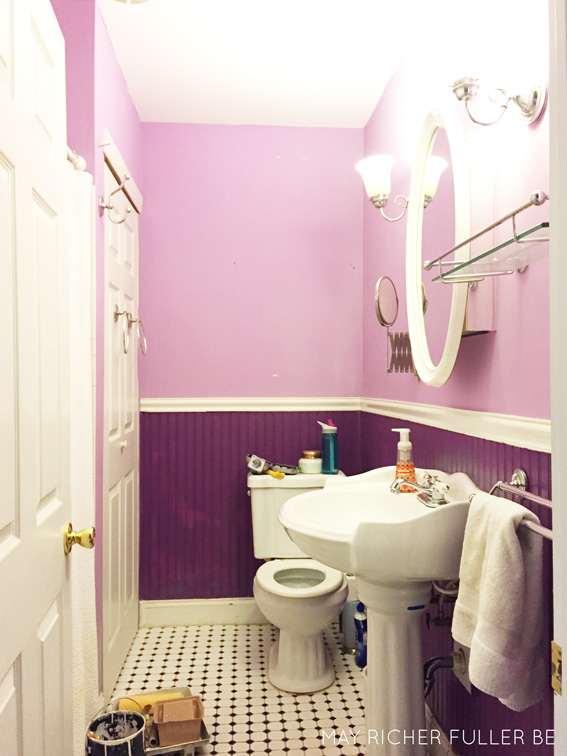
The first step in this bathroom makeover was getting rid of all that purple. I gave it all a coat of Kilz primer then two coats of regular paint: Behr Ultra Pure White on the beadboard and Benjamin Moore Winter White on the walls. I also took down the glass shelf by the mirror, the small accordion vanity mirror and the two towel rings on the linen closet doors. I felt like all of those things were making an already small room feel cluttered.

Again, the lighting in this photo is terrible! Oh well - can't worry about that now that it's in the past. Even with the terrible lighting, it was looking so much better already.
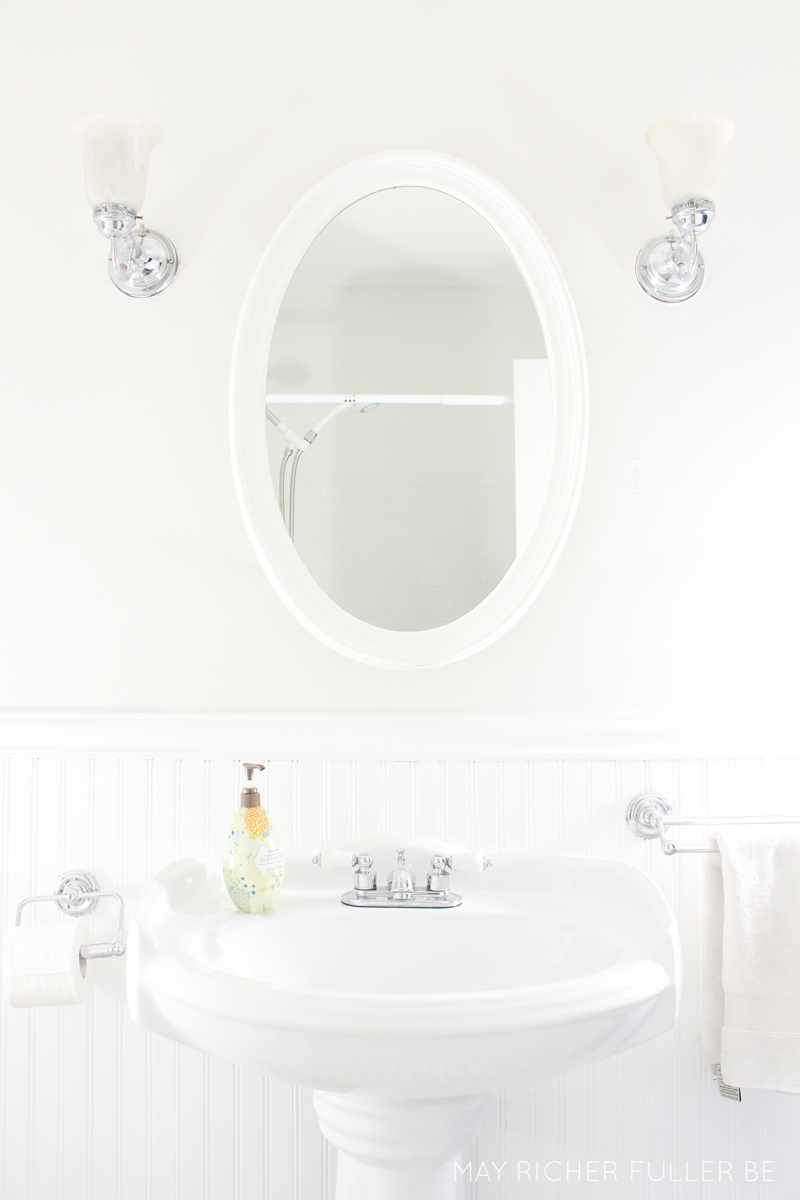
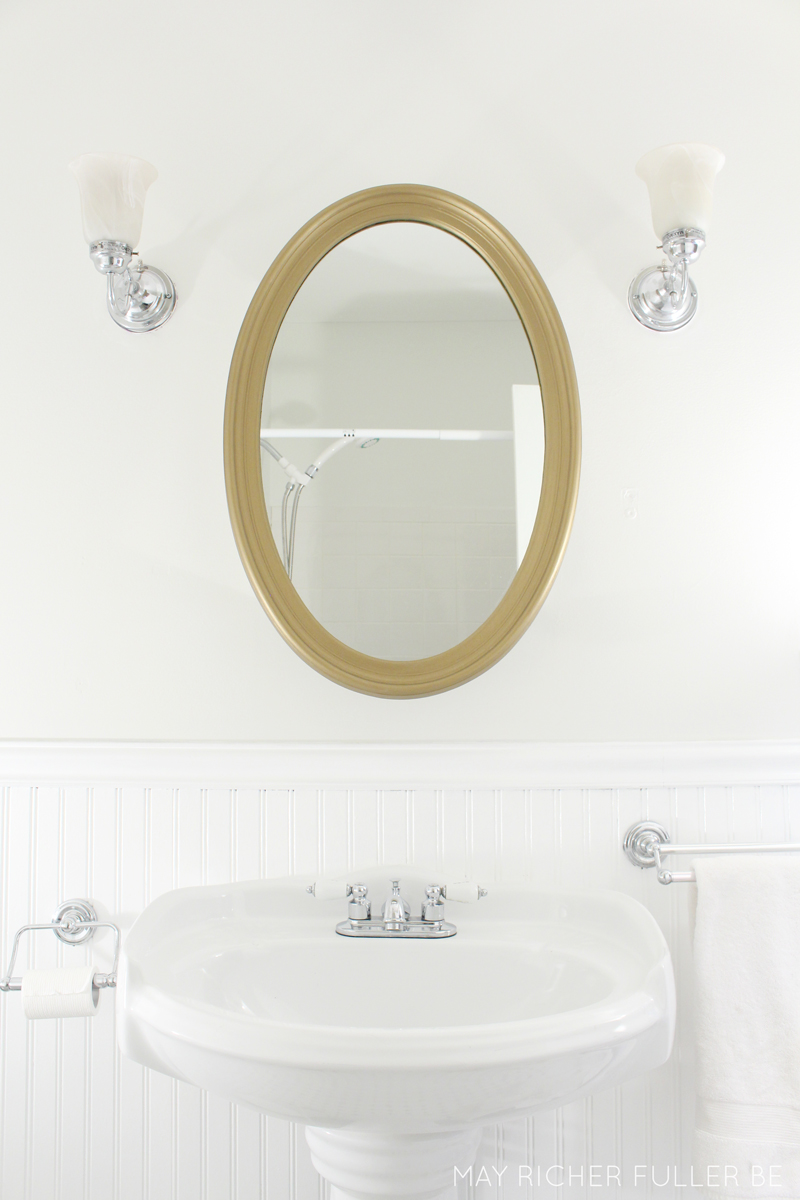
The next step was to paint the boring white medicine cabinet mirror a beautiful matte metallic brass from Modern Masters. I talked all about that in last week's post, so head over there if you'd like more details.
This mirror just blended right into the wall when it was white...
Then boom. Brass. Now it's a focal point!
After the mirror was done, it was time to really make that wall a showstopper with some pattern. I talked a lot about wanting to use wallpaper in here, but in the end, I realized I could get the look I wanted for a fraction of the price using paint. Plus, with paint there's no need to worry about humidity issues that can sometimes be a problem with wallpaper in bathrooms.
I picked up a sample pot of paint at Lowe's in Valspar's Gotham Gray. Depending on the light, it looks like a charcoal gray with some blue in it or nearly black. I love love the color.
I sketched out some patterns on a piece of poster board and ended up with a simple repeating hash pattern (is that what you'd call it?). It's almost like a basketweave. I decided to throw caution to the wind and freehanded it all the way across the wall. It took a couple of afternoons to finish, but was surprisingly therapeutic. Here it is in progress:
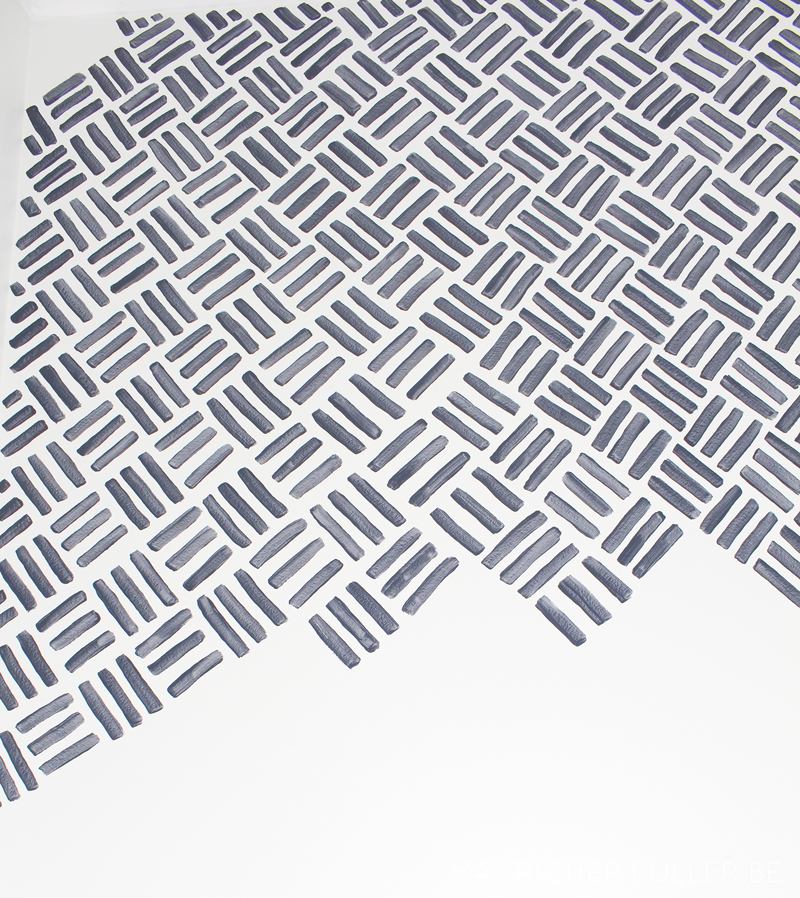
And here's a finished section:
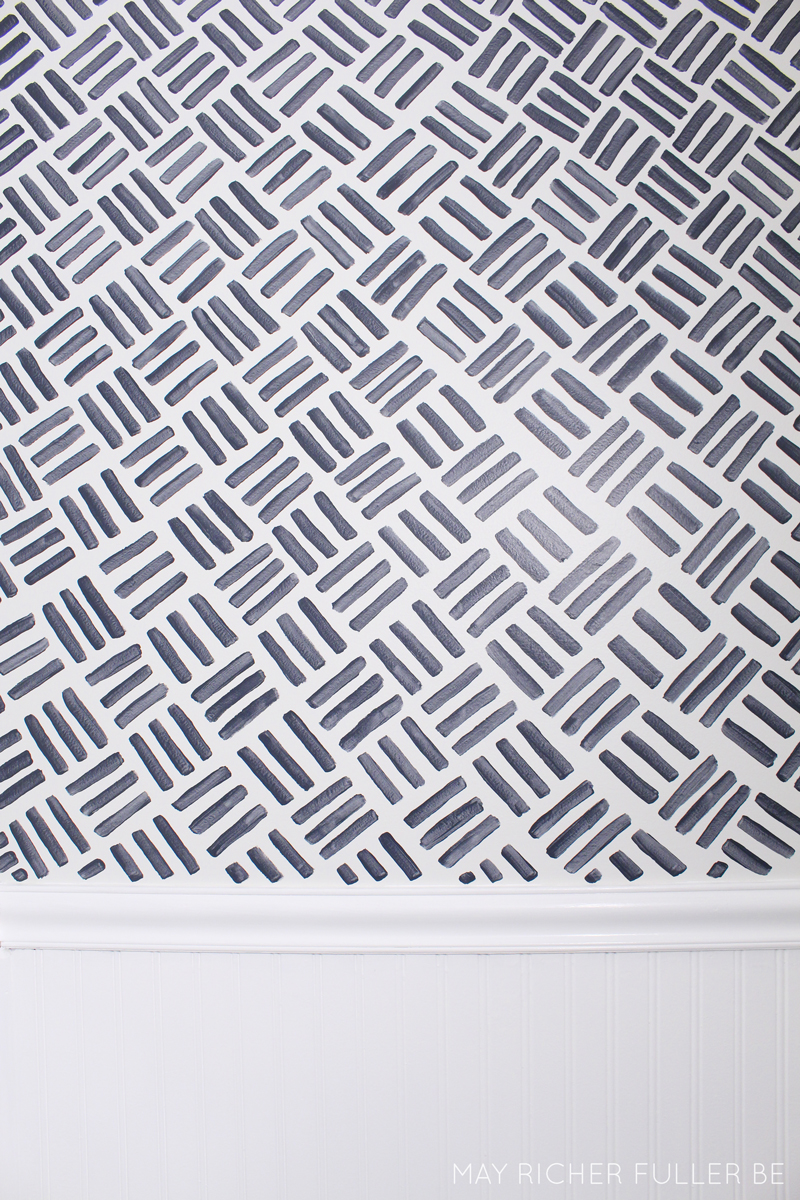
Now let's get to the good stuff and see the whole thing!
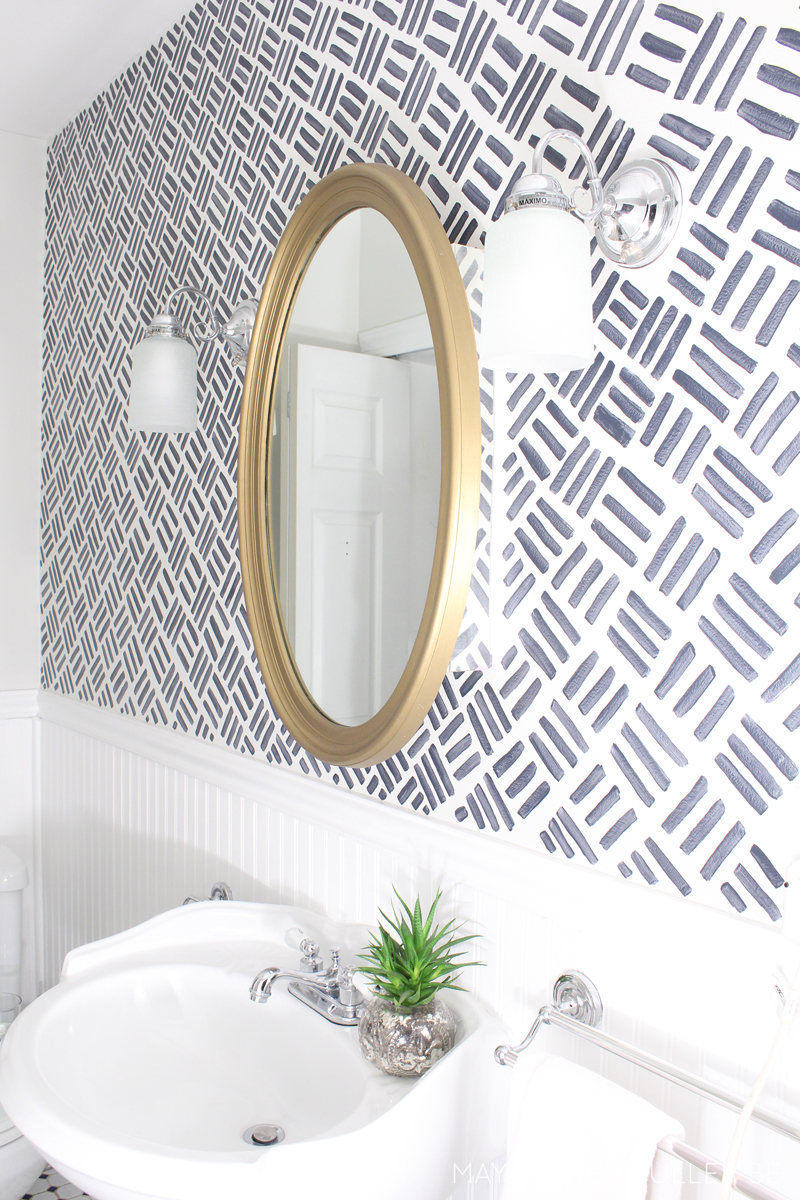

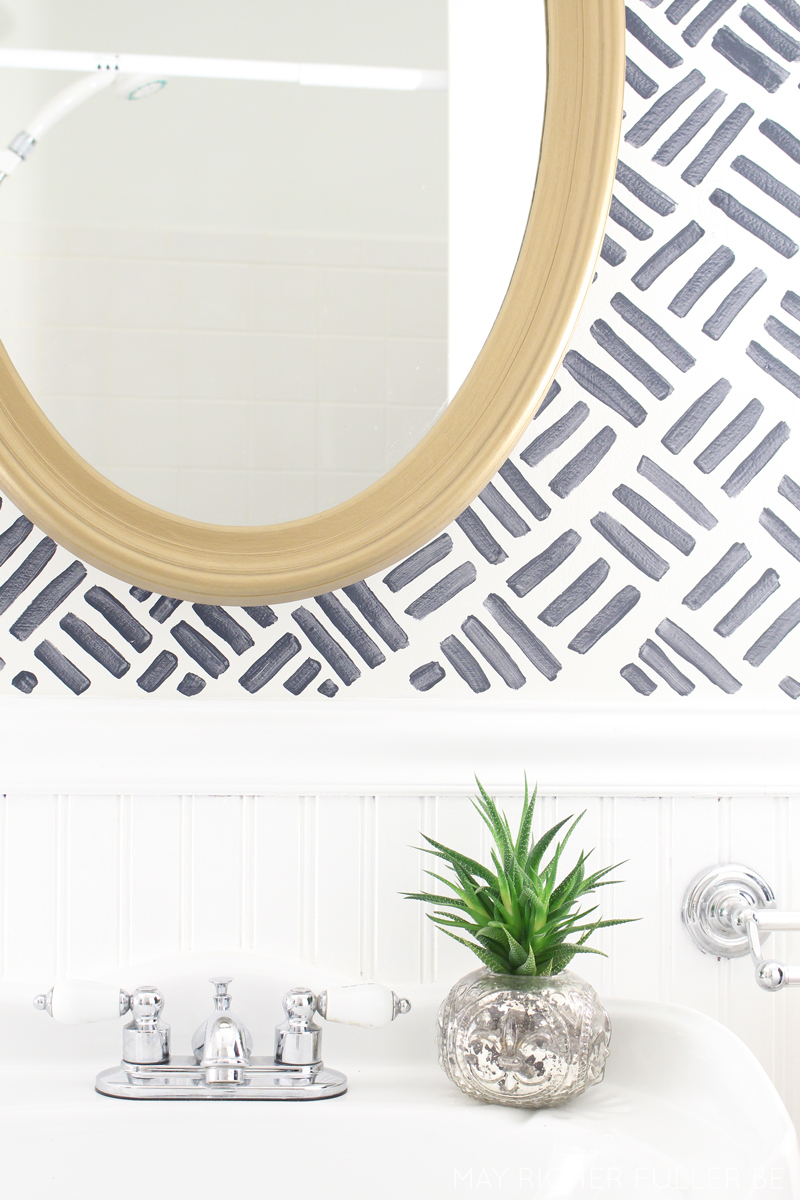
I'm thrilled with how well the pattern plays with the brass mirror. In an all white room, this was just the pop it needed!
The other small change I made had to do with the sconces. They're not my favorite, but purchasing new ones wasn't on my list for now, so I decided to get creative. Here's a closeup of one of them pre-update:
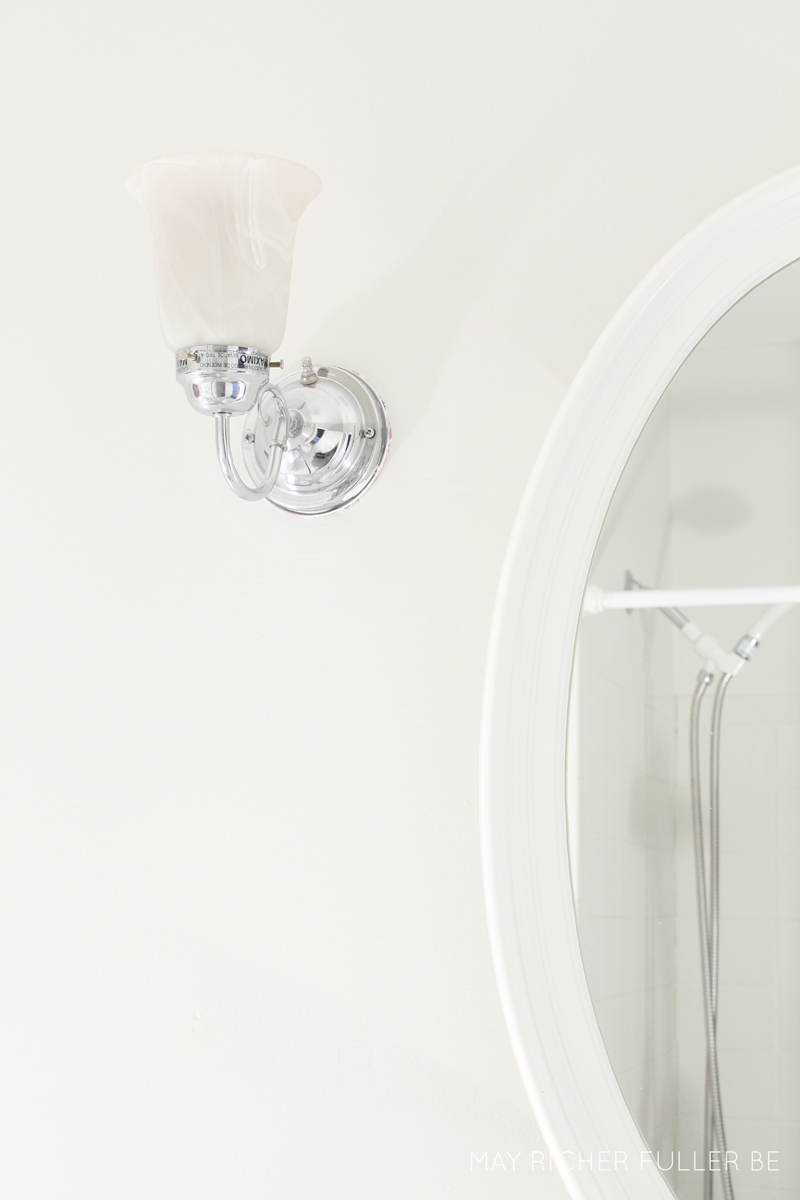
I realized that I could swap out the glass shades since they were a standard size, so I snagged two of these more modern ones from Lowe's while I was picking up my sample pot of paint. (The online photo does not do them justice - I'm glad I saw them in person first!) When I got home, I flipped the sconces upside down and put the new glass shades on. I like them so much more now!
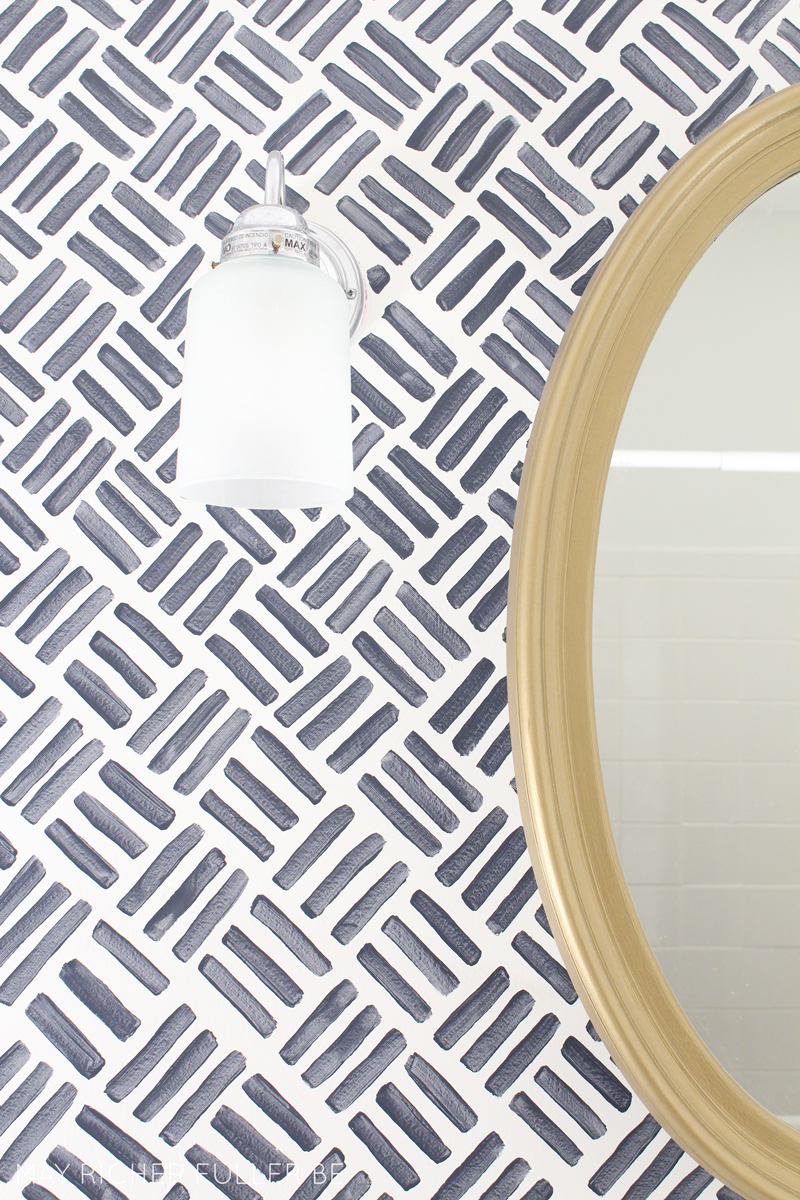
These small details can make all the difference, can't they?
So that's full story behind our sub-$50 bathroom makeover. I'm thrilled with how it looks and it makes me so happy to go in there now. Three cheers for the power of paint and a little creative thinking!


