Showing posts with label craft. Show all posts

12.29.2015

Philly Home + Garden Show: Make and Take Station


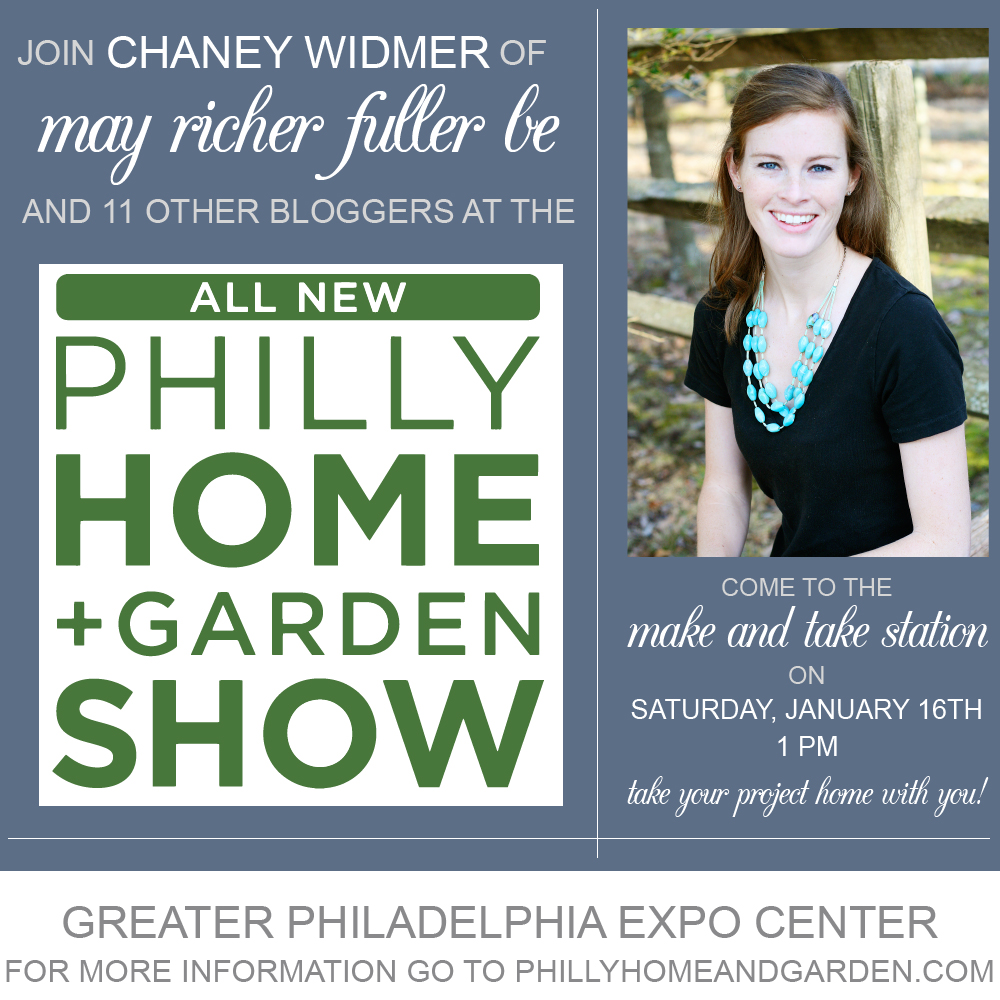
Hey y'all! I hope you had lovely Christmases. We had a great, relaxing, do-nothing kind of holiday - my favorite! I'm slowly jumping back into blogging this week after taking last week off, and I thought it would be fun to let you local Philadelphians (or those within a short driving distance!) know about a fun opportunity to join me and 11 other bloggers at the Philly Home + Garden show that's coming up in just a few short weeks.

I'll be hosting a craft station where you can make your very own sunburst mirror (similar to the one below) and take it home with you!


My station will be running from 1-2pm on Saturday, January 16th. I'll have the materials ready - all you have to do is show up! The other bloggers will be hosting their own crafting stations throughout the weekend and you can find the full list and schedule here. Who's coming?!

The whole show looks like it'll be really fun. There are some great speakers including Drew and Jonathan Scott from Property Brothers and Chip Wade from shows like Curb Appeal: The Block and Elbow Room. Basically, if you like HGTV, you'll probably have a blast!

Here's some general info about the Philly Home + Garden Show. For more details head to the website!


P.S. Thanks to Denise from The Painted Home for inviting me to be a part of this. She's the one spearheading the Make and Take Station, so if you come to the show, make sure and stop by and thank her!


Enjoy what you read today?  Enter your email address below to subscribe to May Richer Fuller Be!  Delivered by FeedBurner

Pin It!

1.15.2015

Himmeli Hearts: A Valentine's Day Craft {Blog Hop!}


Hello, friends! Today I'm joining five of my blogging buddies for a fun post on Valentine's craft ideas. We're just under a month away from this holiday of love, so we thought it would be fun to share a few of our ideas with y'all. Thanks to Linda (from It All Started with Paint) for organizing this!


As you can tell from the title and the opening photo of the post, I made a couple of Himmeli hearts for my craft. Are y'all familiar with Himmeli-style art? I'm kind of obsessed with it right now, and this was my first time making something in that style. It's a type of geometric art made of straws that originated in Finland, and is typically used to make simple Christmas ornaments. People have started becoming more and more creative with their Himmeli crafts and I've definitely noticed it's trending in the design world! The possibilities are endless. I'm not big on seasonal decorating for the little holidays like Valentine's day, but this modern take on the quintessential VDay symbol? Yes please.

Here's what you need to make these hearts:
  • Straws (I picked these cute striped ones from the dollar section at Target)
  • Thin wire (all I could find was the green floral wire below. I removed the green plastic to expose the wire. It was a pain - so if you can find thin wire, use that!)
  • Scissors
  • Ruler

Once you get the hang of how to do this, they're really easy to make. I followed this amazing tutorial from Oleander and Palm that was posted on Vintage Revivals, and I'm not going to reinvent the wheel today and rewrite my own. She does a much better job than I could do, and so if you like what you see today, head on over to Vintage Revivals and get the full details. Consider this post a birds-eye-view summary of how to make these Himmeli hearts :).

It's handy to get your straws in order before you starts so they're ready to go. You'll need 12 straws cut in half (so that's 24 total after cutting them), six full-length ones, one 2 inch straw and one straw with about an inch cut off the end.


As you start to put the heart together (following the directions above), it will start to take shape:


And eventually, it will look something like this!


Halfway through my first attempt at one of these, I was getting really concerned that it was going to look all janky and weird, but in the end, it all worked out. Phew! I was so proud of my handiwork that I made one more big one (like the one above) in black and another tiny one in red. 

I think they look mighty cute together, don't you?


Now I want to Himmeli all the things! Perhaps a wreath? Or a light fixture? It would be fun to make something that can hang around all year round!

Be sure to check out the other projects from these lovely ladies below!

valentine-craft-ideas
Recycled Beaded Hearts by Remodelando la Casa
Paper Flower Bouquet by The Happier Homemaker
Mr & Mrs. Stamped Forks by It All Started With Paint
Easy Non-Candy Valentine by Serendipity Refined


Enjoy what you read today?  Enter your email address below to subscribe to May Richer Fuller Be!


Delivered by FeedBurner


Pin It!

12.10.2014

12 Days of Handmade Ornaments {Favorites Edition!}


Happy hump day! I hope you're all having good weeks so far. Remember the 12 Days of Handmade Ornaments series from a couple of weeks ago? (How could you not - it was crazytown around here for those 12 days!) Well I think I've recovered from that awesome madness and had a chance to take a look at each blogger's ornaments as well as the ones Y'ALL linked up here on that last day, and boy there are some talented ornament crafters out there. I decided it was high time to highlight a few of my favorites. Take notes, people. And even if you've already done all your decorating, you can always pin this post for next year :).

I'm a sucker for clean-lined, simple things, and so these wood scrap mini house ornaments from That's My Letter are right up my alley. (Aren't those little red hearts just the perfect touch, too?)


Katie from Baby Your Babies used an Easter egg as a base to make this adorable pine cone ornament.


Pom poms are just the most charming little things - don't you agree? I love this mini wreath that Cristina (of Remodelando la Casa) made out of them.


These yarn ball ornaments from All Things G&D kind of blew my mind. They're awesome! Plus, bonus!, Dusty gives some hints on which glues worked best for making them.


Who wouldn't like a pair of tiny mittens hanging on their tree? And what if you didn't have to knit them? The full tutorial is over on Confessions of a Serial DIYer.


If you need to make a bunch of ornaments, simple is the way to go. A perfect example? This gold-leafed polka dot ornament from The Happier Homemaker.


Lastly, I loved this mini jingle ball wreath from Serendipity Refined. I like the variety of gold bells she used!


Hope y'all found some inspiration here today. Now go forth and craft yourself some ornaments! :)

Pin It!

4.01.2014

Tissue Paper Tassel Garland


I got the crafting urge this weekend and decided to make something fun, fresh and springy! At least something that felt springy to me :). I've always loved those tissue paper tassel garlands you see gracing the edges of tables at parties and showers, but haven't ever tried my hand at one...until now! These are so easy, y'all. Even if you don't consider yourself "crafty" you can make these (and impress all your friends). They're simple and inexpensive party decorations - or just a fun touch for your own home!

Here's how to make one:

Supplies:

  • Tissue paper
  • Scissors
  • Washi tape
  • String

Directions: 

Follow the photos above from left to right, top to bottom.

1 | Fold one piece of tissue paper in half and then in half the other way. The direction really doesn't matter. I actually ended up folding mine a third time so I didn't have to make as many cuts. 

2 | Cut the folded tissue paper into two pieces along the one big fold (second row, middle photo). That way, you'll be able to make two tassels out of one piece of tissue and only do half the cutting work! I'm all about efficiency over here. :)

3 | Cut narrow strips from the bottom toward the two large folds, leaving about 1" uncut at the top. This will create the fringe.

4 | Unfold the two pieces of fringed-out tissue and lay one on a surface so that the fringe lays flat. 

5 | Roll the tissue along the uncut middle crease.

6 | Fold the rolled up tissue in half along the middle to create a loop for hanging.

7 | Place a piece of washi tape around the top near the fold to hold the tassel together.

8 | Repeat for as many tassels as you need to make a garland.

9 | String the finished tassels along a piece of twine, string, yarn - whatever you have handy! I used embroidery floss.


These tassels are so easy to make and you can customize them however you want. I debated leaving them plain white (aren't they pretty like this?!) and twisting the tops to hold them together when I strung them up, but I thought the washi tape gave it such a fun little dose of color. They're so festive!


I love this pretty, multi-colored striped washi tape. 


If I ever make one of these for a party, I'd definitely like to add in some other colors of tissue paper. The white fits my thoughts on decorating this spring though - keep it simple! Given that we're moving in 30 days, that's about all I've got to give on that, ha!


How about y'all? Are these tissue paper tassel garlands on your list of easy party (or home!) decor? If not, they should be. I loved making this, and I would definitely make them again in the future!


Pin It!

3.31.2014

Best of March Round-Up

It's the last day of March, y'all! How did the time pass by so quickly?! I think I ask myself that every time a new month rolls around...

I love doing these wrap up posts each month - especially for those of you who are new around here (hi! nice to meet you!), or if you're a regular and missed a post or two. So let's get right to it, shall we? Here are my favorite posts from the month of March.

New Site Design & Branding

The biggest thing to happen to the blog this month was definitely launching the new site design. I'm loving how much it reflects me and my personality.

10 Complimentary Typeface Combinations

Y'all seem to love fonts as much as I do (yay!). This is a good one to pin for reference later...


Hand-Stitched Monogrammed Onesie

This gift was a big hit with my friend, so I'm definitely planning on making a few more of these in the future.


River House Tour: Day One | Day Two

I loved sharing these photos of my parents' river house with y'all. It's such a special and relaxing place for us and we can't wait to spend a bunch of time there this summer.


April Calendar iPhone Wallpaper

Don't forget to download this freebie April calendar for you iPhone (or other smart phone - it's just a photo). It's handy to have the month-at-a-glance when you turn on your screen.


Decorate for Spring Without Breaking the Bank

Y'all, it snowed again yesterday. I don't mean to be a whiner, but I'm so ready for spring and it's arriving so late this year. Writing up this budget-friendly spring decor post helped me remember that it will come. It's only a matter of time.


DIY Instagram Coasters

And lastly, I shared a tutorial for these easy, make-em-yourself Instagram coasters last week that I think are so fun! Have y'all done any fun projects with Insta-prints?


See ya March! April, I'm ready for you!

Pin It!

3.25.2014

Easy DIY Instagram Coasters


I don't know about you, but I have a tiny love affair with Instagram. I think it's my favorite social media channel. It's simple and straightforward, feels personal, and it's easy to interact with people you follow. It's also a fun way to catalog the everyday little things that you wouldn't necessarily snap a photo of otherwise.

And while I love my Instagram feed and photos, I still really like holding physical photos in my hands. I printed out a bunch of my favorites at Walgreens last year using my favorite app, Printicular, and have a rotating stack on display in our living room.

I decided to take a few and use them for today's crafty project - coasters! I had some old, tired-looking tile coasters that could seriously use a mini-makeover so I Mod Podged four of my Instagrams right on top of them.

Here's a quick tutorial of how I did it:

Supplies needed:

  • Printed 4"x4" Instagrams
  • Ceramic tiles
  • Scissors or paper trimmer
  • Mod Podge
  • Paintbrush


First, I trimmed the Instagrams so they fit on the tiles. You can see they were a little bit too big at their original 4"x4"size...the edges of the Instagram peek out around the tile in this photo:


So I trimmed them down about half an inch using a paper trimmer. I found this to be easier than cutting with scissors since the trimmer gives a nice, straight edge.


Here are all four Instagrams trimmed down to the right size:


Then it was time for Mod Podge!

I brushed a thin coat of Mod Podge onto the top of the old tile...


...stuck the Instagram on the tile...


...and brushed on another thin coat of Mod Podge on top of each to seal them and protect them from future contact with water.

Then they were done!


This was so easy (I think it took about 15 minutes total), and I love that these coasters now hold photos of some favorite places and memories I've captures over the past couple of years. Little happies, if you will ;).


Have y'all ever made personalized coasters like these? What fun things have you done with Instagrams?


Like this projects? Try these too!


---------


Pin It!

3.04.2014

DIY Fabric Journal Sleeve


Hey friends! Happy Fat Tuesday/Mardi Gras/National Throwing-of-Beads Day! I've got a quick and dirty DIY project for y'all today. So let's get right to it!

There are two things about me that you should know before I dive into the tutorial:

1. I love journaling
2. I love free stuff

Not long ago, these two things collided when I snatched up a couple of freebie journals at a housing fair (long story...) that were really nice, but had one little problem: they have a company's logo imprinted on the front.


No offense to the company, but staring at their logo when pop open my journal every day wasn't exactly my cup of tea. It felt a little corporate to me. So I decided to make it a little prettier with a journal sleeve/cover.

Here's how I did it!

1. Gather supplies.


I used a remnant of gold and silver dot fabric I had in my stash, some iron-on hem tape, a couple of bits of elastic, a needle and thread, and some scissors to do this project.

2. Measure and cut a piece of fabric to wrap around the journal's front cover.


If you end up doing this project, of course you'll want to measure your own journal, but I cut a 6"x18" rectangle of fabric out to wrap my journal. The final dimensions ended up being about 4"x16"once I hemmed it.

3. "Hem" all four edges with iron-on hem tape.


You don't quite get out of sewing for this project (see next step), but you certainly don't need to break out a sewing machine when hem tape will do the trick here! I like to pre-fold the edge and iron it down on its own first to give it a nice crease before adding in the hem tape. This way, I can make sure the hem looks right before committing to sealing it shut :).

4. Sew two short pieces of elastic to both ends of the fabric so that it forms a closed loop. This will become the sleeve!


I used pink thread because, why not? You don't see the stitches anyway because this part will be on the inside of the front cover. The elastic pieces are on the back side of the fabric. The reason I used elastic was so that the sleeve would slip over the edge of the journal easily, but be snug at the same time.

Here's what it looks like all finished! Be gone random logo!


Now I can snuggle up on my comfy slipper chair, drink some tea and spend some quality time with my pretty new journal.


That's it! As always, if you have any questions, leave a comment below!

Pin It!
Related Posts Plugin for WordPress, Blogger...
Blogging tips