Showing posts with label recipe. Show all posts

10.13.2014

10 of The Yummiest Looking S'mores Recipes (Ever)


Happy Monday! Boy do I have a treat for y'all today (literally) that will definitely get your mouths watering. If you're on a diet, now is the time to close this post! If you're not, and you have a sweet tooth like I do, read on, my friend. This one's for you.

I happen to love s'mores. Do you? The idea of sitting around a campfire roasting marshmallows and hanging out with friends and family is high on my list of things to do this fall before it gets too cold. and what would a campfire be without s'mores? S'mores are one of my favorite desserts, but occasionally I like to veer off the beaten path a little and try a new variation on this classic treat. Over the past few months, I've been collecting some of the yummiest-looking s'mores recipes and I think I've got plenty to share with you now. :)

Once you've had a chance to look at all this goodness, let me know what your favorite recipe is! Or, if you have one of your own, please share it! I'd love to include it on my list here.

Alright, enough talking. Time for s'mores!


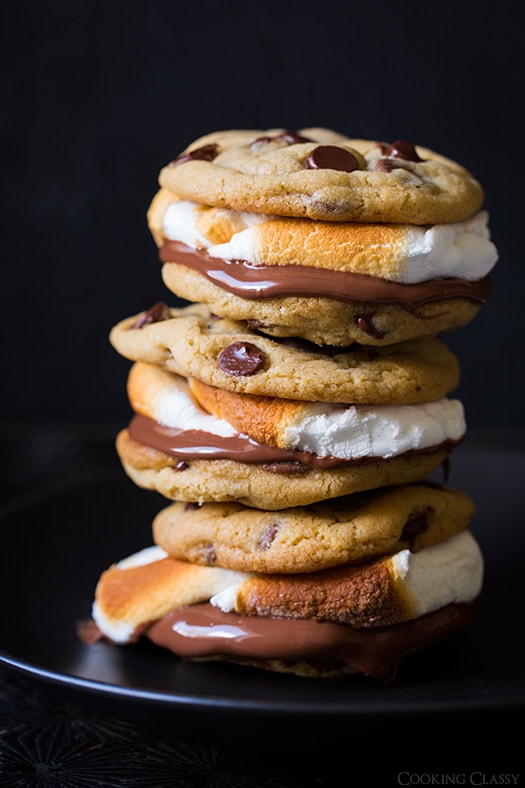
S'mores mini dippers | Kevin and Amanda


S'mores crepes | Something Swanky


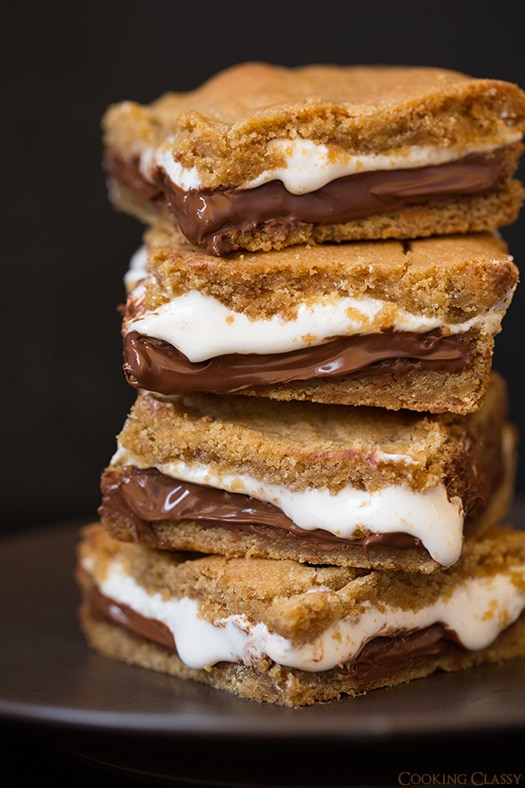
S'mores bars | Cooking Classy


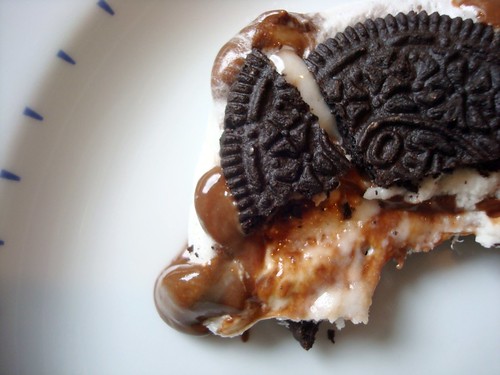
S'moreos | CakeSpy


Brownie dulce de leche s'mores | Make Life Lovely


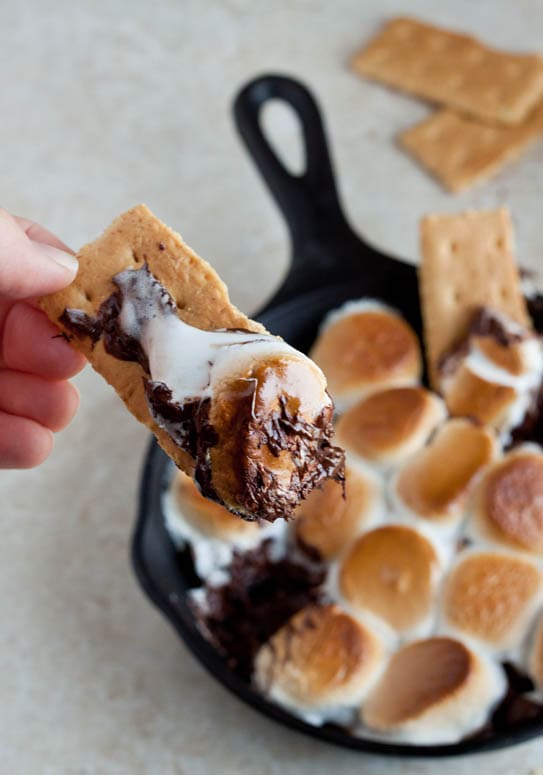
Indoor s'mores | Dessert for Two


* Please pin from the original source by clicking the link above the photo. Enjoy!

Pin It!

9.05.2013

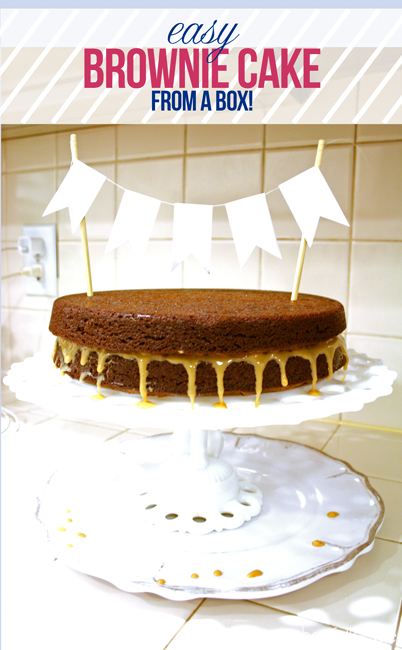
Brownie Cake Recipe {From A Box!}


To me, nothing beats brownies in terms of dessert deliciousness. I could do without cake (gasp!) or pie (oh my!), but brownies? No way. In fact, I love them SO much that I requested a brownie cake for our wedding. Yes, friends, a brownie cake. I wanted the look of a traditional white cake, but instead of cake there would be brownies. My amazing cake lady said she'd never done brownies in cake form, but that she was willing to experiment and come up with a recipe that would work. Did I mention she is amazing? Well friends, she did it and it was the. best. "cake" I've ever had. Hands down. In between each layer of brownies she alternated caramel and chocolate ganache and then covered the whole thing in white buttercream. So many of our guests made a point to come up and tell me how delicious it was and I still get comments about it three years later. Does that tell you something? 


Isn't it beautiful? After that pretty "cutting the cake" moment, I proceeded to stuff a piece in C's face:


Gotcha!

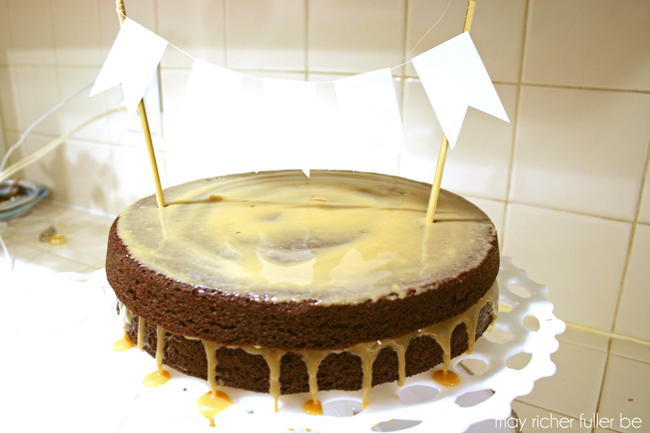
So this year for my birthday I decided I wanted a mini-version of our brownie wedding cake. We asked our cake lady to make one, but unfortunately she was on vacation that week and her refrigerator had just broken. Sadness. I didn't let that deter me from my mission of having a brownie cake for my birthday though. Why not attempt it myself? So I made my own version, and it was awesome. Not nearly as photo-worthy as the wedding cake, but it tasted fantastic.

In case your mouth is watering from all these cake photos and you too decide you'd like to have a brownie cake, here's how I made my simple, semi-homemade, anyone-can-make-it version. I didn't attempt to ice it with buttercream, but man, it was still so good.

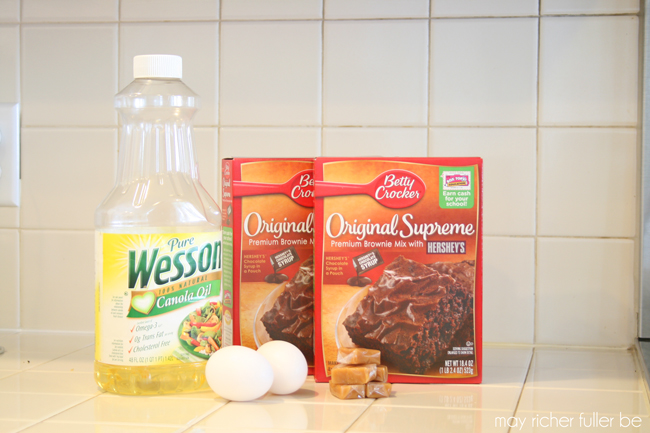
First, gather your ingredients. For me, this meant boxed brownies, oil and eggs :). You'll need two boxes for a two layer cake. If you like a tall cake, you'll need three boxes. Grab a few store bought caramels as well. I needed about 20 total to make the sauce that went in-between the layers and on top. You'll also need a dash of cream to make the caramels melt smoothly.

Confession: I love boxed brownies more than any homemade ones (except the ones my cake lady made). Terrible, I know, but it's true. In particular, I love the Betty Crocker Original Supreme brownies, so that's what I used.


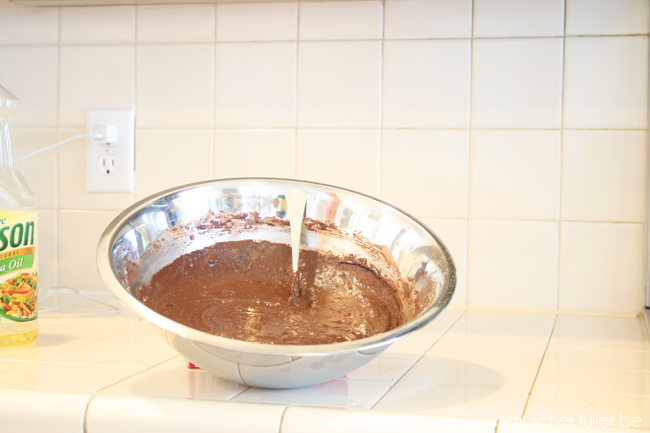
Make the brownies according to the recipe on the box...


Split the batter evenly between two cake pans (I think these were 8" or 9") and bake. Make sure you GREASE your pans really well before adding the batter. That will ensure you can release them cleanly from the pan after baking and cooling.


Run a knife around the edges of the brownies and flip upside down onto a cake stand (or whatever you plan to display the cake on).

Melt the caramels in the microwave with a dash of cream to help them melt smoothly. Make sure you stir every 30 seconds until they're melted so that they don't burn in the microwave (the process is similar to how you melt chocolate chips in the microwave).

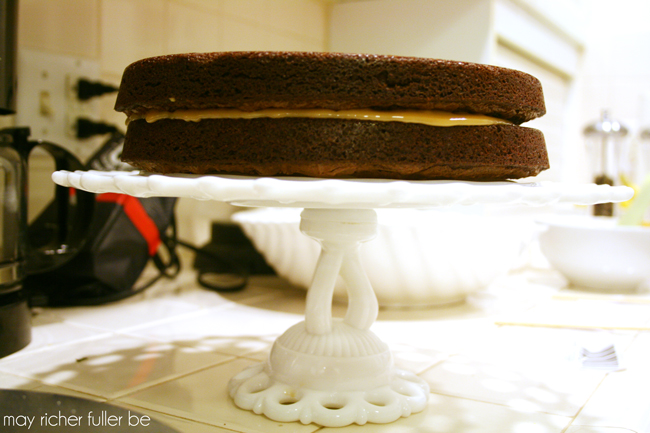
Spread the caramel sauce on top of the first brownie layer.


Then place the other brownie cake round on top of the first. The caramel will gush out of the middle and drip down the sides, but that's ok. It just adds to the fun :).


Ice the top of the second layer with the leftover caramel sauce and you're done!


YUM! Since it was my birthday, I made it a little more festive with a mini white paper flag bunting attached to two wooden skewers. Super cute.

Serve the cake with vanilla ice cream and whipped cream if you like - and enjoy!

Though it's no professionally made cake, it was delicious. Brownies for the win!

Anyone else out there a die-hard brownie lover like me?


P.S. I randomly chose the winner of the Ramsign house number giveaway - was it you? 

---------


Pin It!

7.03.2013

Vanilla Almond Granola


For the past year or so, I've been on a major granola kick. It's become my go-to breakfast. I usually top mine with a few spoonfuls of vanilla yogurt and fresh fruit if I have it on hand (blueberries are my current fave).

I've tried a bunch of different kinds, but have settled on the vanilla almond flavor - especially the kind from Trader Joe's. Then one day, I thought, why not try and make my own version? I had heard it was pretty simple to make, and is very forgiving (i.e. you can't really mess it up). So I set about finding a recipe that looked yummy, and came across this one from Sophistimom. I didn't have all the things she used in hers, so I adjusted the recipe and used what I had on hand. The results were really good! And my husband loved it. Win.

If you're looking for an easy vanilla almond granola recipe, this one's it. The beauty of it is that you can add anything you want to it. I'd love to add some "super food" grains in the future (like chia and flax seeds) to make it super healthy, but for now, this'll do :).

Here's the recipe:

Ingredients:

  • 6 c. oats
  • 1/2 c. slivered almonds
  • 1/2 c. sunflower seeds
  • 1/2 c. flour
  • 1/2 c. vegetable oil
  • 1 1/4 c. honey
  • 1 tsp. vanilla

Instructions:

  1. mix all ingredients together in a large bowl.
  2. spread ingredients out on parchment lined baking sheet (I like to use my Silpat baking sheet liner - if you don't have one of these, it's definitely worth the investment).
  3. bake at 300 degrees for 15 minutes, stir the mixture with a spatula, and return to oven.
  4. raise oven temperature to 350 degrees and bake for another 15 minutes until oats are golden brown.
  5. remove from oven, allow to cool completely, and store in airtight container.
You may have to cook yours a little longer or a little shorter depending on how quickly your oven cooks. If you want it to be dry and crunchy, cook it an extra 5-10 minutes. Ours was still slightly chewy after cooking using the instructions above.

Here's a little recipe card for you for easy pinning :)


Are you a granola eater? If so, do you make your own? What's your recipe? I'm always looking to try new variations!

---------


Pin It!

6.03.2013

May Project Round-Up


I feel like I say this every month, but man, May flew by in a flash. Welcome, June! I'm excited summer is here - are you?

Before May is a distant memory, let's take a few minutes to look back at the projects I posted about on the ole blog this past month, starting with this fun way to display printed Instagrams using pants hangers. (I print my Instagrams to Walgreen's One Hour Photo using an app called Printicular. It's so easy and inexpensive.)


My favorite project of the month (and the most popular one with y'all as well) was the wood shim pendant light. Though it ended up being a little more challenging than I anticipated, I love how it came together in the end, and seeing it hanging over our dining room table really makes me happy. If you missed any of the posts about it, you can catch up here: one, two, three.


I revamped the every-other-Friday Creative Bits Series a bit, and shared a really pretty office space and a beautiful living room this month. This has been a fun way to connect with other bloggers, so if you have a space you think has a few Creative Bits of its own, send a photo of it my way and I might use it in a future post!


Operation {Re}Organization continued this month. This time I tamed the chaos of the front hall closet in a series of three posts (inspiration, before/strategy and after). What was a disaster area is now sooo much more functional and even has secret storage for sporting equipment. Did any of y'all tackle an organizational project this month?


And of course you can't have "function" without "fun" (bad pun, sorry), so I added these blue watercolor-y/painterly labels to make sure things are easy to find and are returned to their proper homes. There's a link to download a free set of blank labels too if you need some!


I also took on a new cleaning plan in Operation {Re}Organization this month. The first week has gone pretty well so far. Since I technically implemented this plan last Tuesday, I technically have one more day to do my last weekly task...clean the bathroom...ugh. At least once it's done I'll have the satisfaction of checking that box once I'm done though - thanks to my handy list here :).


Are you a Kate Spade fan? If so, you'll want to check out the Kate Spade Style Soiree hosted by Jenna and others last month. I joined their party and created a Kate Spade-inspired gold zig zag pitcher. Who doesn't need a little gold in their lives?


To celebrate my mom this month on Mother's Day, I took some photos with my brother, Instagrammed them, and created a photo strip style card for her. It was a fun project for me, and she loved it! Win win.


Another one of my favorite projects this month was this DIY iPhone speaker made out of...a toilet paper roll. Talk about doing a project "on the cheap" :). I use it all the time!


Last but not least, I shared a recipe for banana avocado bread. Head on over to the post to see why I used avocados, of all things, in this delicious quick bread.


That about wraps it up for May! Thanks, as always, for reading. I'm so grateful to each of you for stopping by my little corner of the blogging world.

And thanks to these wonderful blogs for featuring my posts this month:


Come on back tomorrow for a fun project I did over the weekend. Want to know what it is? Go back to this post from last week for a hint!

Pin It!

5.29.2013

Banana Avocado Bread


I'm not much for cooking, but man do I love to bake. And while recipes aren't often the subject matter of this little blog, I've got a good one for you today: banana-avocado bread. Yep, you heard right, avocados are a main ingredient in this delicious dessert bread. Now before you scrunch up your nose in disgust, let me explain why avocados are part of this recipe - they're a substitute for butter! So essentially, you're cutting out some of the "bad" fat content and replacing it with "good" fat by using those nubby green guys (without losing any tasty flavor). I'm not a huge fan of trying to make desserts healthier (I figure if I'm going to eat dessert, I'm going to eat dessert...you know what I mean?), but this substitution was so easy and I think it actually added moistness to the bread. Win win win.
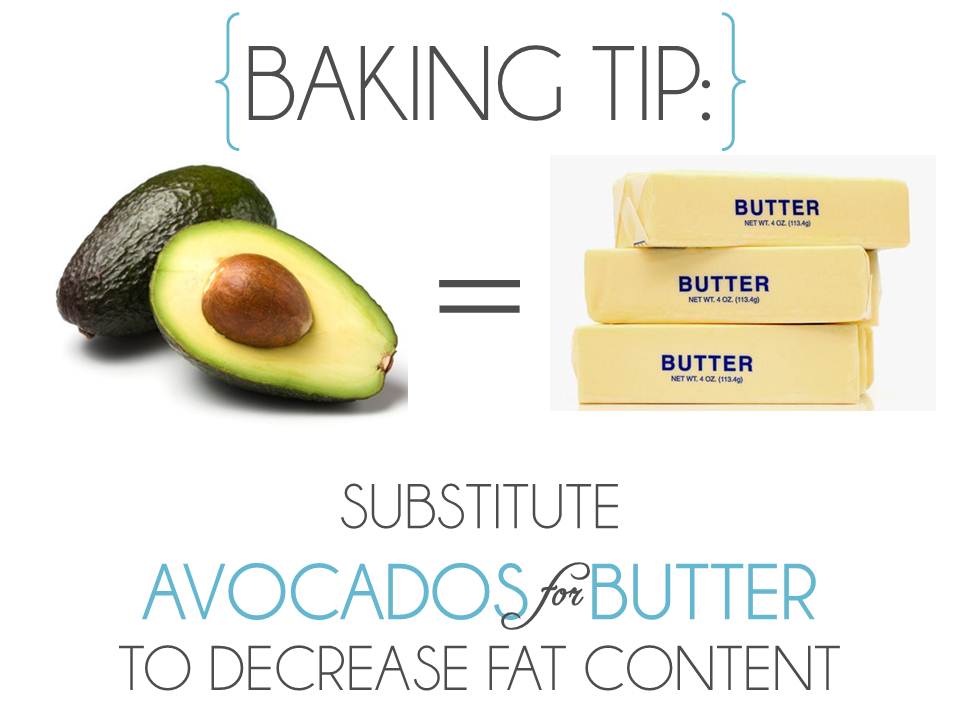

I promise I didn't make this up. The Kitchn tells me it's true, so it must be :).

I kind of discovered this recipe by accident because I had four avocados that I needed to use up ASAP and I didn't want to end up with a whole vat of guacamole. A little Googling along the lines of "uses for avocados" (real creative, I know) revealed the banana-avocado bread recipe below. I had some super ripe frozen bananas on hand, so I decided to go for it. It turned out really, really well - I'll definitely be using the recipe again.


Banana-Avocado Bread (recipe originally from A Little Yum)

Ingredients:
  • 3/4 cup sugar
  • 1/4 cup softened butter (half a stick)
  • Half an avocado (approximately 1/4 cup)
  • 2 cups flour
  • 2 eggs
  • 1 tsp baking soda
  • 1/4 tsp salt
  • 1 tsp vanilla extract
  • 3 very ripe bananas (this is not worth making if your bananas aren’t super ripe)
  • 3 TBSP milk
1. Cream together sugar, butter and avocado.
2. Stir in the eggs and vanilla extract and mix well.
3. In a separate bowl, combine the flour, baking soda and salt until well mixed.
4. Fold together the butter and flour mixture until well incorporated.
5. Mash 3 very ripe bananas. Mix in the mashed bananas and milk.
6. Bake at 350 degrees for one hour or until the top springs back when you press it.


Looks yummy, doesn't it? I ended up dividing my batter into two loaf pans. If you do that too, decrease your cooking time to about 40 minutes and check on it.

Hungry yet?

{avocado image from here; butter image from here}


---------


Pin It!

5.02.2013

April Project Round-Up


Quick announcement: The set of 13 vintage kitchen canisters/spice jars I wrote about last week is now up for sale in my shop. If you're interested, or know someone who might be, shoot 'em the link! Thanks!

---------

It's always fun for me to take a look back at the past month and remember all the projects that kept me busy (and creating!). This once-a-month project round-up post is also a great resource to catch up on posts you may have missed. Onetwothree go!

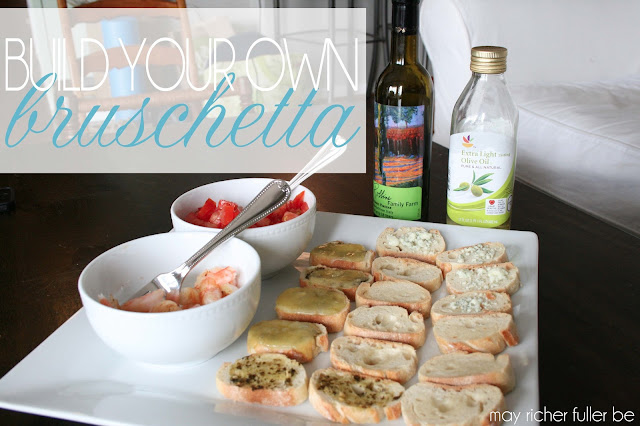
I shared a couple of yummy recipes this month: an easy make-it-yourself bruschetta (perfect party appetizer) and s'mores bark. I've found myself dreaming about that s'mores bark - I'll definitely be making it again soon.


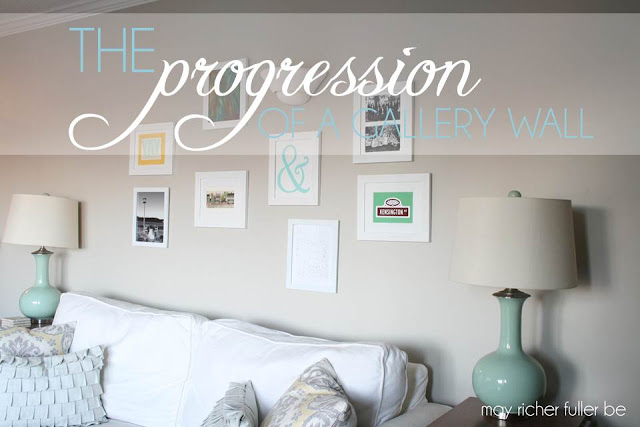
You got a chance to see my living room gallery wall develop and evolve into its current state. I'm really happy with it - so glad to check that project, and its growing pains, off the list!


I launched a new print for the shop with one of my favorite verses on it ("We love because he first loved us" - I John 4:19) It's available here if you'd like one for you or as a gift.


This month was "peak bloom time" for D.C.'s cherry blossoms, and I went on a little photo tour of these stunningly beautiful trees. I wish they stayed this pretty forever.


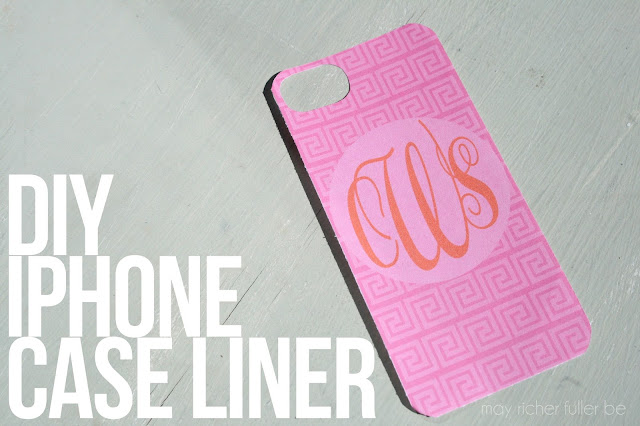
I shared some step-by-step instructions on how to make your own custom iPhone case insert.


Pink and orange seem to be a theme lately since this pleated paper wreath has pink and orange stitching on the pleats. Maybe they just seem like a springy combo?


My outdoor photography tips were by far my most popular April post. I guess y'all are just as into improving your photography as I am!


Since Google Reader is going away come July, I wrote up this super practical post on two alternate feed readers: Bloglovin' and feedly. Feedly fits my needs, but both are great!


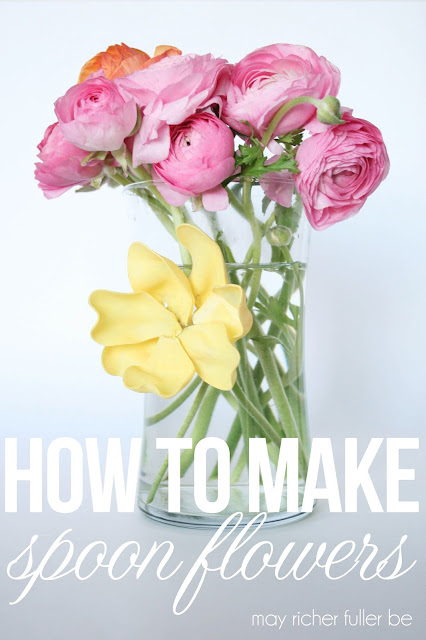
And last, but certainly not least, is my favorite project from last month: how to make spoon flowers. They were so easy and turned out so well!


Before I go, I also wanted to thank some awesome blogs for featuring my posts this month. Many, many thanks to: Apartment Therapy (ahh!), IHeart OrganizingBlissfully Ever After, Tatertots and Jello, Serenity Now, and Dear Creatives.

That wraps up the month of April... hey there May! I've got lots of project ideas up my sleeve, so get ready.

Have a great day!

Pin It!

4.09.2013

S'mores Bark


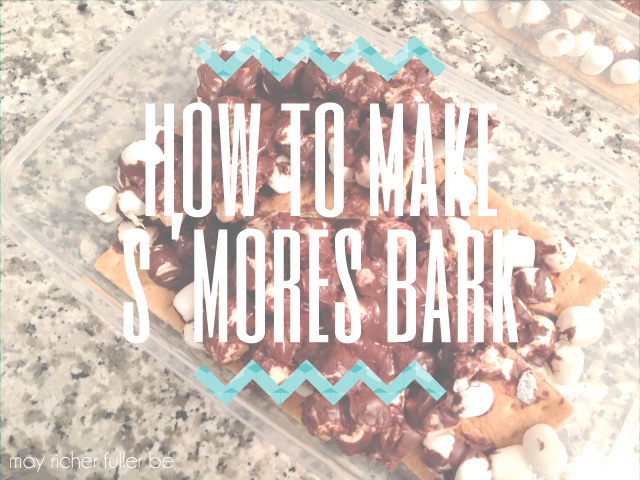
When you hear the word campfire, what comes to mind? For me, it would be s'mores. 100%. Now, what happens when you can't have a campfire in your tiny apartment, but you really, really want some of that delectable combination of graham crackers, marshmallows and chocolate? You make do and make s'mores bark. Yep, s'mores bark. 

Is your mouth watering yet? 

I had the pleasure of concocting a bunch of this deliciousness last week for our small group at church. I had seen a photo of it on Pinterest, but there was no recipe attached to the link. So what did I do? I made up my own "recipe" by trial and error. There's not much to it, and you can't really mess it up. (A bonus for a gal whose forte isn't cooking!)

Now let's get to the good stuff.

Ingredients:
  • 12 graham crackers
  • 1-16 oz. bag of chocolate (I used semi-sweet, but you can use any variety)
  • 1 bag of mini marshmallows

Step 1: Line a baking sheet with aluminum foil. This will make for quick cleanup at the end once you have gooey, melted chocolate everywhere.

Step 2: Lay out your graham crackers in a single layer across the whole cookie sheet. 


Step 3: Spread marshmallows evenly across the graham crackers. 


Step 4: Melt chocolate in the microwave.  The trick to doing this well (without having to use a double boiler) is to check it and stir the chocolate every 30 seconds. It will burn if you don't do this. I melted my chocolate chips in two batches to make sure it melted evenly. When the chips are almost all melted, just stir it well and the rest of the chips will melt and not burn.

Step 5: Pour melted chocolate over the marshmallows. This will be messy. You can spread it out using a spatula, or do what I did and use your (clean) fingers to smush it around.


The more chocolate the better, in my opinion.

Step 6: Resist the urge to eat it now and put it in the refrigerator to set. This is the most difficult step by far. It will take on its "bark-like" qualities if you let it set for a half-hour or so, so resist the urge to eat it.

But...no one will notice if you take a little chunk and taste test it. That's a fact. So, you didn't hear this from me, but sneak a little bit before you put it in the fridge. :)

Step 7: Remove the bark from the fridge, break the graham crackers apart, and put it in an airtight tupperware for storage (if it makes it to the storage stage).


Otherwise, enjoy!

One thing I would do differently if I did it over again (which I most certainly will) is to mix the marshmallows into the melted chocolate before spreading it all onto the graham crackers. I think this will make the spreading of the chocolate easier and smoother. Messy isn't bad, but if you want it to look more like bark this may be a good change to my "recipe."

This is a great, easy dessert for kids and adults alike. If you love s'mores, you're going to love this!

Possible variations (to make your mouth water even more):

  • Sprinkle nuts on top
  • Melt peanut butter and chocolate together and pour over graham crackers/marshmallows
  • Try different kinds of chocolate (white, milk - whatever you fancy!)
Have a lovely day!

---------


Pin It!
Related Posts Plugin for WordPress, Blogger...
Blogging tips