Showing posts with label Christmas. Show all posts
Showing posts with label Christmas. Show all posts
12.17.2015
Signing Off {And A Sneak Peek}
Merry Christmas, friends! I wanted to wish you ALL a very merry one before I sign off to enjoy the next couple of weeks with family and friends. I know I've left y'all hanging with the renovation progress at our Philly home - sorry about that! Thanks to all of you who have checked in and asked how things are going! It's lookin' mighty fine up in here, and I snapped a bunch of photos over the past few days that I can't wait to show you. I'm going to hold off until after Christmas though to make sure I give it the proper attention it deserves :).
But! I couldn't resist showing you a quick sneak peek before I head out, so here's one of my favorite shots of our master bedroom:
Let's remember what this room looked like before we got our hands on it and saved it from its brown and carpeted misery:
Oy. I'm so excited about the progress we've made!
On that note, see you in a couple of weeks with MANY more house progress photos.
Merry Christmas!

12.14.2015
My Favorite Christmas Home Tours
Christmas is just around the corner, y'all! I've loved following along with the many (many!) beautiful Christmas home tours that have popped up in blogland over the past couple of weeks. I'm basically living vicariously through them since going all out on decor just wasn't in the cards for us this year - we just moved into our new house a month ago! #priorities (Although I did post a "one room Christmas home tour" last week...catch it here if you'd like!)
If you enjoy pretty Christmas decor as much as I do, I figured you might enjoy a few peeks at some images from some of my favorite home tours. Let's take a look, shall we?
All this pretty farmhouse dining room from House Seven needed was some greenery to make it feel festive. How cool are those asymmetrical wreaths?
 |
| {House Seven} |
Iron & Twine's cozy bedroom caught my attention with its garlands! I love the circle one on the tree and the vine-y one on the window trim.
 |
| {Iron & Twine} |
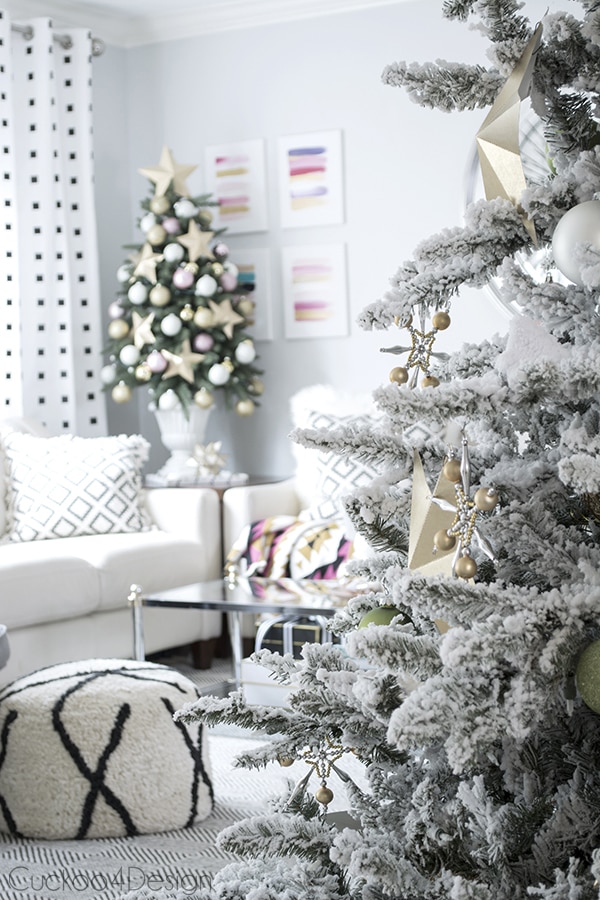
Julia's home is always full of awesomely bold design choices and her Christmas decor is no different. I have a soft spot for flocked trees, and hers is just the prettiest in my opinion!
 |
| {Cuckoo4Design} |
How cute is this Merry Christmas Banner above A Creative Day's bed? Sometimes it's the little things that can really make a room. Catch the rest of her tour here.
 |
| {A Creative Day} |
 |
| {Julie Blanner} |
 |
| {Place of My Taste} |
What kinds of Christmas decor do you have up at your homes? Whether a lot or a little (like me!), I hope you are enjoying this season. Happy Monday!

12.10.2015
One Room Christmas Tour
Have y'all been enjoying the Christmas tours that have been popping up all over blogland recently? (I have!) I'm so incredibly impressed with these women - and a few men! - who have transformed their homes so beautifully and really set the bar high for Christmas decor. And while I wanted to join these bloggers this year, it just wasn't realistic with moving less than a month ago and continuously trying to get house projects done. I had to let that idea go.
But!
I was determined to at least get a tree up, decorate it, and add a few other festive touches around our home. Though it's nowhere near magazine-worthy, I figured it was probably more like what most "normal" homes look like around Christmastime, so maybe y'all can relate :). I'm calling this my "one room Christmas tour" because it's really that, and just barely! The house isn't quite ready for its closeup, so you'll see bits of the living room, but there will be more to come in the future - promise.
Welcome, and come on into our perfectly imperfect home!
I love boxwood wreaths, and when I spotted them at Trader Joe's I couldn't resist grabbing one for our front door. A big silver bow was all it needed to look festive.
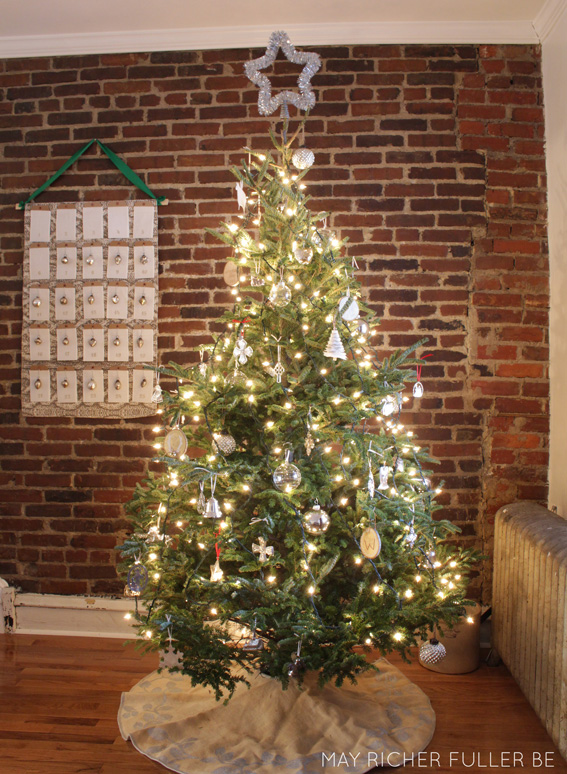
Just inside the front door is our Christmas tree. We picked up this Frasier Fir at our local Ace Hardware store and walked it home - yes, walked it home! Ah, city living...how I love you. Walking our Christmas tree home may just be a new tradition in this house.
I like it in the daylight, but the magic really happens when it's dark and the lights are on.
Ooo...the glow!
I kept the decor really simple this year - silver, glass and a few wood slice ornaments. Last year I participated in a 12 days of handmade ornaments blog hop and many of those made it onto the tree this year, including two of my favorites: the reindeer antler wood slice ornament and the gold glitter and white felt Christmas tree. You can check out that whole series by starting with this post.
Just behind the tree, you might have spotted my DIY Advent calendar I made last year. I love it up against that brick wall!
Lastly, jumping over to the other side of the room, I stuck a few items on a shelving unit you might remember seeing in our second bathroom in the last house. There, we used it to hide a gross bidet...if you're curious about that story, it's over here, ha!
Silver and white (plus natural green stuff!) seems to be the theme this year. I love that it looks Christmasy without be too crazy. Simple decor is the name of the game here, folks.
That about wraps it up! I hope you enjoyed this real life, one room Christmas tour. Maybe one day I'll actually show you the living room itself, ha!

12.01.2015
December 2015 iPhone + Desktop Wallpapers
Happy December y'all! With Thanksgiving behind us, Christmas season is officially in full swing. I love this time of year, even if it tends to be one of the busiest of the year. I love the lights, the Christmas trees (what beats the smell of pine right now?!), decorating, the coziness and all the social gatherings. What I really love though, is the season leading up to Christmas - Advent. For me, it's more than just enjoying the glitz and glamor of the season, it's the anticipation of celebrating the birth of Jesus and the hope that he will one day return to fix the brokenness of this world.
With that in mind, in addition to the normal calendar wallpapers I made for the month of December, I created a wallpaper with a line that's been stuck in my head from one of my favorite Christmas hymns - O Holy Night. The line says, "A thrill of hope, the weary world rejoices," which sums up how I think about Christmas. I already have that wallpaper on my iPhone's lock screen :).
O Holy Night iPhone Wallpaper:
The calendar option is also a fun one: the Christmas lights in silver and gold might be one of my favorite designs for these calendars.
Christmas Lights iPhone Wallpaper:
Each of these wallpapers is also available in a desktop version:
O Holy Night Desktop Wallpaper:
Christmas Lights Desktop Wallpaper
You can download any (or all!) of these freebies by clicking the links below each wallpaper. They will take you to Dropbox and you can grab them there.
I hope you are all enjoying this season so far however you like to celebrate it! We just got our tree up last night and I'm excited to decorate it over the next few days. We picked a fresh Frasier fir from our local hardware store down the street and brought it home on foot. Perhaps carrying it on foot will be a new tradition in this house? Ha!

12.23.2014
Merry Christmas and A Happy New Year!
Merry, merry Christmas to all of y'all! As this year comes to a close, I want to say a big, fat thank you for being a part of this little cozy corner of the Internet May Richer Fuller Be occupies. I love sharing here, and it certainly wouldn't be what it is without you!
I'm heading out today to soak up the rest of this season with family and friends, and I hope you're doing the same. I may pop in sometime next week, but if not, here's to a restful, peaceful and joy-filled time - see you in 2015!

12.17.2014
Flocked Christmas Trees: Yay or Nay?
This season, I've noticed a lot more flocked trees popping up on Christmas home tours and on Pinterest than in past years. Is the flocked tree trending, or is it just me happening to notice it this year?

12.15.2014
Wood Frame & Chicken Wire Christmas Card Holder
It was such a simple project that I didn't take step-by-step photos. Here's how I did it in case you want to make one of your own for all those Christmas cards that are coming in the mail (I received five on Saturday alone, ha!):
- Turn your frame to the backside and cut a piece of chicken wire that fits inside the edges
- Use a staple gun to secure it to the edges of the frame (be sure to pull the chicken wire taut, but not too tight so that it bends it out of shape)
- Flip it back over and hang on the wall.
Here's mine empty (pre-Christmas cards):
And here it is all filled up!
It brings such a smile to my face every time I walk past all those photos. I love receiving Christmas cards from friends and family - it's so fun to see how things change from year to year... and this year's cards included a lot more babies!
So, how do you display your Christmas cards? I've done everything from stick them to the back of the front door to hanging them on a metal tree in the past. I'm excited to have this frame though - I'm sure I'll use it again next Christmas (and for other things during the year!).

12.10.2014
12 Days of Handmade Ornaments {Favorites Edition!}
Happy hump day! I hope you're all having good weeks so far. Remember the 12 Days of Handmade Ornaments series from a couple of weeks ago? (How could you not - it was crazytown around here for those 12 days!) Well I think I've recovered from that awesome madness and had a chance to take a look at each blogger's ornaments as well as the ones Y'ALL linked up here on that last day, and boy there are some talented ornament crafters out there. I decided it was high time to highlight a few of my favorites. Take notes, people. And even if you've already done all your decorating, you can always pin this post for next year :).
I'm a sucker for clean-lined, simple things, and so these wood scrap mini house ornaments from That's My Letter are right up my alley. (Aren't those little red hearts just the perfect touch, too?)
Katie from Baby Your Babies used an Easter egg as a base to make this adorable pine cone ornament.
Pom poms are just the most charming little things - don't you agree? I love this mini wreath that Cristina (of Remodelando la Casa) made out of them.
These yarn ball ornaments from All Things G&D kind of blew my mind. They're awesome! Plus, bonus!, Dusty gives some hints on which glues worked best for making them.
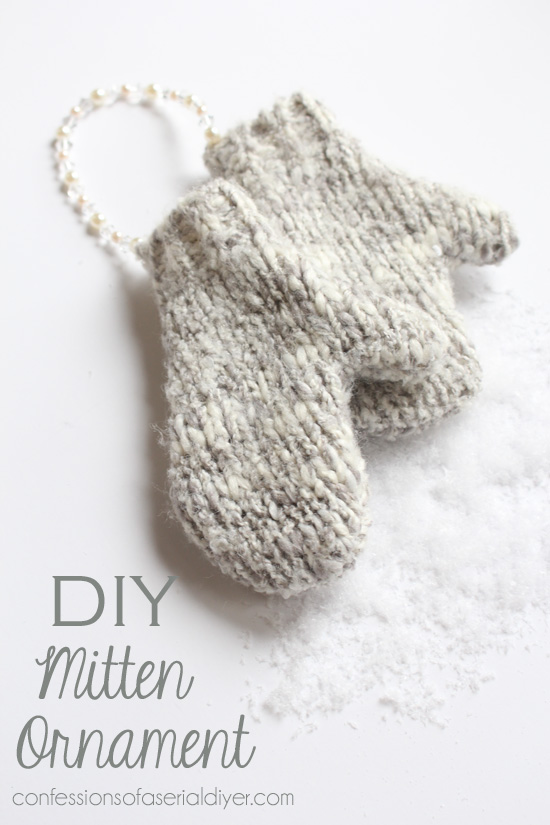
Who wouldn't like a pair of tiny mittens hanging on their tree? And what if you didn't have to knit them? The full tutorial is over on Confessions of a Serial DIYer.
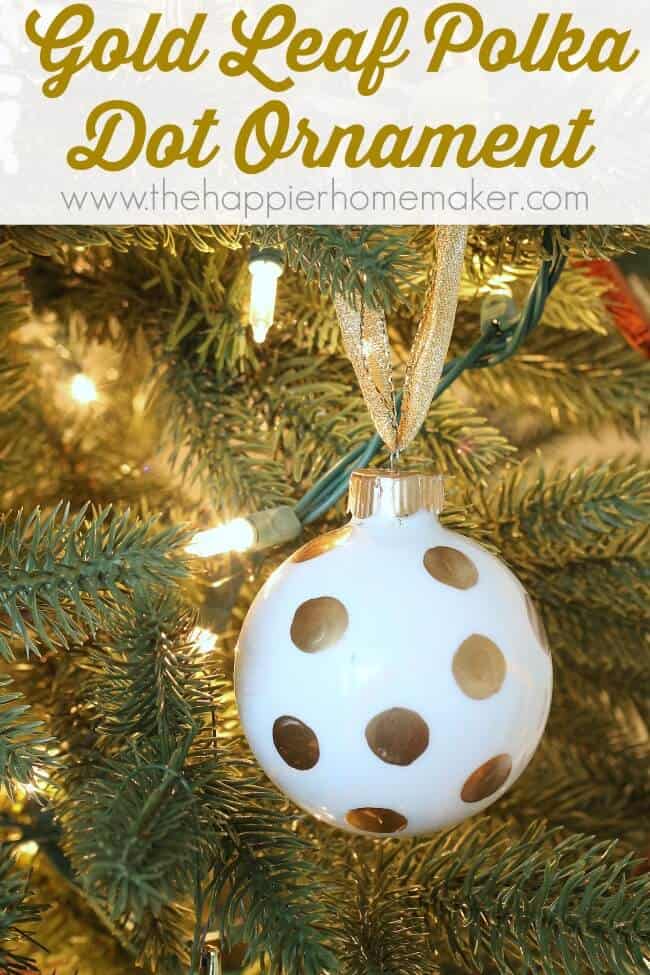
If you need to make a bunch of ornaments, simple is the way to go. A perfect example? This gold-leafed polka dot ornament from The Happier Homemaker.
Lastly, I loved this mini jingle ball wreath from Serendipity Refined. I like the variety of gold bells she used!
Hope y'all found some inspiration here today. Now go forth and craft yourself some ornaments! :)

12.08.2014
Our Christmas Card from Cardstore
While most paper items in our world have gone digital, Christmas cards seem to be holding strong and I for one am glad for it. I love giving and receiving Christmas cards each year. There are so many pretty ones to choose from and if you're a design lover like me, it can be pretty overwhelming to have to pick just one. So when Cardstore approached me to see if I'd like to review one of their Christmas cards this year, I gladly accepted - I was glad to have my options narrowed down for me to one company at least! When I headed over to their site to choose one, I found several that I really liked and had a hard time making a final decision. My favorites (the runners up, if you will) were...
In the end, we settled this very simple Noel Script Overlay card. Since I love our photo so much I wanted to let it speak for itself without too much distraction.
The customization process is simple and gives you several options for fonts, colors and size, which I really appreciated. You can also choose to add additional photos and/or a message on the back for most designs, or leave it blank. Once that was done, all I had to do was checkout and wait for them to arrive in the mail! When we got them a few days later, I was very pleased to find that the printing and paper quality was top notch: the card has a lovely matte finish (nearly always my preference for photos) and the paper is nice and thick.
I opted to have Cardstore send me all the cards to address myself, but did have them print our return address on the envelope to save a step (which is free by the way!). You also have the option for them to address, stamp and send the cards for you, so for those of you who say you don't have time to send them out, here's your solution! No more excuses :). The only extra cost is the cost of the stamp.
Would I order from Cardstore again? Absolutely! They have a variety of designs to fit any taste or occasion, the quality was great, they shipped quickly, and the fact that they'll send them for you is such a fantastic option. Be sure to check them out!
Sooo, do you want to see our card? I did promise I'd show it to you when I shared our little photo shoot from a couple of weeks ago :). Merry Christmas from the three of us!
*Disclosure: I received Christmas cards from Cardstore in exchange for a review of the product. The opinions and assessment expressed here are my own.

12.04.2014
Silver Ornament Advent Calendar {Christmas Traditions Blog Hop}
Happy Thursday y'all! Today I'm participating in a Christmas Traditions blog hop hosted by Rachel from Like a Saturday. If you're hopping over from House by Hoff, welcome!
Christmas is definitely a holiday that lends itself to lots of traditions - and we certainly have a few! One of my favorites is an Advent calendar. When I was a kid, we used to buy those cardboard ones that had a toy or a piece of chocolate behind a numbered door, and I loved it. There was always great excitement about what would be inside those little doors.
As I've gotten older, Advent has come to mean so much more than counting down to Christmas day via chocolates and toys. It's a season of anticipation of Jesus's birth and Christians all over the world participate in this time of waiting for the four weeks leading up to Christmas. I love having a time that's set-apart each year to step back and remember the significance of why we celebrate his birth. If you're curious about this idea or want more information, I encourage you to check out this little booklet that a pastor, John Piper, has put together. This year, I'm using the SheReadsTruth Advent series as a guide as well.
Now back to the tradition of the Advent calendar! This year, I decided to make my own that can be pulled out year after year (new tradition!) using my collection of silver ornaments. My parents gave me a silver ornament each year for Christmas and I thought it would be fun to number them for each day of Advent and then put them up one at a time on our tree.
To make the calendar, I used:
- 2'x3' rug
- Piece of scrap moulding
- Ribbon
- Embroidery floss (and needle)
- Small white paper bags
- Large kraft paper tags
- Pinking shears
- Number stamps
- Gold ink
I picked up this cute cable knit rug from West Elm a few years back and it never found a good place in our home so I decided to use it for this project.
Then I made my "ornament holders" using a kraft paper tag and a small white paper bag.
First I cut down the height of the bags using pinking shears so that the kraft tags would stick up out of the top of them.
Then I tied the ornament to the hole in the kraft tag. Makes for quite a cute little package, huh?
Then it was time to number the bags 1-25 for the calendar.
Once I finished numbering them, I sewed them onto the rug by hand using embroidery floss. To hang the calendar, I attached a big green grosgrain ribbon to the edges of the moulding and hung on a big Command hook I had attached to the wall.
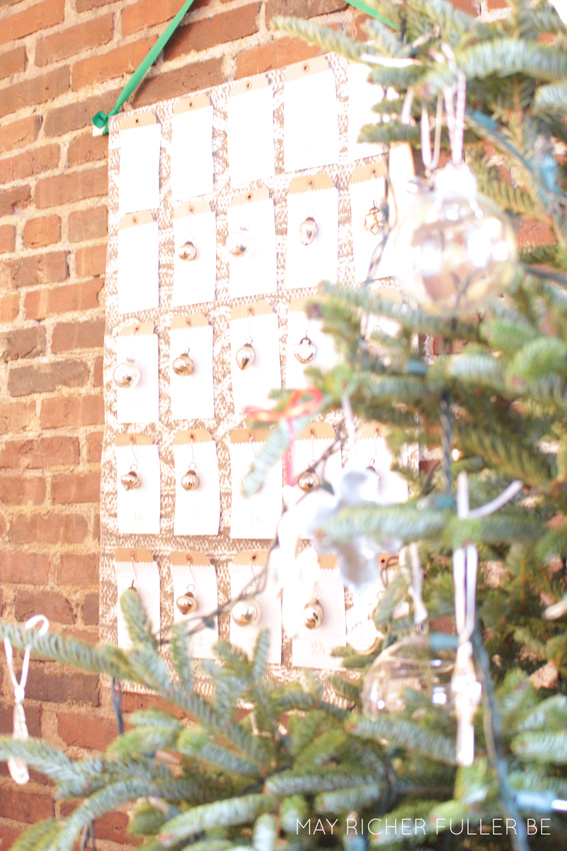
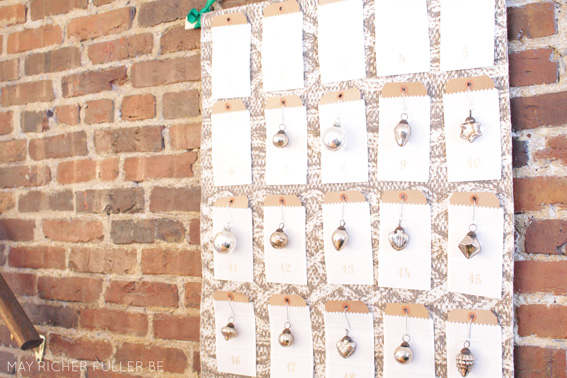
Now for some beauty shots of the finished calendar!
I really love how it turned out! Now all my pretty silver ornaments are out on display until they are removed one-by-one, day-by-day.
You can see where it's hanging in our living room on my Christmas home tour from Monday.

Subscribe to:
Posts (Atom)


