Showing posts with label Etsy shop. Show all posts

2.05.2014

Washington, DC Neighborhood Map Art


I'm really excited to share a new print that's up in my shop with y'all today! It's a piece of typographic art that includes all the neighborhoods of Washington, DC - my current home! My hope this will be the start of a series of prints of many places all across the United States (and maybe the world?). One step at a time... :).

The inspiration for this print came partly from my Richmond Fan District art (also available in the shop!) and partly out of a shirt I bought in St. Barth that had the names of all the beaches and towns on it. I tend to make this kind of art when I'm feeling sentimental about a place, and DC is certainly one of those places. We'll be leaving here in just a few short months to move onto our next adventure (more on that soon). It'll be fun to hang this in our new home as a reminder of the past couple of wonderful years in this city. Our little neighborhood is tucked in there somewhere!
This print is available for instant download in an 8x10 size. It's easy to print at home on 8.5x11 inch card stock, which you can trim to fit an 8x10 frame. It's available in any of the colors you see above, but I can also customize them to be anything you'd like! Just email me at mayricherfullerbe{at}gmail.com or message me on Etsy with your idea.

I printed one myself in the green and blue colorway and added it to my gallery wall. Y'all know I like to switch that art up all the time!


I also love making custom art, so if you'd like one of these that's in the shape of your hometown, state or favorite place, let me know! And if you know anyone who loves DC, please send them on over to my shop - I'd love to get the word out on this print.


Do y'all have any art that represents your hometown or where you currently live? Are you as sentimental about leaving a place as I am when you move?


Pin It!

10.16.2013

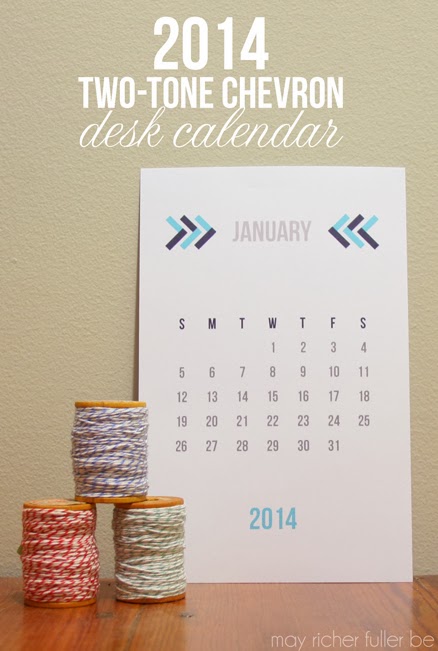
2014 Two-Tone Chevron Desk Calendar {31 Days: Day 16}


For the past 10 months, I've been teaching myself how to use Adobe Illustrator. I'm pretty much in love with this software and the flexibility it gives me when it comes to graphic design. Though I'm certainly no pro, and I know I don't use it to its full potential, I've learned a TON - enough to throw a few items up in my Etsy shop, take on a few graphic design clients and do some pro-bono design work for a couple of my favorite non-profits.

When I was brainstorming ideas for this 31 days series on using and loving what I have, using my graphic design skills to create things I love came to mind as a post idea. I also realized that it's around this time of year that I like to create and launch my annual desk calendar, so that's what I did. Hooray for good timing!

So with that, I present to you my 2014 Two-Tone Chevron Desk Calendar. It's probably my favorite one I've ever created, and best of all, it's super affordable for you to purchase ($10), download instantly and print. It's available right here in my shop.

Here are two sample months (plus you can see January in print form at the top of the post):
With your download, you will receive a six page PDF. There are two months per page, so once you print it, just trim the page in half by measuring 5 1/2 inches in from either side and cut using a paper trimmer or scissors (with a steady hand!), then you'll have all twelve months ready to display!

Here are a few ideas for displaying the calendar:
  • Place it on a small easel (like this one *affiliate link)
  • Punch a hole in the top center and hang from a hook
  • Frame it
  • Hang it on your fridge using a magnetic clip (like this one *affiliate link)
As you know from yesterday's post, I'm all about paper calendars - especially pretty ones. And I may be biased, but I think this one's pretty pretty :). It's simple, clean and modern, and would make a great gift for yourself or a paper-loving friend.

I'm also thinking about making this design into a monthly version. I did that a couple of years ago and people seemed to really like it! What do you think? Would you rather have a desk calendar, monthly calendar, or both?

Head on over to my Etsy shop for more details and buying info!

Read the series from the beginning...


Pin It!

5.02.2013

April Project Round-Up


Quick announcement: The set of 13 vintage kitchen canisters/spice jars I wrote about last week is now up for sale in my shop. If you're interested, or know someone who might be, shoot 'em the link! Thanks!

---------

It's always fun for me to take a look back at the past month and remember all the projects that kept me busy (and creating!). This once-a-month project round-up post is also a great resource to catch up on posts you may have missed. Onetwothree go!

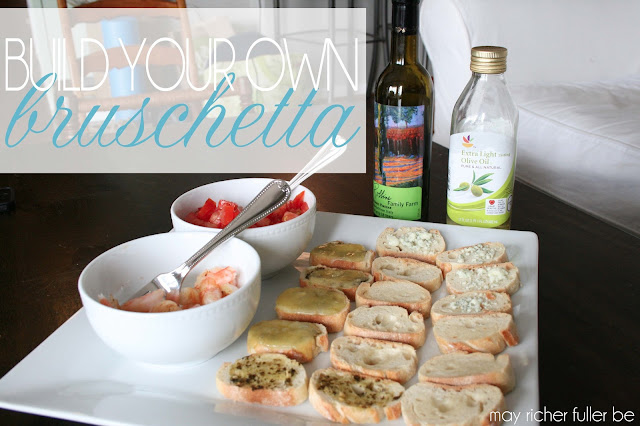
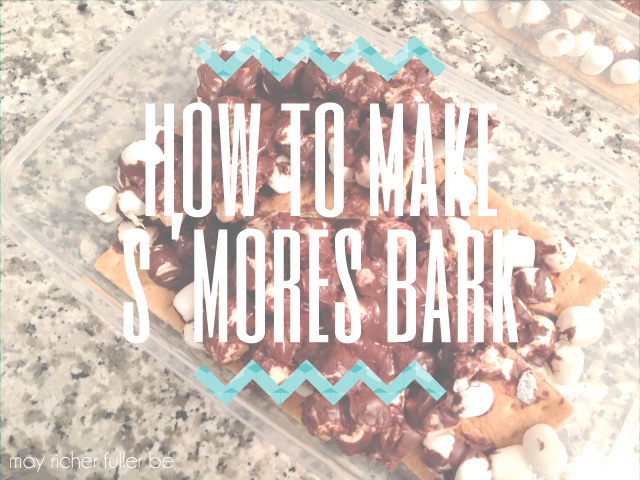
I shared a couple of yummy recipes this month: an easy make-it-yourself bruschetta (perfect party appetizer) and s'mores bark. I've found myself dreaming about that s'mores bark - I'll definitely be making it again soon.


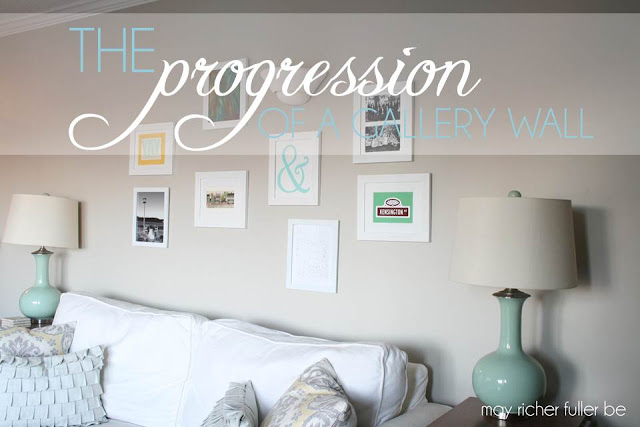
You got a chance to see my living room gallery wall develop and evolve into its current state. I'm really happy with it - so glad to check that project, and its growing pains, off the list!


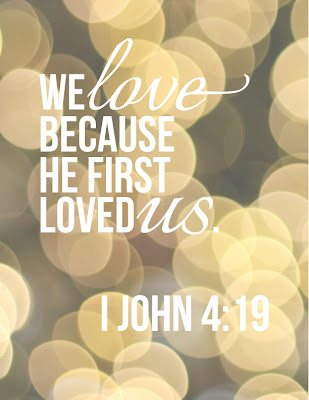
I launched a new print for the shop with one of my favorite verses on it ("We love because he first loved us" - I John 4:19) It's available here if you'd like one for you or as a gift.


This month was "peak bloom time" for D.C.'s cherry blossoms, and I went on a little photo tour of these stunningly beautiful trees. I wish they stayed this pretty forever.


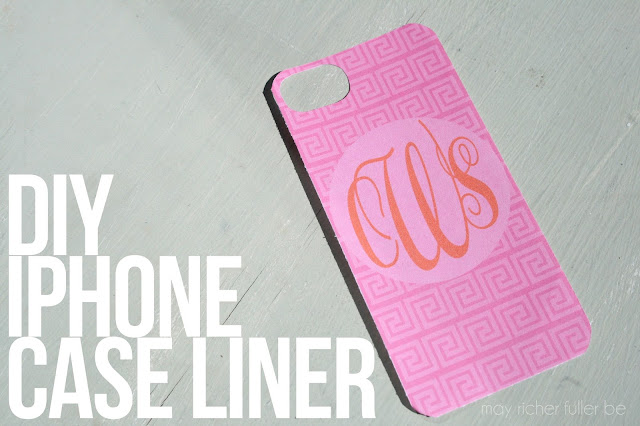
I shared some step-by-step instructions on how to make your own custom iPhone case insert.


Pink and orange seem to be a theme lately since this pleated paper wreath has pink and orange stitching on the pleats. Maybe they just seem like a springy combo?


My outdoor photography tips were by far my most popular April post. I guess y'all are just as into improving your photography as I am!


Since Google Reader is going away come July, I wrote up this super practical post on two alternate feed readers: Bloglovin' and feedly. Feedly fits my needs, but both are great!


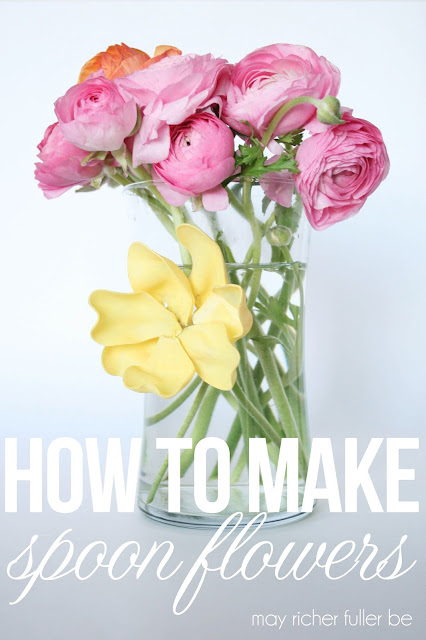
And last, but certainly not least, is my favorite project from last month: how to make spoon flowers. They were so easy and turned out so well!


Before I go, I also wanted to thank some awesome blogs for featuring my posts this month. Many, many thanks to: Apartment Therapy (ahh!), IHeart OrganizingBlissfully Ever After, Tatertots and Jello, Serenity Now, and Dear Creatives.

That wraps up the month of April... hey there May! I've got lots of project ideas up my sleeve, so get ready.

Have a great day!

Pin It!

4.25.2013

German Ceramic Kitchen Canisters

I'm back with another one of my "finds" from my thrifting adventures this past weekend. I spotted this ancient-looking set of ceramic kitchen canisters tucked away in a basement corner of my favorite shop.


There are 13 containers total: six large canisters for flour, sugar, cereal, rice, coffee and tea; and six small spice jars for cloves, nutmeg, cinnamon, pepper, ginger and allspice. Lucky number 13 (the oddball of the group) is the salt box. I realize that it's hard to tell sizes here, but the large canisters are about 8" tall, the spice jars are about 3", and the salt box is around 5".

I was initially attracted to their vintage vibe, and the blue triangle-y (I promise that's a word) border around the lettering. I flipped one of the canisters over to see if there was any manufacturer marking on the bottom, and sure enough, it was marked "Staffel Germany" Dec. 1818.


When I saw the 1818 stamp, I thought - are these really that old? As I started researching, it appears that these ceramic jars were stamped with the month and lot number during production. So I don't think the 1818 refers the year. From what I can tell, these jars were produced sometime between 1900 and 1940 according to Google, Ebay and Etsy (thanks guys!).

Overall, they're in pretty good shape for their age. There are definitely some chips and cracks - especially around the lids, but they'd make a great addition to anybody's kitchen. They'd be charming displayed as a group and super useful for storage.

I'll be adding these to my Etsy shop in the next few days, so consider this a sneak peak at some new additions to the shop. (Yay!) If you're interested in them, let me know and I'll save 'em for you.

Have a great day!

Pin It!

4.08.2013

New Art Print on Etsy: We Love Because He First Loved Us

Good Monday morning to y'all! As you might've read in my March round-up post, I mentioned that now that I've redone the branding for CSW Designs, I'm itching to add a few new things to the shop. This weekend I finished up a shiny new art print that's now for sale in my Etsy shop as a printable.

Take a look...


It's a typographic print with one of my favorite verses from I John: "We love because he first loved us." It's such a simple string of words, yet is so profound, and a great reminder how we have the ability to love others in our lives.

It was semi-inspired by this pretty print I ran across and shared last week in my Lovely Links post.


Those dots of light you see in the background of this print and my print? Those are called "bokeh." I talked about bokeh as a photography effect awhile back, and it was cool to be able to use the effect in a unique way for this print.

You can see that I designed two versions of the print - one with bold, white letters and bokeh as the background, and one with bokeh-filled letters and a white background. I couldn't decide which one I liked best, so I chose to put both up in the shop.

Before you add it to your cart, you'll have the option to choose one or the other. Since it's a printable, you'll receive an email with a high-resolution PDF attached that you can print at home or at your local copy/print center (think FedEx office, for example).

Feel free to comment or email me if you have any questions. Hope you enjoy this new print! You can find it here. If you happen to purchase one and put it up in your home, I'd love to see it.

---------


Pin It!

4.03.2013

March Project Round-Up


Whoa! How did I let the first couple of days of April fly by without taking a look back at March's projects? Well have no fear, the monthly round-up is here. I do this post once a month to try to make it easy for you to go back and catch up on posts you may have missed. Here are January and February's round ups too, in case you want to go way back and catch some of my projects from those months :).

March 1st marked my 100th post (what?! craziness.), and I made some fun, free printables to celebrate the occasion. They're still available for download if you'd like one.

{one of three free printables}

After this happened, I made Jackson a new dog bed using a euro pillow and an envelope-style pillow cover. Thanks to Ting over at DugDug for featuring it on her blog!


I continued Operation {Re}Organization with a few projects this month, including a newly designated craft supplies drawer. So far, the system has worked SO well. I use it all the time, and have really appreciated the easy access and knowing where everything is.


The other area I conquered was the bathroom. I'm so happy to have that done. You can read about the progression of that tiny room including the introduction, the before and organization process, and the best part - the after!


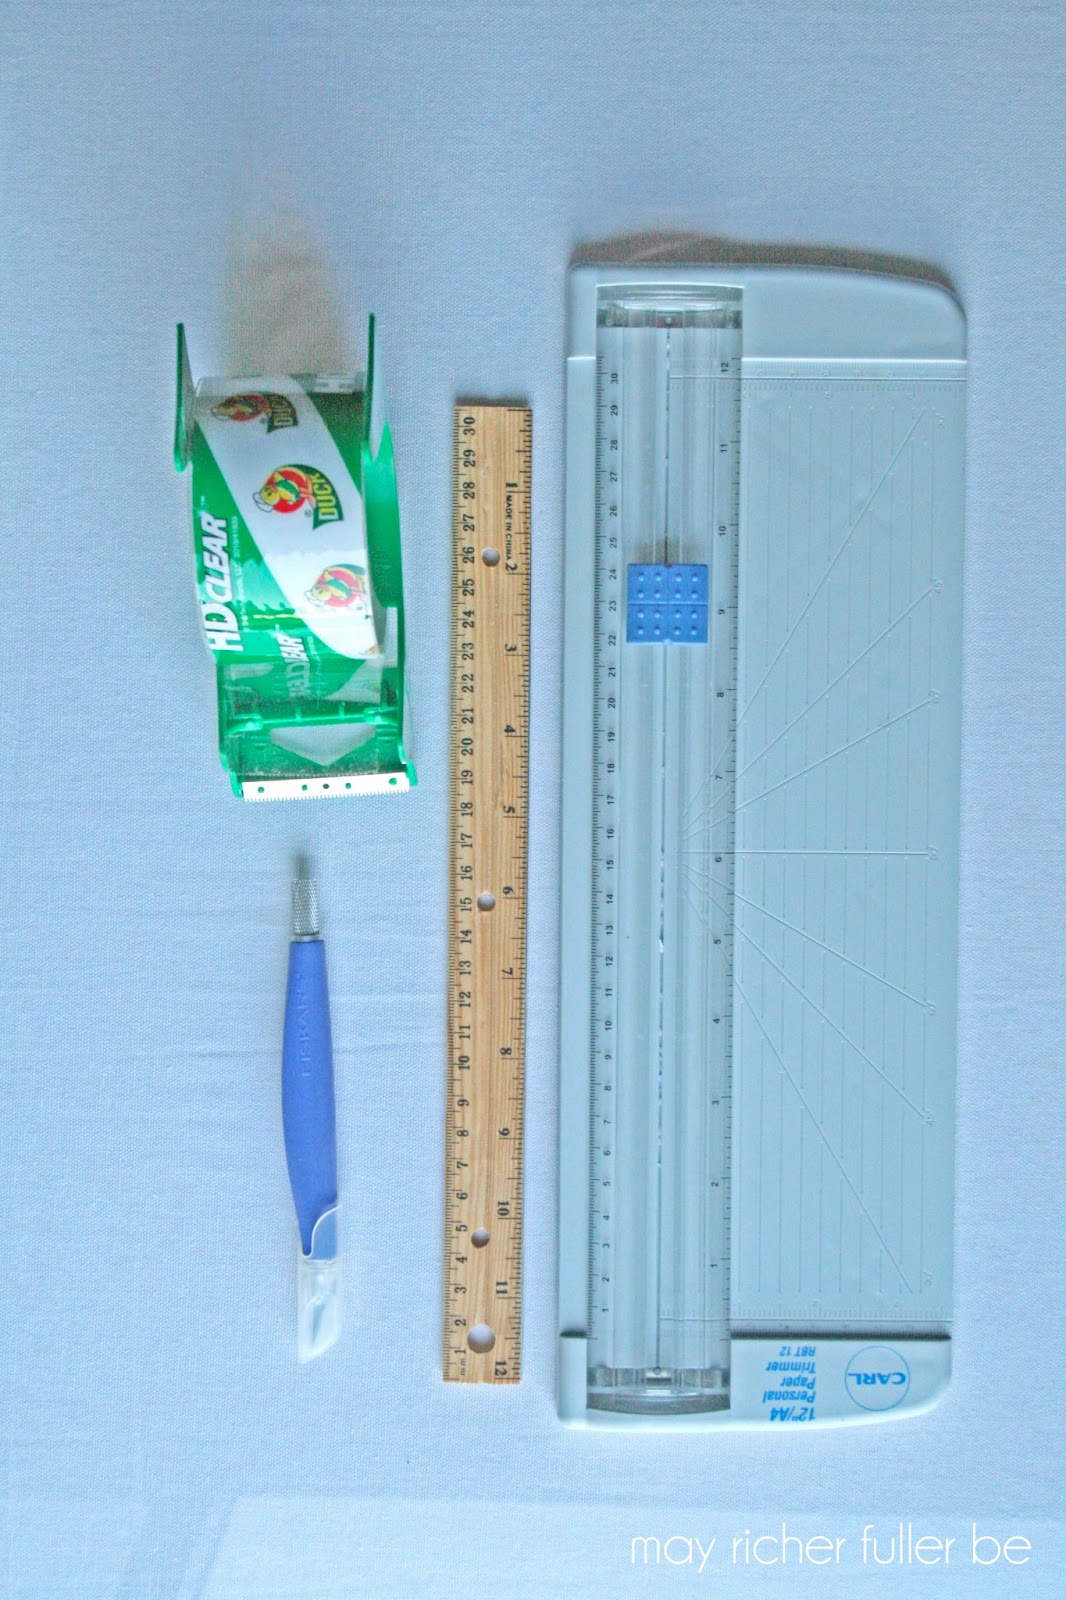
A fun little project from last month was my adventure in laminating some small bookmarks with packing tape. Since most of us probably don't own a laminating machine, including myself, this is a great alternative for small pieces of paper like labels or bookmarks.


May Richer Fuller Be and my Etsy shop (CSW Designs) got a branding makeover - woohoo! I'm hoping to add some new printable items to the shop soon. If you have any requests, let me know!


With a little (ok, a LOT) of help from my father-in-law, we mounted my vintage printing press letters I got at the Barn Sale awhile back.


One of my favorite little crafty projects was this confetti banner that was so easy to put together.


And last, but not least, I shared the hand-painted house sign I made for my parents' river house. The how-to is here, and the story behind the name on the sign is here. That project has a very special place in my heart. Also, thanks to Amanda at Serenity Now for featuring it this week. Such a lovely surprise :).


Hope you enjoyed this edition of the monthly project round-up! Have a great Wednesday.

Pin It!

3.19.2013

Branding Redesign: May Richer Fuller Be & CSW Designs

For awhile now, I've been dreaming up new looks for both May Richer Fuller Be and CSW Designs (my Etsy shop), and finally got a chance to sit down with my creative brain this weekend to make it happen. I rolled out the new blog header and Etsy shop logo on Sunday night, and made a few tweaks yesterday. I think it's done, but I can't promise it won't change again :). If you're reading this on an RSS feed like Google Reader (which is going away - alas!) or an email version, you'll want to click over to the full blog to see the changes.

I had a few goals in mind when it came to the redesign:
  • Have consistent branding across both the blog and the Etsy shop (fonts, colors and style).
  • Keep it simple, but give it a unique look.
  • Use Illustrator (i.e. force myself to continue to learn the software).
  • Add a tagline so that new readers know what I write about and do on this blog (May Richer Fuller Be doesn't exactly scream "design/life/DIY blog"...but that's what it is!).
To show how all the aspects of the new design work together, I made a little "branding board" for both the blog and the Etsy shop.

Here's the one for the blog:


And using many of the same elements above (fulfilling one of my goals - consistency!), here's the branding board for the Etsy shop:


You can click over to the Etsy shop to see the new logo and shop banner "live."

I even threw together a business card for fun. It's not really necessary, but I was already having fun designing all these elements, so I threw that in - we'll see if I ever actually have them made! I guess my shop is technically a business, so it makes sense, sorta, to have a business card?

The part I'm most excited about is the pattern I created in Illustrator to fill the letters in the logos. It's modern and clean-lined, and almost looks glassy (shiny? I can't decide). Super fun. It comes in three of the "theme colors" of the blog. 

You might also notice that the blog background disappeared. The the watercolor-y chevron pattern didn't make the cut, unfortunately, even though I still love it. Since simplicity was the name of the game, I wanted to let the new logo have the spotlight - so out it went. 

My homepage photo got a little face lift too. The border around it is now filled with the same pattern as the letters in the header.

Let's play the before and after game, ok? :) For comparison, here's what the blog header looked like before:


And after:

The Etsy shop logo before (far right on the side bar):


And after:


I certainly don't claim to be a professional graphic designer, but I'm loving this new design. I'd love to know what you think, too, so leave a comment if you'd like (don't be shy!).

Have a great day!

Pin It!

3.05.2013

February Project Round-Up


Man, I can't believe we're already five days into March! Since February is a short month, I'm not being too hard on myself for being a few days late on my monthly project round-up. I was pretty excited about showing you Jackson's new bed yesterday, so I pushed this post back a day. This is a great "catch-up" post if you're new to the blog, or if you missed a project here and there.

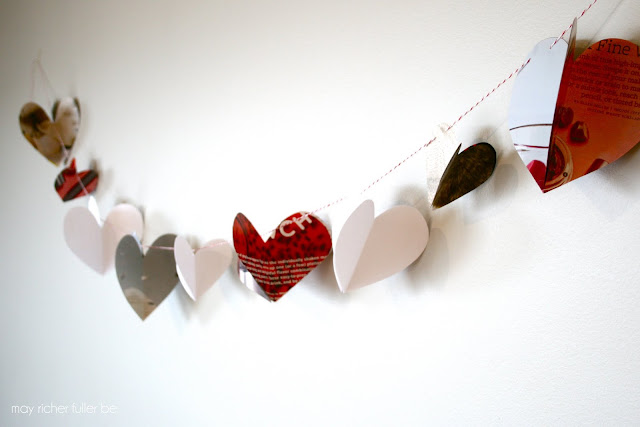
I started off the month with a fun little Valentine's Day project - a recycled magazine page heart garland.


The Richmond Fan District art print made its debut (and is for sale in my Etsy shop).

Operation {Re}Organization continued on... and this month I tackled parts of the kitchen. The "pantry" areas were my main target. You can track the progression in these three posts: the plan and inspiration, before and a tiny bit of progress, and after!

{part of the reorganized pantry cabinet}

And what's a pantry makeover without some pretty labels to go with it? As you can see in the photo above, I whipped up some printable pantry labels to go on the reusable containers that house our "staple" foods.


I finally got to participate in a Pinterest Challenge for the first time this month! I customized a magnetic fridge organizer to help keep our incoming mail, coupons and grocery lists organized. There are sooo many awesome projects linked up to the Pinterest Challenge host pages - definitely check them out if you haven't had a chance. (Grab a cup of coffee, start over at Young House Love, and prepared to get lost for awhile...)


Lastly, I walked through some of the updates I've made recently on the blog. These included ways to navigate the blog, find posts on a particular topic, how to pin from a post, etc., and you might notice a few cosmetic changes, too. I'm always scheming up more ways to change things up though, so watch out for more in the coming months!

{one of many blog updates}


So that's February in a nutshell y'all! Thanks, as always, for reading :).

Pin It!
Related Posts Plugin for WordPress, Blogger...
Blogging tips