Showing posts with label Advent. Show all posts

12.10.2015

One Room Christmas Tour


Have y'all been enjoying the Christmas tours that have been popping up all over blogland recently? (I have!) I'm so incredibly impressed with these women - and a few men! - who have transformed their homes so beautifully and really set the bar high for Christmas decor. And while I wanted to join these bloggers this year, it just wasn't realistic with moving less than a month ago and continuously trying to get house projects done. I had to let that idea go. 

But!

I was determined to at least get a tree up, decorate it, and add a few other festive touches around our home. Though it's nowhere near magazine-worthy, I figured it was probably more like what most "normal" homes look like around Christmastime, so maybe y'all can relate :). I'm calling this my "one room Christmas tour" because it's really that, and just barely! The house isn't quite ready for its closeup, so you'll see bits of the living room, but there will be more to come in the future - promise.

Welcome, and come on into our perfectly imperfect home!


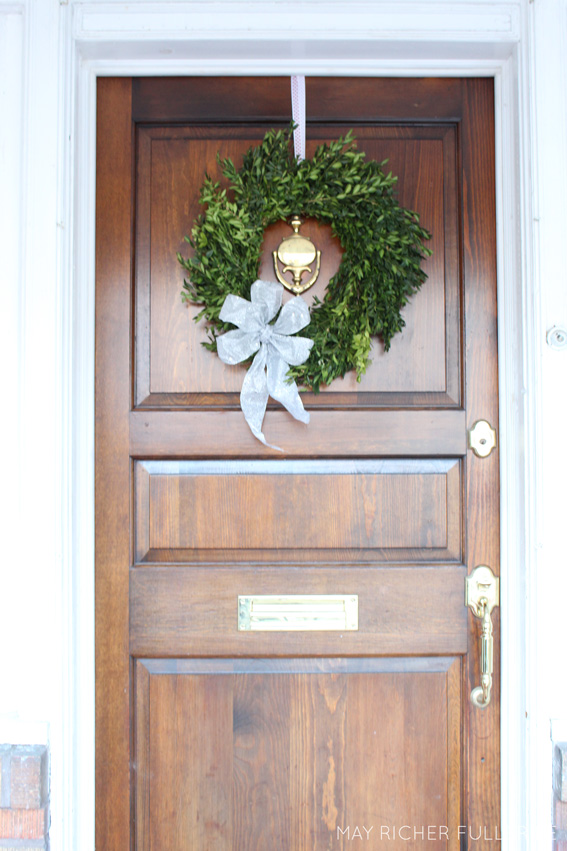
I love boxwood wreaths, and when I spotted them at Trader Joe's I couldn't resist grabbing one for our front door. A big silver bow was all it needed to look festive.

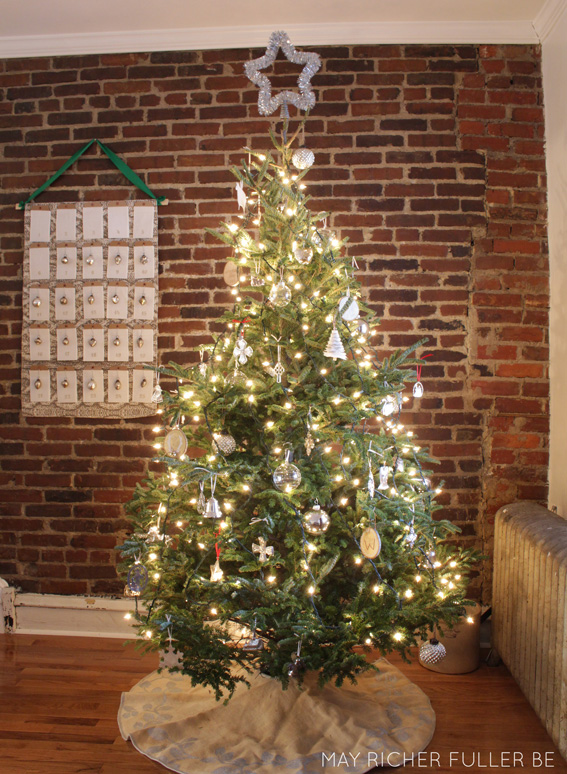
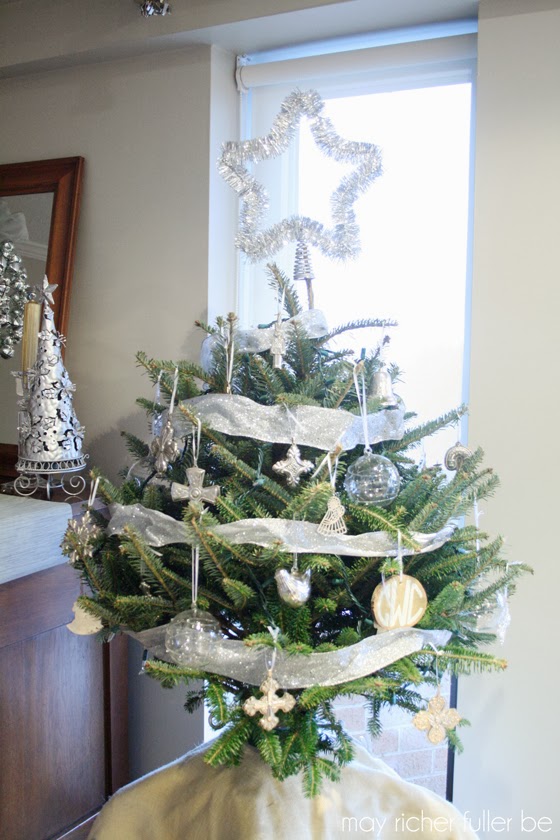
Just inside the front door is our Christmas tree. We picked up this Frasier Fir at our local Ace Hardware store and walked it home - yes, walked it home! Ah, city living...how I love you. Walking our Christmas tree home may just be a new tradition in this house.


I like it in the daylight, but the magic really happens when it's dark and the lights are on.


Ooo...the glow!

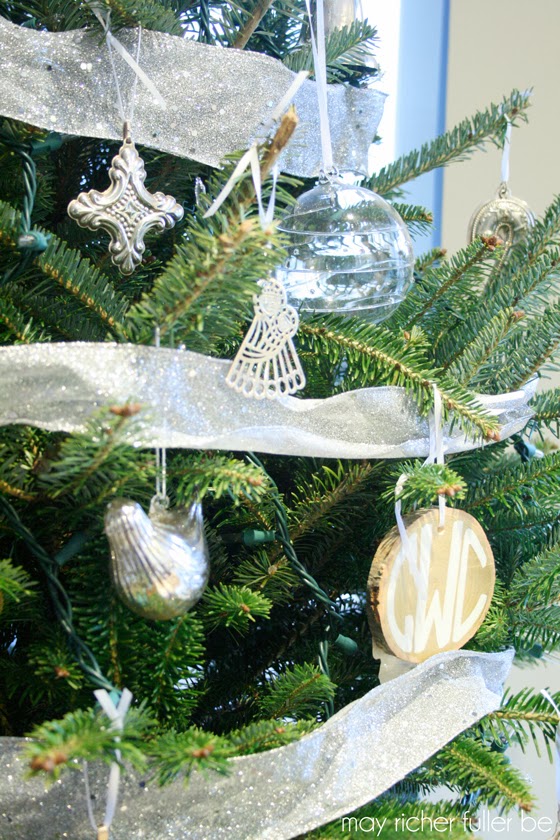
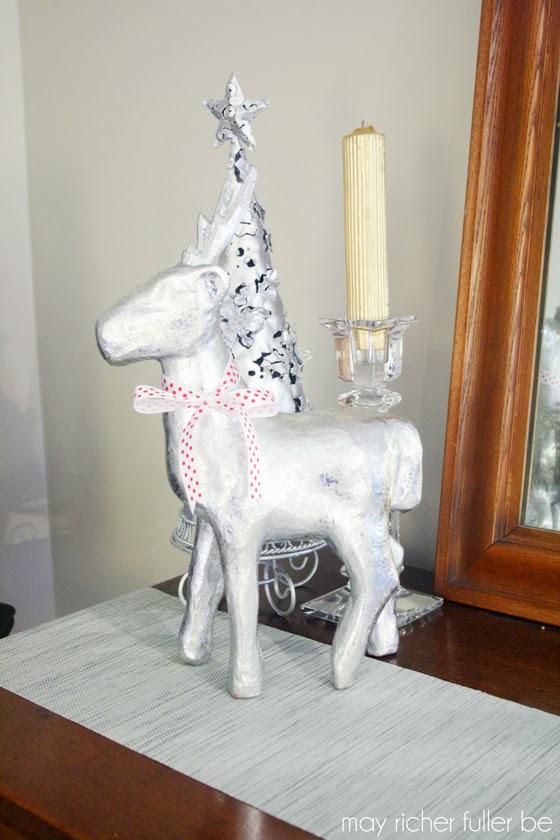
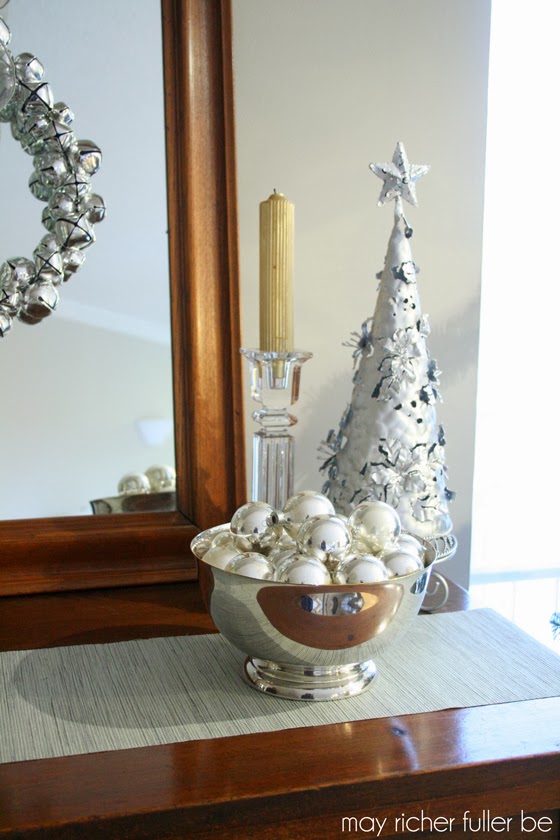
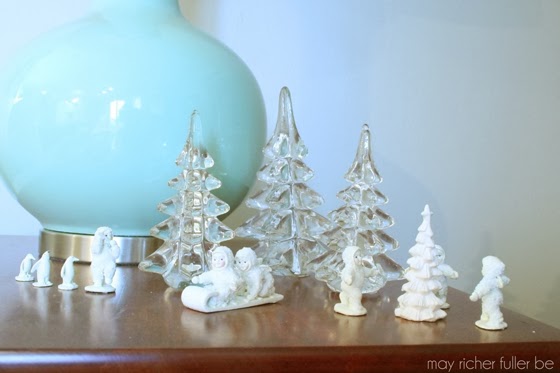
I kept the decor really simple this year - silver, glass and a few wood slice ornaments. Last year I participated in a 12 days of handmade ornaments blog hop and many of those made it onto the tree this year, including two of my favorites: the reindeer antler wood slice ornament and the gold glitter and white felt Christmas tree. You can check out that whole series by starting with this post.

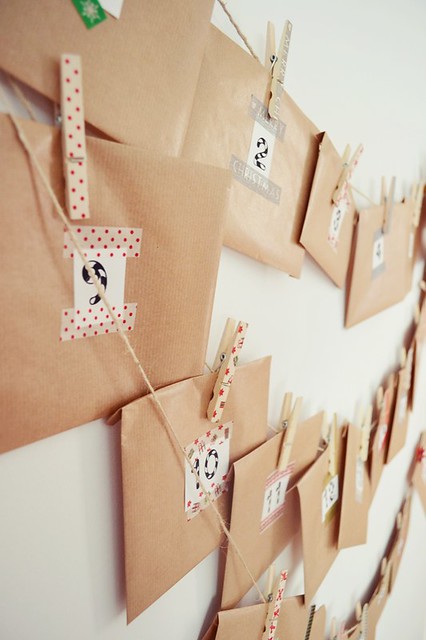
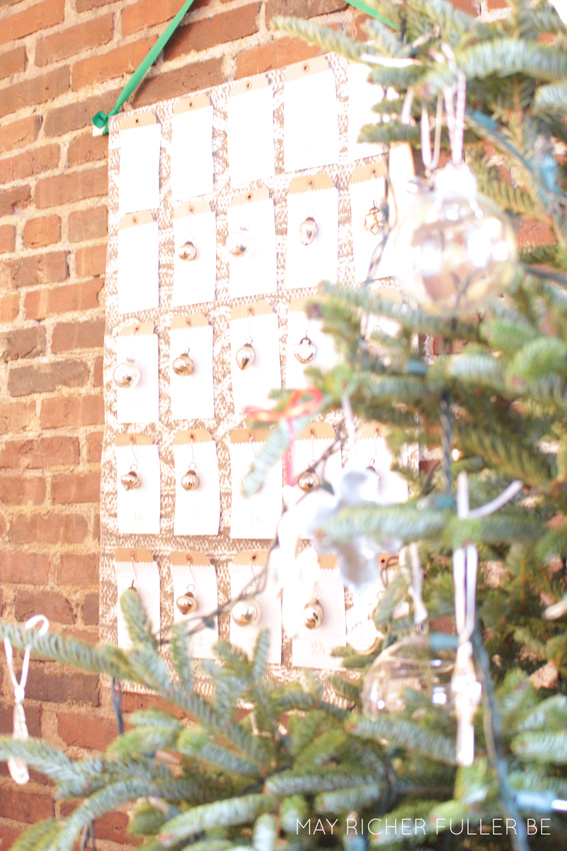
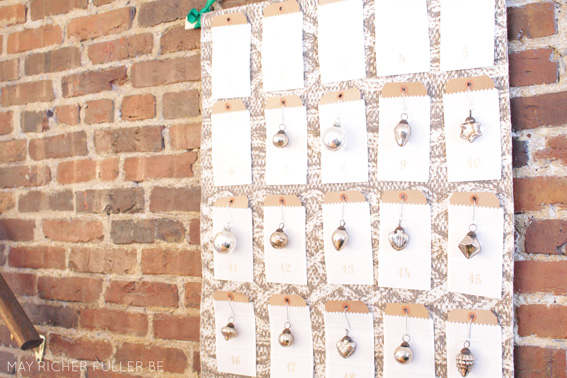
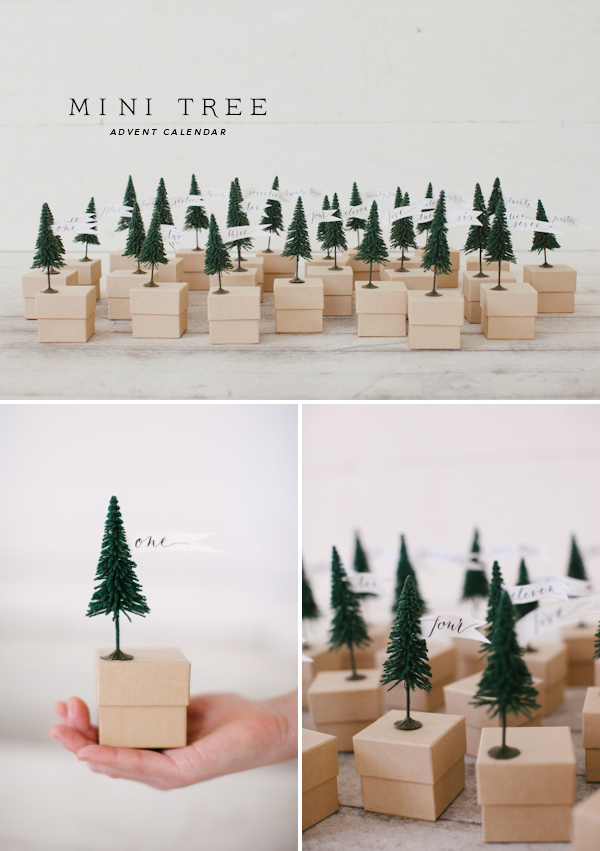
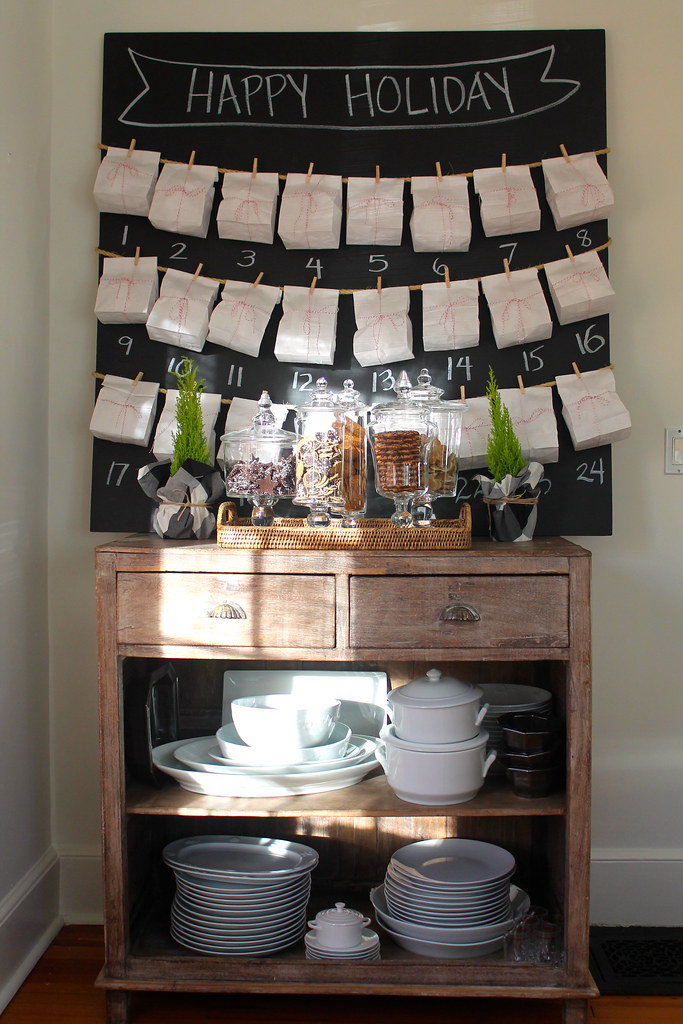
Just behind the tree, you might have spotted my DIY Advent calendar I made last year. I love it up against that brick wall!


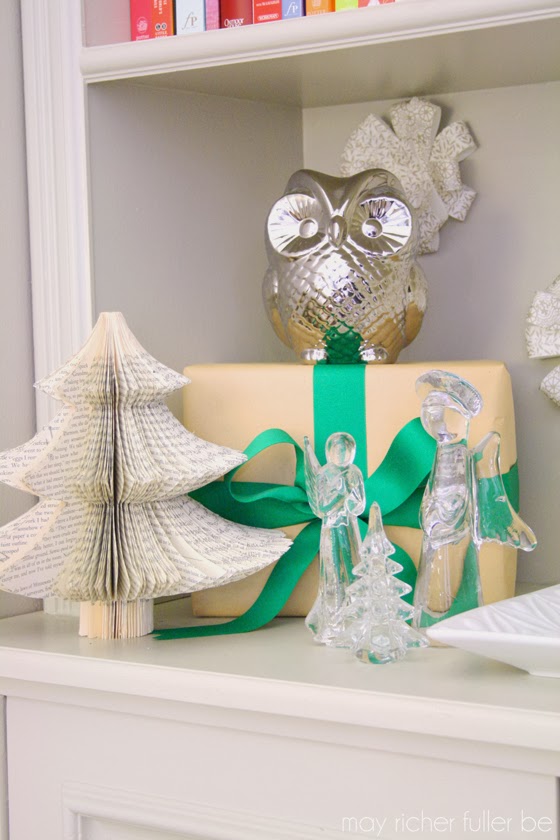
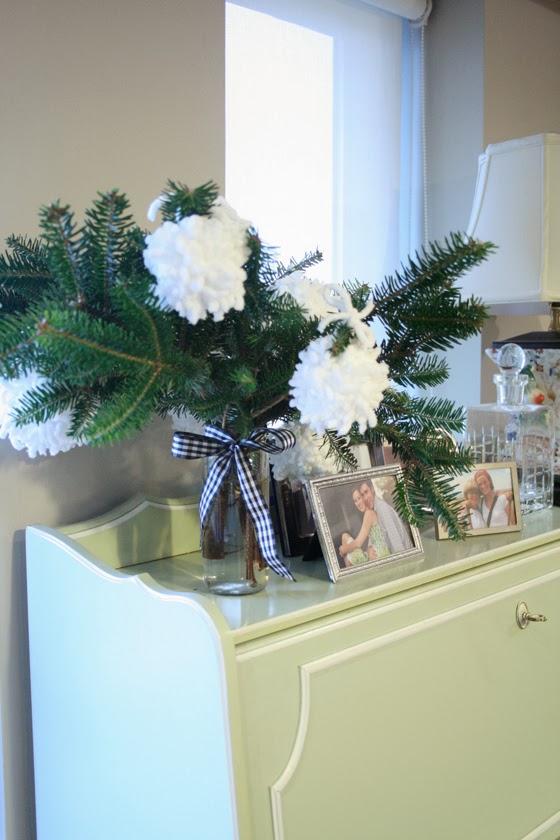
Lastly, jumping over to the other side of the room, I stuck a few items on a shelving unit you might remember seeing in our second bathroom in the last house. There, we used it to hide a gross bidet...if you're curious about that story, it's over here, ha!


Silver and white (plus natural green stuff!) seems to be the theme this year. I love that it looks Christmasy without be too crazy. Simple decor is the name of the game here, folks. 

That about wraps it up! I hope you enjoyed this real life, one room Christmas tour. Maybe one day I'll actually show you the living room itself, ha!


Enjoy what you read today?  Enter your email address below to subscribe to May Richer Fuller Be!  Delivered by FeedBurner

Pin It!

12.04.2014

Silver Ornament Advent Calendar {Christmas Traditions Blog Hop}


Happy Thursday y'all! Today I'm participating in a Christmas Traditions blog hop hosted by Rachel from Like a Saturday. If you're hopping over from House by Hoff, welcome!


Christmas is definitely a holiday that lends itself to lots of traditions - and we certainly have a few! One of my favorites is an Advent calendar. When I was a kid, we used to buy those cardboard ones that had a toy or a piece of chocolate behind a numbered door, and I loved it. There was always great excitement about what would be inside those little doors. 

As I've gotten older, Advent has come to mean so much more than counting down to Christmas day via chocolates and toys. It's a season of anticipation of Jesus's birth and Christians all over the world participate in this time of waiting for the four weeks leading up to Christmas. I love having a time that's set-apart each year to step back and remember the significance of why we celebrate his birth. If you're curious about this idea or want more information, I encourage you to check out this little booklet that a pastor, John Piper, has put together. This year, I'm using the SheReadsTruth Advent series as a guide as well.

Now back to the tradition of the Advent calendar! This year, I decided to make my own that can be pulled out year after year (new tradition!) using my collection of silver ornaments. My parents gave me a silver ornament each year for Christmas and I thought it would be fun to number them for each day of Advent and then put them up one at a time on our tree.

To make the calendar, I used:
  • 2'x3' rug
  • Piece of scrap moulding
  • Ribbon
  • Embroidery floss (and needle)
  • Small white paper bags
  • Large kraft paper tags
  • Pinking shears
  • Number stamps
  • Gold ink
I picked up this cute cable knit rug from West Elm a few years back and it never found a good place in our home so I decided to use it for this project.


I secured a piece of scrap moulding along what would become the top using a few stitches. They're hard to see here since I used white embroidery floss, but I just alternated long straight stitches with stitches over the top. Using a piece of moulding allows this calendar to hang like a tapestry on the wall. You'll see how in a minute :).


Then I made my "ornament holders" using a kraft paper tag and a small white paper bag.


First I cut down the height of the bags using pinking shears so that the kraft tags would stick up out of the top of them.


Then I tied the ornament to the hole in the kraft tag. Makes for quite a cute little package, huh?


Then it was time to number the bags 1-25 for the calendar.


Once I finished numbering them, I sewed them onto the rug by hand using embroidery floss. To hang the calendar, I attached a big green grosgrain ribbon to the edges of the moulding and hung on a big Command hook I had attached to the wall.

Now for some beauty shots of the finished calendar!


I really love how it turned out! Now all my pretty silver ornaments are out on display until they are removed one-by-one, day-by-day.


You can see where it's hanging in our living room on my Christmas home tour from Monday.


Thanks for hopping over to hear about one of my favorite Christmas traditions today! Now it's time to hop on over to Run to Radiance and hear about hers!


Pin It!

12.09.2013

"Little Bit of Christmas" Home Tour

I've had so much fun adding little touches of Christmas to our tiny apartment over the past week or so. We don't have a whole lotta space to work with over here - I try not to go too crazy with decorating so it doesn't get claustrophobic! I find I'm living vicariously through other bloggers' homes who have the space to really decorate, but I'm completely content with the "little bit of Christmas" that's going on in our abode.

I kept the theme simple this year by using primarily silver and clear glass with bits of green and "natural"thrown in as well, so come on in! I'll show you around :).

This year, I decided I'd stick all our Christmas cards up on the back of our front door surrounding this dipped pine cone wreath I made - a tutorial for that is coming up soon on another blog! I'll be sure to share when it goes live.


Love getting Christmas cards! Babies and pregnancy announcements seem to be theme so far :).

Speaking of babies, let's start with my favorite little area of our living room where the baby tree lives.


My parents started giving me silver ornaments every year for Christmas when I was little, and I totally didn't appreciate it at the time, but now I love them and am so glad I have them! They're the majority of the ornaments you see.


I picked up the glass ball ornaments at Crate and Barrel Outlet after Christmas two years ago - I wish I could find more! They're so elegant and simple. The monogrammed wood slice ornament is the only non-silver/non-glass ornament on the tree, but I love it, so I don't care if it's the odd man out :).

Onto the next area!

Since we don't have a fireplace or a mantle, I like to change up what lives on the top of our big ole jelly cupboard seasonally. This time I went almost monosilverchromatic (that's definitely a word...).


The jingle bell wreath was a hand-me-down from my parents. I love how cheerful it is. The metal Christmas trees used to look quite different before I got my spray-painting hands on them. You can read about their transformation in this post from last year. I picked up that cute reindeer at a thrift store and all I did to him was put a red and white ribbon on him. He just looked like he needed a scarf, you know?


The small silver ball ornaments were my grandparents'. They're definitely vintage - I still have the original box them came in! Including those in my Christmas decor is a good reminder of them and makes me miss 'em.


Just to the left of the jelly cupboard is the built-in bookshelf where I cleared out the bottom shelf and replaced it with some Christmas decor.


I made the Christmas tree out of an old book a month or so ago. I don't have a tutorial for it, but I was thinking about making another one, so if you're interested, let me know and I'll take some photos to show the process!

The paper bows stuck onto the back of the bookshelf are the same ones I made last year. I held onto them thinking I could use them elsewhere, and I found a great place for them this year!


If you turn back around to your left, you'll see the gallery wall. Not much has changed there, but I put up my festive-looking book page garland and added a little piece of gold typographic art to a frame on the right side.


The piece has a line from God Rest Ye Merry Gentlemen that I've had stuck in my head for some reason. "Tidings of comfort and joy" really captures the feeling of this season to me, so I thought I'd paint it onto a little canvas. I used the Martha Stewart Multi-Surface Craft paint I raved about in this post again for this - good stuff I tell you!


On one of the side tables next to the sofa, I set up a little snowy scene using these tiny snowbabies (another hand-me-down from my parents) and glass Christmas trees. Aren't they sweet?


The last Christmas touch is made up of some tree cuttings (from limbing up our baby tree) that I stuck in a jar. I tied some yarn pom poms onto the branches and am loving it. I thought it might look silly, but I actually think it's adorable! More to come on that little project soon.


I think that about wraps it up for my "Little Bit of Christmas" home tour - hope you enjoyed a little peek of how I've decorated our home for the season! What have you been doing to decorate?

---------


Pin It!

12.02.2013

Transitioning into the Christmas Season

{BHG}

I hope y'all had wonderful Thanksgivings! We had the most gloriously relaxing weekend with my husband's family nestled in the foothills of the Blue Ridge mountains of Virginia. We ate plenty, hung out on the couch for extended periods of time, watched a lot of football (including the most exciting victory for my beloved Auburn Tigers - I may have lost a few years off of my life during that game), and spent some time on a few creative endeavors. It was wonderful!

And now it's December 2nd, which means it's time to transition from Thanksgiving to Christmas, one of the most wonderful stretches of the year in my opinion. I love the season most of all because of Advent - preparing for Jesus's birth - and I'm loving using my Advent calendar to help me focus on that, but I must say that I also love the explosion of creativity that comes with it. I've been working on a few Christmas-related projects that I can't wait to share with you, and I'm also guest posting in a couple of places this month (I'll be sure to let you know when those go live!). 

We picked up a baby Christmas tree last night (I'm hoping we don't have a repeat of last year's tree experience), and I'm slowly starting to decorate our apartment. I'll have some photos to share soon. I don't have a plan entirely laid out for decorating our little place, but just having the tree up is exciting! I can't get over the smell that comes with the tree. It's amazing! I'm thinking I'll be sticking with a lot of traditional elements, pretty greenery and shiny things :). 

Please welcome our baby tree to the blog:


See, told you it was a baby tree! As much as I love a big, full-size tree, last year was such a disaster that I think I'll wait until we're not in a tiny apartment to get a normal-sized tree. Don't worry though, I've got big plans for this little guy.

That's about all I've got for you today...I'm easing my way into this week. It's so hard to come back to "real life" from a relaxing vacation and I also start my new job today, so there's lots going on over here! I've got some really fun crafts to share with you that I worked on over Thanksgiving weekend, and I'll be back with the first one tomorrow. 

Here's a preview:


Can you guess what those pretty glass ornaments are filled with?

Come back tomorrow for details! ;)

P.S. My 2014 Two-Tone Chevron Calendar is a part of an AWESOME Etsy bundle giveaway that's happening this week on Nap-Time Creations. Go enter! 


Pin It!

11.21.2013

10 Beautiful DIY Advent Calendars


Like I said yesterday, I love the season of Advent. I also love creativity, so I love funneling my creativity into making an Advent calendar each year. If you're also a creative type (or even if you're not!), I bet you're going to love some of these Advent calendars. Here are __ of my favorites from around the web. Enjoy - and go get creative before December 1st rolls around!

1 | La Maison de Lou Lou


8 | Little Muna


9 | Nuvo Nova (Etsy shop) - you could DIY these too!


10 | Inspired to Share


Inspired now? Go out and get creative! Or, make it easy on yourself and shop one of these cute ones below*!


*Note: some or all of the links are affiliate links, which means that I may make a small commission off of your purchase (at no cost to you). Thanks for supporting May Richer Fuller Be in this way!

Pin It!
Related Posts Plugin for WordPress, Blogger...
Blogging tips