


Happy Monday! Who's ready for another fun fabric project?
I whipped up some felt and fabric coasters this weekend using some more remnant fabric from my nice little stockpile. This project is perfect for those little scraps of fabric you have left over from other projects, but aren't ready to toss quite yet. If you have some very basic sewing skills, you can handle this project :). The felt works well as a base for these coasters since it'll prevent condensation and moisture from seeping through, and the fabric is just a little bit of pretty!
Supplies needed (for six coasters):
- One 9"x12" piece of felt
- Piece of fabric (enough to cut six small squares out of)
- Scissors
- Small piece of painter's tape or masking tape
- Square coaster or cardboard template
- Sewing machine
- Thread

For this project, I used a piece of gold and white painterly fabric I picked up at Crate and Barrel outlet a few months ago and some felt leftover from the bird silhouette pillow I shared with you last week. I love the fun, festive feeling a piece of metallic fabric brings to the table - literally and figuratively ;). These would definitely fit right in with Christmas decor, but it's way too early to be thinking about that!
The first step to making these coasters is to use a square template to cut out six identical pieces of felt. I used a plastic coaster I had to do this step, but you could easily create a square template out of cardboard if you don't have a coaster laying around. I didn't use a pen trace the shape, but placed the coaster on the felt and cut around it. (I might've been a little lazy on this part.)

To help me stay on track with my scissoring, I put a small piece of painter's tape on the coaster and stuck it to the felt.


Once I finished cutting six felt squares out, I repeated the same step with the fabric, but cut the fabric squares a tad smaller than the felt. I'll explain more on that in a sec.

Then I got to sewing. I used a zig zag stitch around the perimeter to attach the fabric to the felt. The reason I cut the fabric squares slightly smaller that the felt squares was because I wanted the zig zag stitch to extend past the edge of the fabric to minimize edge-fraying.
I sewed continuously around all four sides making sure to backstitch at the ends to keep the thread from unraveling. Once done, the coaster looks a little something like this:

The zig zag is pretty snazzy looking on the gold fabric, huh?
I made six all together, and love how they turned out. Since I cut squares randomly out of the fabric, they're all a little different, which I think is really fun! They look kind of West Elm-ish or Anthropologie-ish to me, but probably cost about a dollar to make all together. Plus, I had everything on hand, which was handy!

I made these as a gift for some friends of ours we stayed with recently - can't wait to stick them in the mail for them! They'd make a great gift for lots of occasions (Housewarming? Christmas gift for neighbors? Party hostess? The list could go on...). Who wouldn't love a pretty set of coasters - especially a handmade set? Pair this with a bottle of wine and you've got a great present on your hands.
Stick a bow on it and you're done!
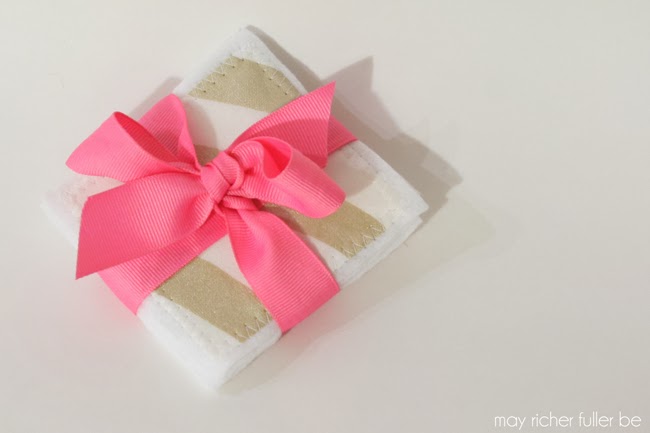
So who's ready to whip up a set of these now? I'm definitely going to be making more sets of these in the future!
Read the series from the beginning...

Read the series from the beginning...
linking up to: Primitive and Proper, DIY Showoff, Rain on a Tin Roof, Home Stories A to Z, Uncommon Designs, If It's Not Baroque, Liz Marie Blog, Blissfully Ever After,Design, Dining and Diapers, Crafty Scrappy Happy, Craftberry Bush, The Shabby Creek Cottage, Tatertots and Jello, Serenity Now, It’s Overflowing, House of Rose, Love of Family and Home, Dear Creatives, Madigan Made, First Home...Love Life, Simply Dream and Create,Whipperberry, Sparkles and A Stove, Making Home Base, Naptime Creations, Southern Hospitality, Remodelaholic, Living Well Spending Less


