Sometimes it's the little things in life that bring the most happiness. In this case, it was a bit of washi tape that did the trick. I'll get to that in a minute.
I spent a good chunk of last Saturday morning pawing through our important papers in an effort to get things sorted and organized into a usable file system. Over the past couple of years, our filing system has essentially been non-existent. As in, the only "system" in place was a brown envelope labeled "Important Life Documents" - how's that for vague?! Although it did the trick in terms of keeping things like our birth and marriage certificates in one place, I was constantly afraid that one little envelope would somehow get lost in the proverbial shuffle. I knew this needed to change, but I was lacking some serious motivation to get it done. Finally, inspiration came in the form of a
challenge proposed by Jen over at
IHeart Organizing.
And I love a good challenge. Competitive much? She challenged her readers to get their home offices organized during the month of January, so that's been my focus for the last 30 days-ish. The last project for this month was getting our important papers filed away, and here I am to share that with you today!
Lucky for you, I will not be going over the actual filing process in detail. The basics of what I did go a little something like this:
retrieve all pertinent documents from their disheveled hiding places,
throw out unnecessary or outdated papers,
sort pertinent documents into piles of similar content,
place each pile of similar content into a hanging file folder, and
hang file folder in pretty filing box. See? Easy as 1, 2, 3...4, 5. Now that everything was neatly filed, the fun part began - labeling!
I wanted to make the labels fun, since filing itself is totally lame. Inspiration for this came, again, from Jen at IHeart Organizing
(dang, Jen, you're so good at this stuff!). She used washi tape to label her files, and I wrote about that
here. I added my own spin on it since I used hanging files instead of regular folders. Here's how I did it:
Supplies needed:
- Hanging file folders
- Clear tabs and paper labels that come with hanging files (do those actually have a name?)
- Roll of washi tape
- Scissors
- Sharpie
I used gold polka dot washi tape and a green sharpie for my labels. The green background you see in the photo below is actually the top of my filing box. I'll show you the box at the end.
Start by unrolling your washi tape so enough of the tape is exposed to cover your paper label. Align the tape to the top of the label and press down to make it stick. Clip the end off of the tape and fold the excess onto the back of the label. You can trim it right at the edge, but I found it easier to leave a little extra and fold it over. Less frustration and faster when you have to make 10+ of these.
Forgive my strange-looking hand position here - it was hard to take a photo and hold this at the same time!
I figured out that the quickest method to mass produce these is to place the washi tape onto all the labels at one time, then cut in-between them and fold any extra tape over the edges. I ended up with a little "label train" before clipping them apart.
Once I added the tape, clipped the labels apart, and folded the extra tape over the edge, I ended up with these:
I used my sharpie to label them with the respective file names, and placed them in their plastic tabs.
Side note: I had to use a sharpie because a regular pen or marker didn't work well on the tape's surface. If you want to do this project, test out your writing implement on a small extra piece of your tape before going to town on your real labels.
Here's my set of completed labels ready to go onto the hanging files.
{that label says "genetic counseling" - my day job - don't think I've shared that before?}
For the final step, I slipped the plastic tabs into the pre-made slots on the inside of each file. I chose to center them so that I can easily add more files and keep the alphabetical order intact. Because the tabs are angled, even with some overlap, they're still easy to read.
Filing complete! I'm so glad I've checked that off my organizational list, and made it pretty to boot!
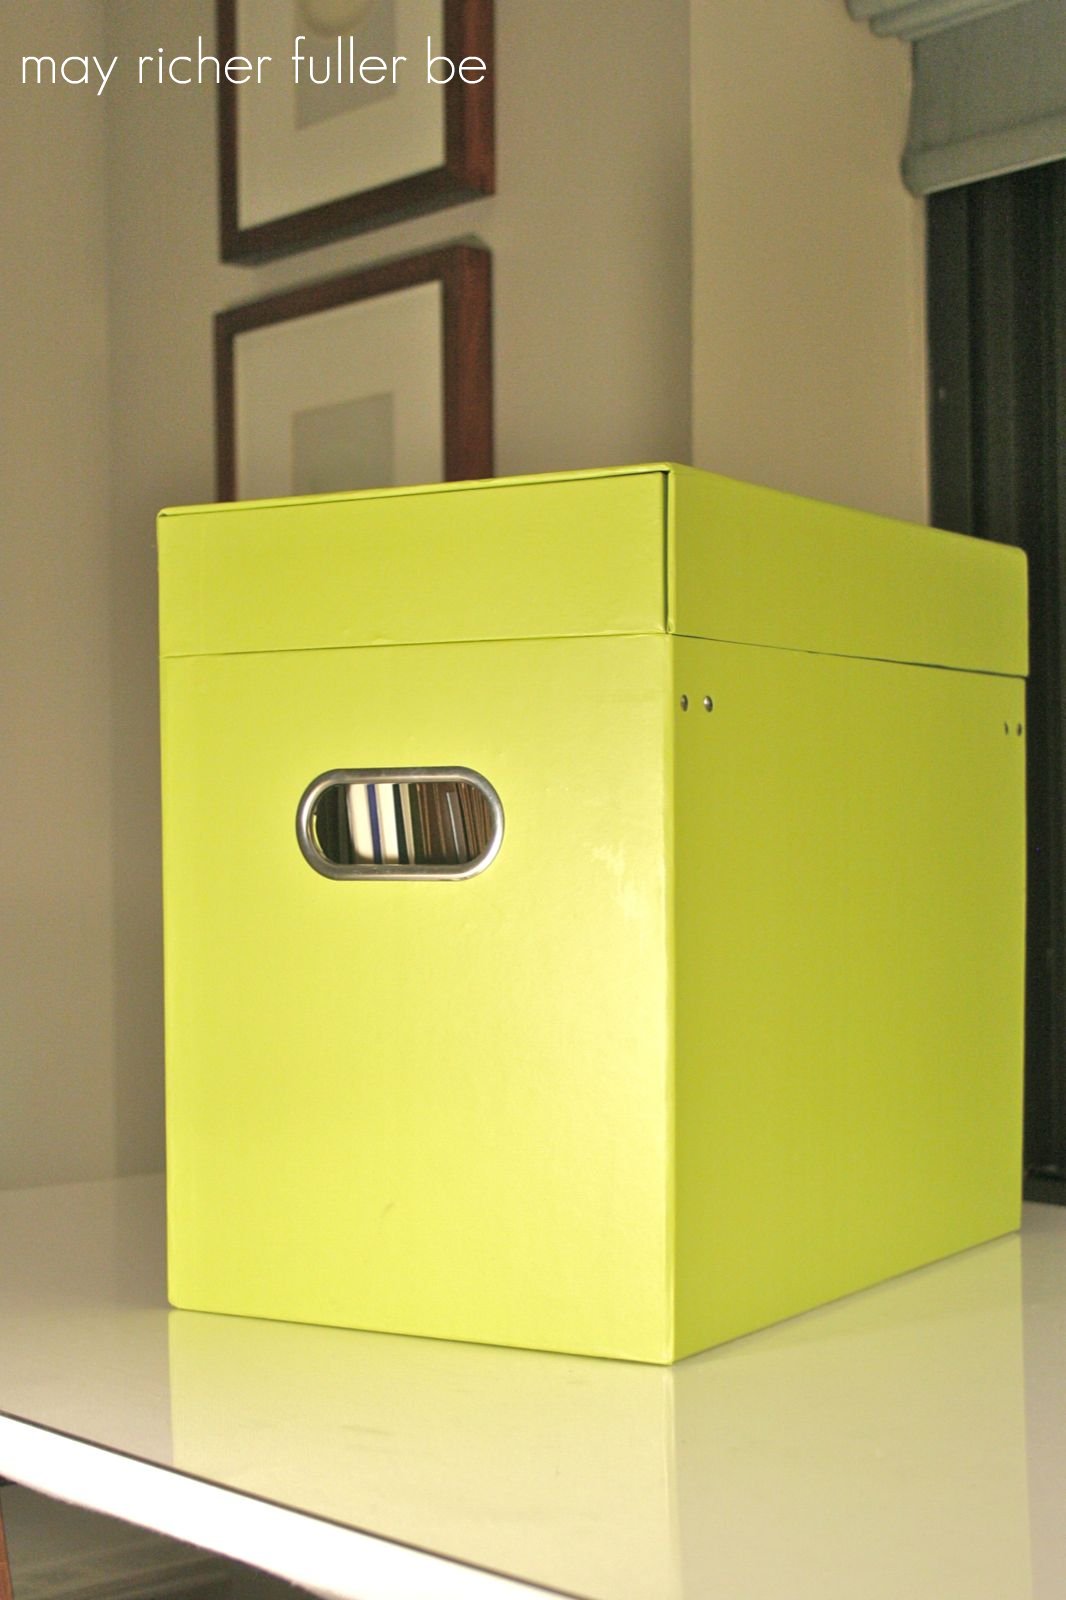
To wrap things up for today, here's my file box with its top - isn't it cute? Who says files have to live in ugly containers? This baby could sit on a counter top and fit right in with the decor.
Sources:
--------
This post is a part of the series "Operation {Re}Organization." To see other posts in the series, click the tab at the top of the page.