**Announcement: Looking for a unique baby gift (that you don't have to make yourself!)? Take a look at my new line of onesies from CSW Designs! Choose your animal, color and pattern (chevron or polka dot). Perfect for the little ones in your life!
---------
Last week I mentioned that seven (count 'em!) of my friends are pregnant right now, and two more delivered baby girls a couple weeks ago. That means there's lots of celebrating to do, so I've been thinking about some budget-friendly gift ideas to welcome these little ones to the world over the next few months. I love the idea of handmade gifts, and one of my favorite ideas so far is "customized" onesies (you can read about several adorable versions in
this post from last week).
After writing up that post, I got the DIY itch and wanted to try my hand at my own version. So over the weekend, my sewing machine and I had a date and I got to work on a couple of sets of appliqued onesies and burp cloths. This was my first try at appliqueing anything, but I think they turned out mighty cute, so I thought I'd share a "how-to" in case you're in the market for some handmade baby gifts.
I took the majority of my photos with the onesies and burp cloths together (because they're just so darn adorable next to each other), but I'm thinking that today's post will turn into a novel if I write up both tutorials in one post. So let's consider this Part 1 and I'll share the tutorial for the burp cloths tomorrow. Sorry for the teaser title in the first photo!
(*Update: the tutorial is up! You can find it here.*)
Supplies Needed: Appliqued Onesies
- White onesies
- Fabric for applique
- Template or pattern for applique
- Double stick tape
- Sharp scissors
- Iron-on hem tape (fusible webbing)
- Sewing machine
- Thread
As far as materials go, I bought a four-pack of white size 6-month onesies (Carters "bodysuits" from Target - similar to
these). Gosh, I can't get over how tiny these things are - and therefore how tiny the bodies are that go in them!
For fabric, I picked out two sets of flannel receiving blankets from Walmart. I can't find a link to these particular ones online, unfortunately. The fabric is super soft, and the patterns are adorable and very baby-appropriate without being too baby - you know what I mean?
I washed, dried and ironed everything before starting to avoid any possible shrinkage later on and of course, to make sure they were clean.
I chose a giraffe for the applique and found a template using Google image search. Try searching either "giraffe coloring book page" or "giraffe clip art" for best results. The key is to find a simple shape, even if your shape is inherently complicated (hello spindly giraffe legs). A giraffe was rather ambitious for a first-time applique-er like myself, but I found a simplified one that ended up working out nicely.
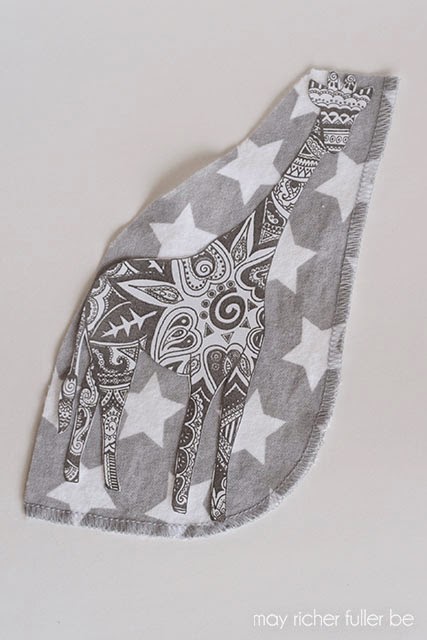
Once you find your shape, print it out at an appropriate size and cut it out. This will be your template. Take your fabric (I chose this gray one with white stars) and cut off a piece that's just a tad larger than the template. It'll be easier to work with than a large piece.
Put a couple of pieces of double stick tape on the backside of the template and stick it to the fabric. This will keep the template in place while you cut the shape out of the fabric.
Use sharp scissors to cut the fabric out along the lines of the template. (You could also trace the outline of the template onto the fabric first and then cut it out. Whatever works best for you.)
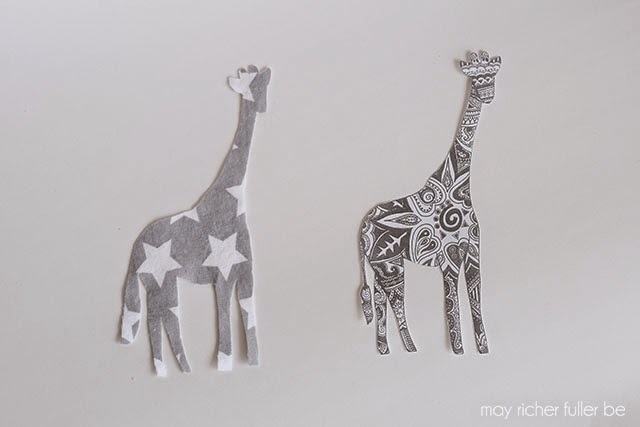
Here's my fabric giraffe next to the template after I finished cutting it out:
Line your fabric shape up on the center of the onesie. You can measure this out, but I just eyeballed it since a giraffe isn't symmetrical anyway.
Take some iron-on hem tape (or fusible webbing) and cut small pieces to fit the lines of your shape. I used light duty hem tape, which is practically invisible because it's so light - and I don't have any photos of this step because of that! It doesn't show up well. The light duty stuff worked fine because I knew it wasn't going to be the only thing adhering the giraffe to the onesie. It's really just a way to keep it in place while sewing. Place the pieces between the fabric and the onesie by holding down one area of the shape and lifting up another area to keep it in the right position (i.e. hold the body down while lifting the neck of the giraffe). Following the manufacturer's instructions, iron on the hem tape.
Then comes the fun part - sewing!! Actually, this is the trickiest part, but once you get the hang of it, it goes pretty quickly. You do need some basic sewing skills here, so if you're a beginner, I'd suggest starting with an easier shape than a giraffe. Not that I don't think you could do it, but I'm just trying to prevent potential frustration :).
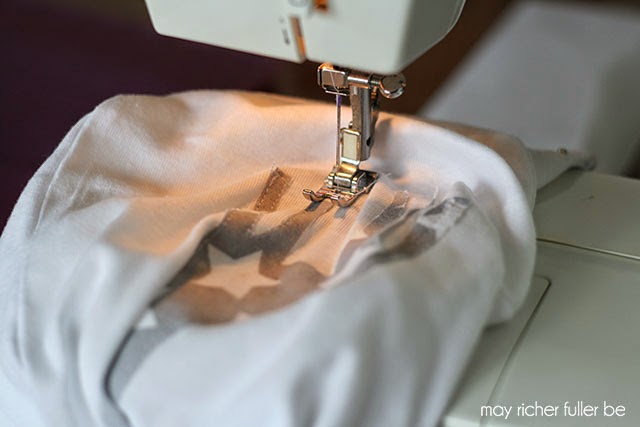
First off, the goal here is to sew along each edge of the shape as closely as you can so that it's securely attached to the onesie. For the giraffe, I sewed up and down each leg and around the rest of the body. You'll be able to see the thread clearly the next couple of photos.
As I was sewing, I came up with three tips to help this step go as smoothly as possible:
- Make sure you DO NOT sew the front and back of the onesie together. This would make it very difficult for a baby to wear :).
- Sew continuously around the entire shape. This will provide the most "finished" look.
- The easiest way to turn corners is to keep the needle in the down position (inserted into the fabric), lift the foot, turn the fabric, put the foot back down again and continue sewing normally.
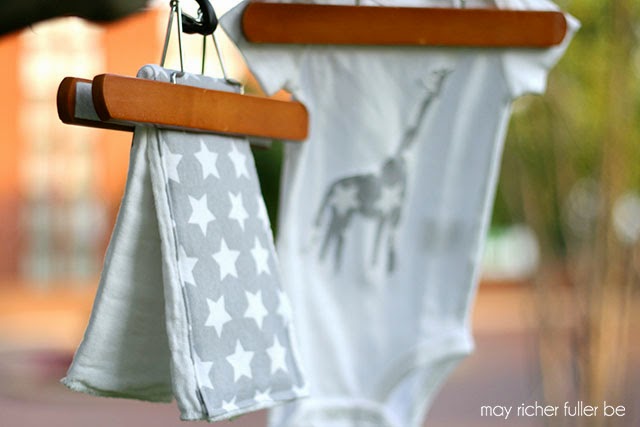
After about 15 minutes of careful sewing, my onesie looked like this:
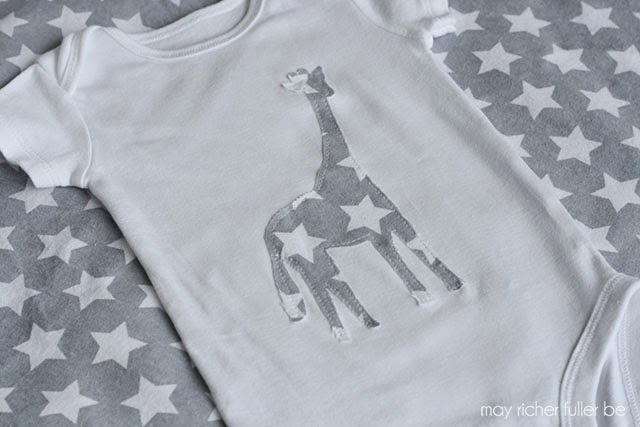
Success!
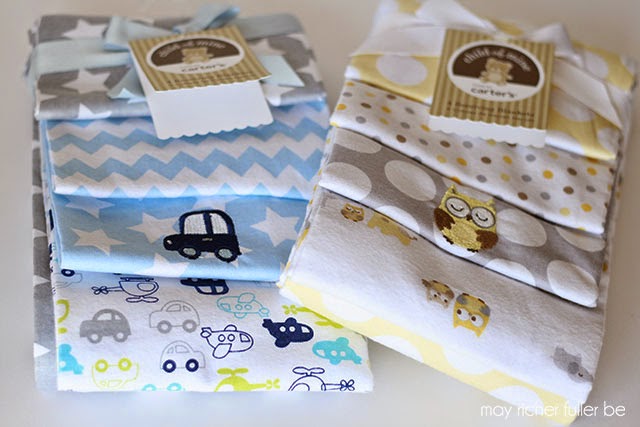
I made a total of two onesies and two matching burp cloths this weekend. All in, I'd say it took me about three hours total, not including the prewashing/ironing step. Definitely worth it for this adorable outcome!
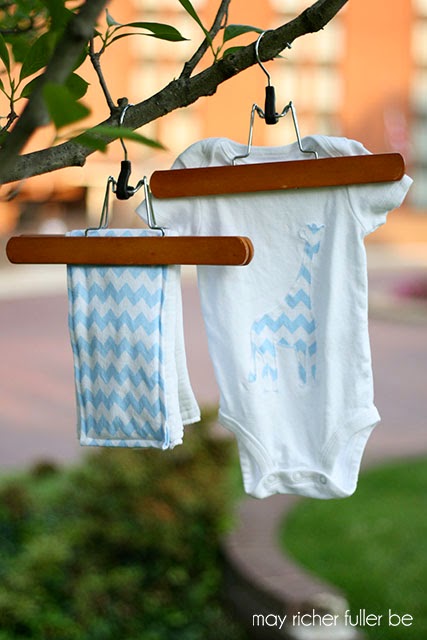
Here's the set made from the gray and white star fabric...
And the one made from the blue and white chevron fabric...
I can't wait to give these as gifts!
Like I said at the beginning, the tutorial for the burp cloths is coming tomorrow
(*update: the tutorial is up! You can find it here.*). These are WAY easier than the onesies. If you can sew a straight line, you can sew these. Promise.
Let me know if you have any questions or if I can clarify anything!
---------
linking up to: DIY Showoff, Rain on a Tin Roof, Home Stories A to Z, Uncommon Designs, If It's Not Baroque, Liz Marie Blog, House of Hepworths, Blissfully Ever After, Design, Dining and Diapers, Crafty Scrappy Happy, Craftberry Bush, The Shabby Creek Cottage, Tatertots and Jello, Serenity Now, It’s Overflowing, House of Rose, Love of Family and Home, Dear Creatives, Madigan Made, First Home...Love Life, Simply Dream and Create, Whipperberry, Remodelaholic
featured on: