Showing posts with label River. Show all posts
9.08.2015
Twin Bedroom Makeover {The After After}
The "after after" you say? Why yes! Today I have some more "after" photos to show y'all of the twin bedroom makeover from my parents' river house. If you've been following along, you might remember that earlier this summer, I helped my mom do a little refresh of one of the bedrooms. I snapped some progress photos while we were there, but we weren't quite done at that point. We still needed to source some quilts, shams and bed skirts to really call it done.
Well my friends, over the course of the summer, we found those items and while we were down at the house with some friends for Labor Day weekend, I snapped some quick photos to share. I'm so pleased with how it all turned out! If you're curious about sources, many of them are at the end of the post.
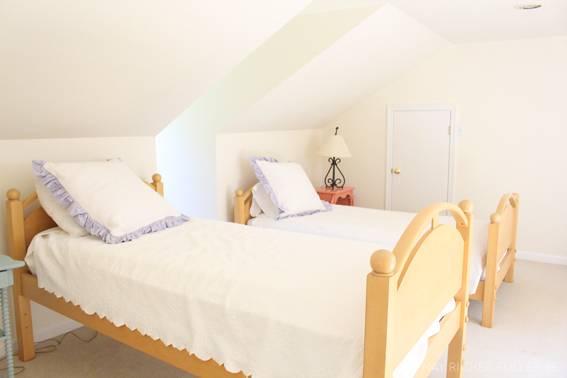
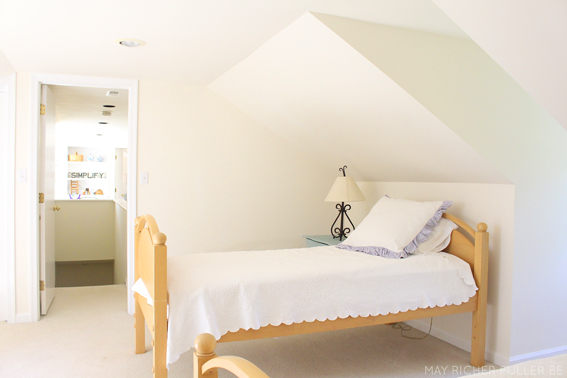
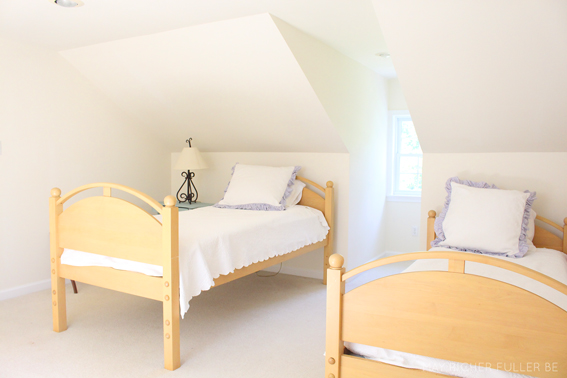
As a reminder, here's where we started:
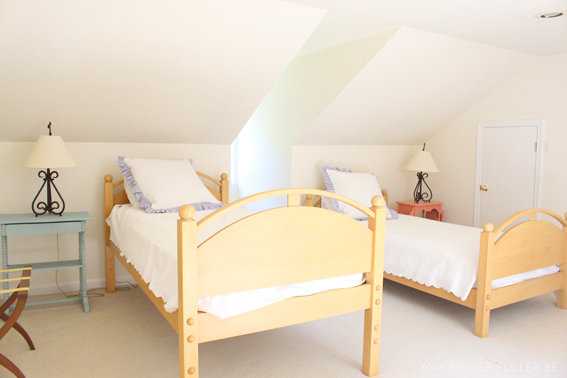
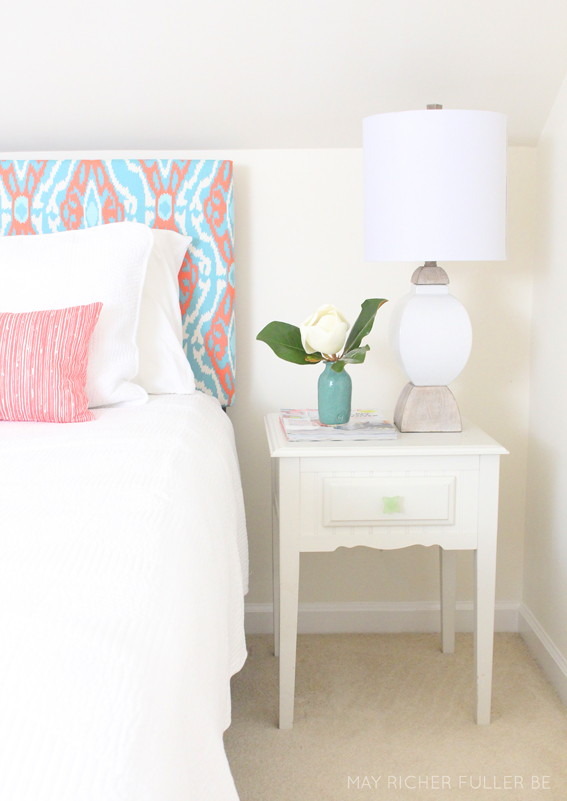
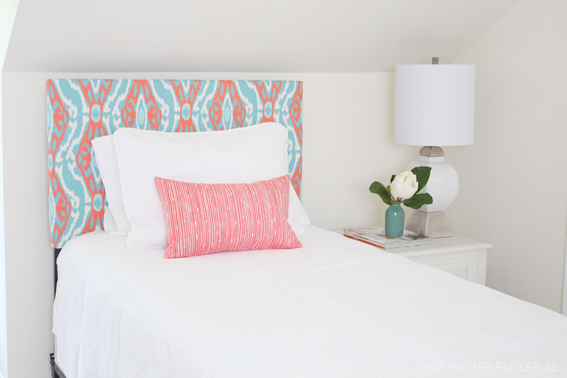
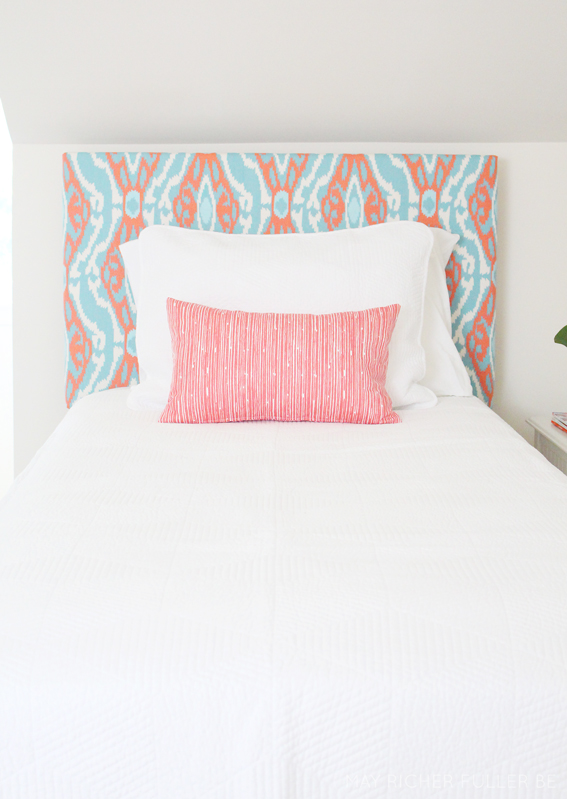
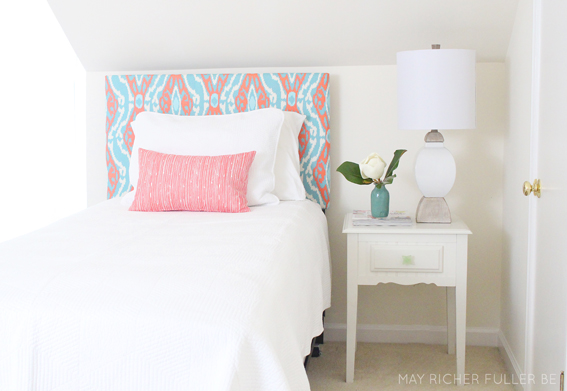
And here's where we are now!
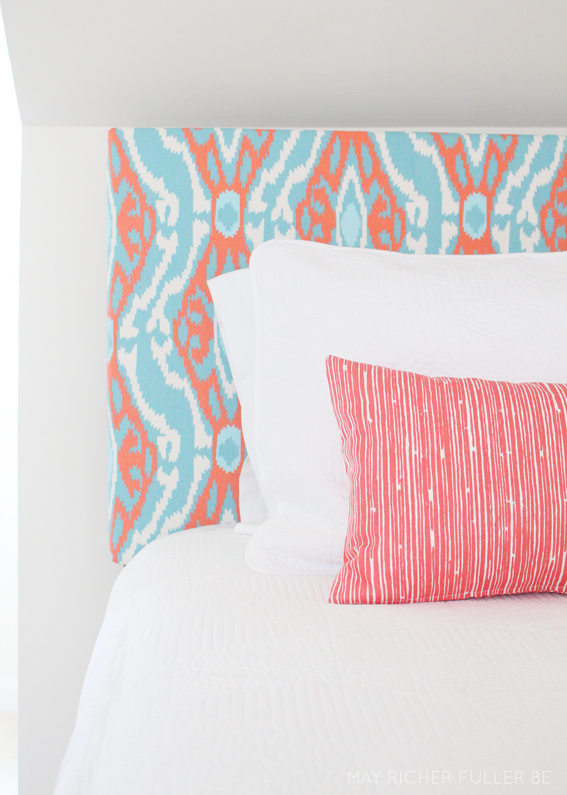
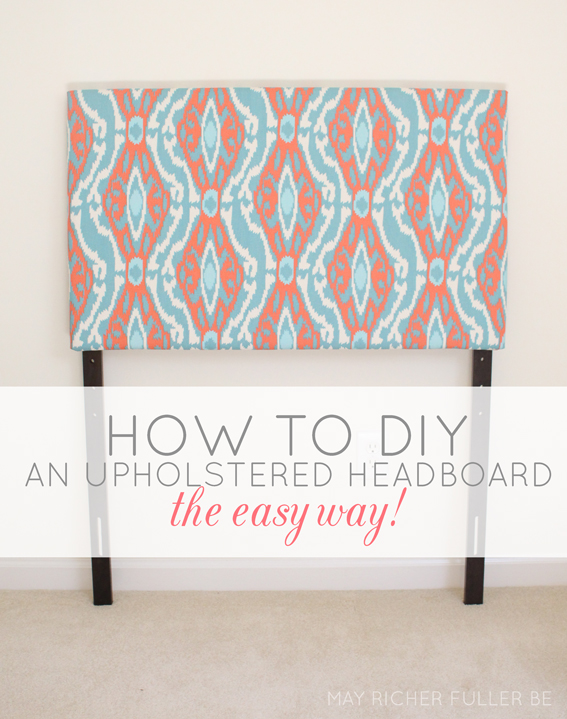
Those fun headboards might be my favorite part of the room. A couple of months ago I shared the super-easy tutorial for the DIY that you can find here.
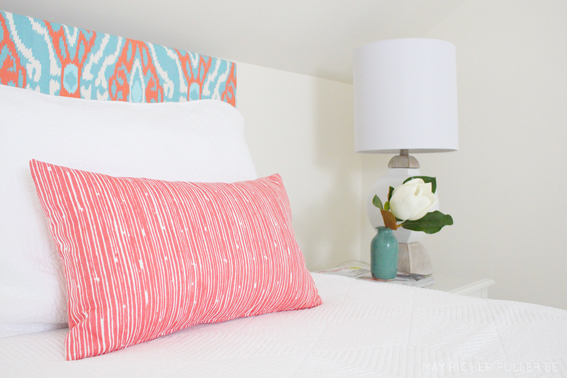
We kept the bedding simple with a diamond matelasse coverlet and shams, but added the coral lumbar pillow for a little extra oomph. We'd like to find some coral blankets for the end of the beds at some point, but haven't found anything we like. We'll see if those get added some day :).
One of our biggest challenges was finding bed skirts we liked. These are extra-long twin beds, so the selection was far from ideal. My mom ended up having the brilliant idea of buying these regular twin size coral-striped bed skirts and adding some leftover fabric from the headboards to the ends to make them long enough. I think they give the beds a super awesome custom look. Good job, mom!
This room has so much life now. The coral, aqua and white are perfect for a house on the water. I had so much fun with this makeover!
Sources:
Headboards: Modway Region from Walmart
Headboard fabric: Premier Prints Sherpa Ikat Coastal
Lumbar pillows: Motion52 (fabric is Premier Prints Scribble Coral)
Lamps: HomeGoods
Bedside Tables: already owned
White Diamond Matelasse Quilt and Sham: Belk
Mirror: already owned
Bed Skirts: Bloomingdales (the coral color is sadly no longer available!)
Do you need help with your home? Ask me about my e-design services!
6.16.2015
Twin Bedroom Makeover Update {The Beds}
As a reminder, here's where we started:
And here's the design board for the vision we had for the room:
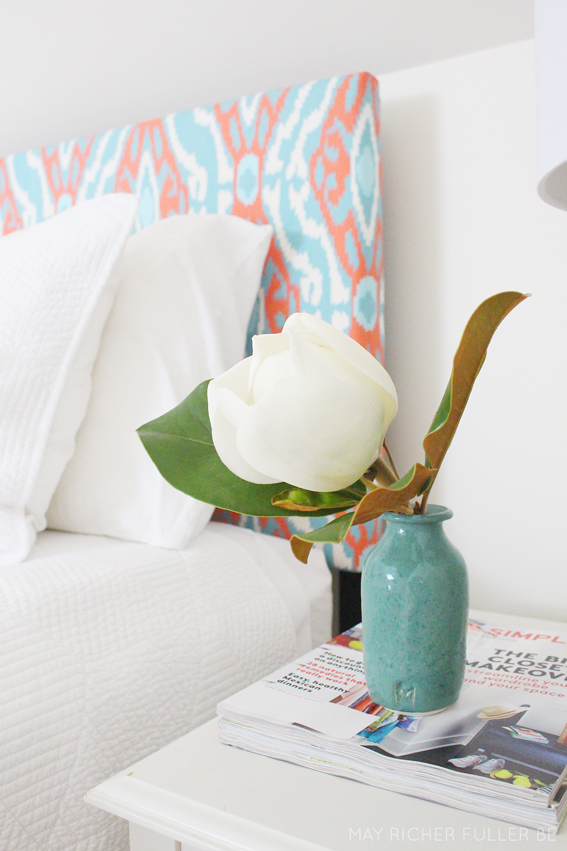
As of today, one of the new beds has been assembled and I'm thrilled with the pop of color that ikat fabric on the headboard and the scribble stripe lumbar pillow bring to the room. We wanted those to be the focal points, and I think they certainly are!
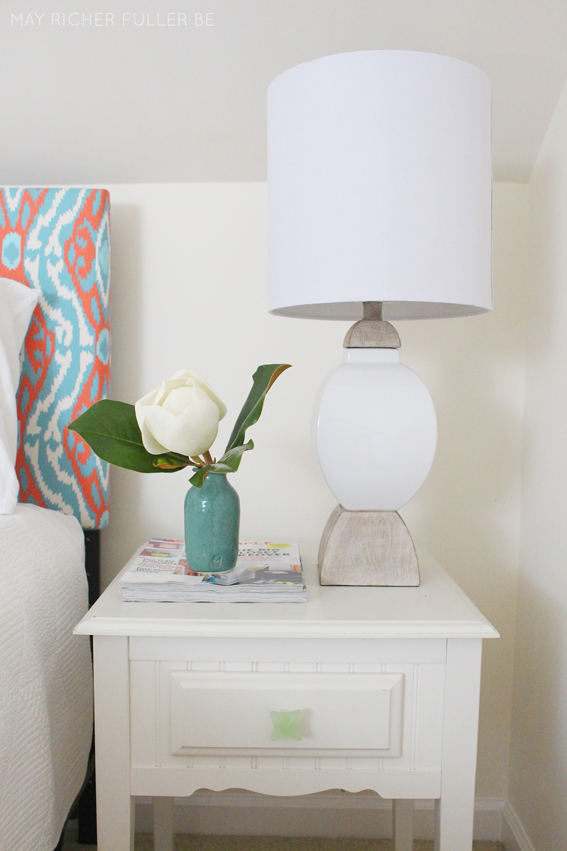
P.S. Isn't that magnolia gorgeous? My dad snagged it off the tree in the front yard and I stole it for these photos :).
I talked a little bit about that fun fabric for the headboards last week (it's Premier Prints Sherpa Ikat Coastal from Fabric.com) and I'm digging it together with the scribble stripe lumbar pillow covers I ordered from Etsy. The shop is called Motion52* and they did a fabulous job on these covers - I highly recommend them. I love making pillow covers myself, but since we were at the river, I didn't have my sewing machine - oops! Etsy to the rescue.
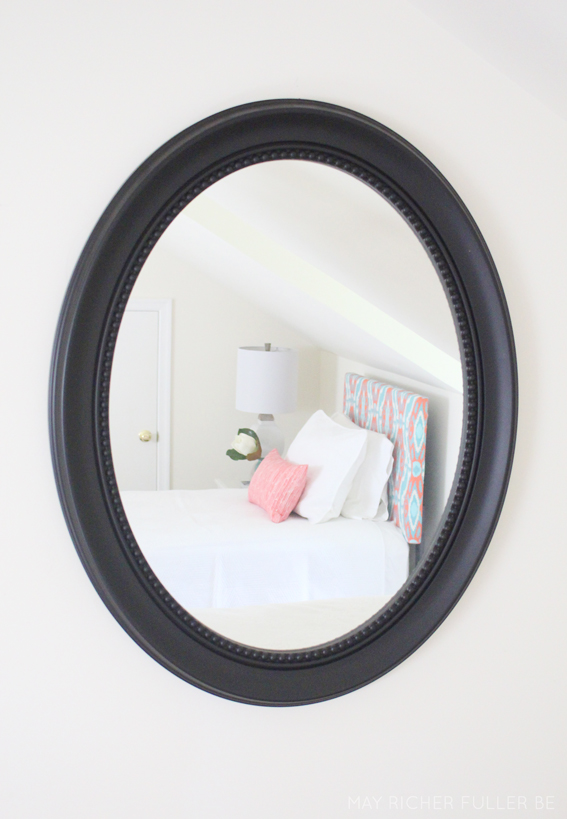
This oval mirror is one we already had and I like the simplicity of it. The darker color grounds the room a bit too.
Here's one last full shot of this side of the room. Lookin' good so far!
One of our box springs still hasn't arrived (it's a mystery why they didn't ship together...), we're waiting on some cute bedskirts to ship, and my mom and I are on the hunt for a matching quilt to the one we have on this bed. We're keeping our eyes out for a few miscellaneous items as well. Real-life room makeovers take time and that's definitely the case for this one. I don't have an exact timeline on when I'll be able to share the full makeover, but I promise I will do it when it's ready and I can get down there to shoot some photos. I'm thrilled with the progress we've made so far! :)
Sources:
Headboards: Modway Region from Walmart
Headboard fabric: Premier Prints Sherpa Ikat Coastal
Lumbar pillows: Motion52 (fabric is Premier Prints Scribble Coral)
Lamps: HomeGoods
Bedside Table: already owned
White Quilt and Sham: Marshalls
Mirror: already owned
*Affiliate links were used in this post. By shopping through them, May Richer Fuller Be earns a small commission at no cost to you. Thanks for supporting this blog in that way!
6.09.2015
DIY Upholstered Twin Headboards {The Easy Way!}
I've got an update for you on the twin bedroom makeover at the river house! Little by little, pieces have been arriving for the room and today I've got an update on the DIY I'm doing for it: upholstered headboards. This is my third crack (and fourth I guess, since there are two twin beds in this room) at upholstering a headboard and this time I cheated. Yep, that's right, I took the easy way and it was SO worth it!
Want to know the secret behind this DIY? Purchasing an inexpensive, pre-made upholstered headboard from...you'll never guess...Wal-mart, and reupholstering it in a pretty, bold fabric. Y'all, this is the simplest upholstery project ever. If you've always wanted to DIY an upholstered headboard, but have been fearful of the whole process of building the frame and then adding foam, batting and fabric, this project is for YOU.
Supplies you'll need:
- Modway Region Twin Upholstered Headboard*
- Staple gun
- Approximately one yard of fabric (mine is Sherpa Ikat Coastal from Fabric.com)
- Scissors
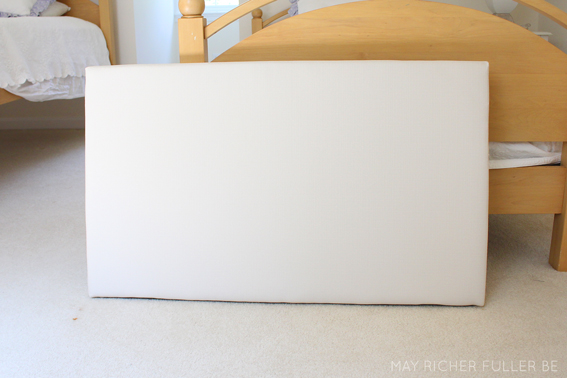
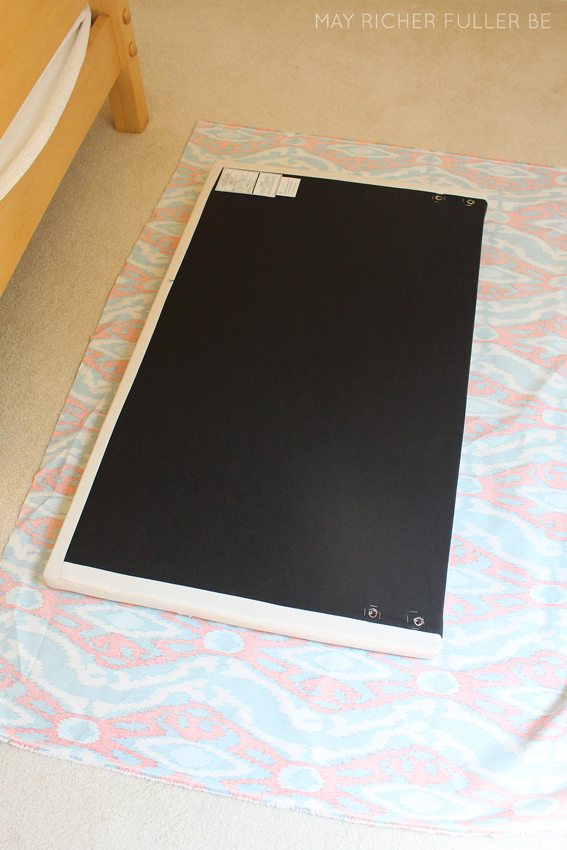
Here's what the upholstered headboard looks like right out of the box:
Boring and white and perfect for this project. At $59 (crazy, right?), this pre-made headboard was pretty much the same price as the wood, foam and batting I would've purchased to make a headboard from scratch, so buying it was a no brainer. The fabric is really cheap-looking polyester, but it doesn't matter because I covered it right up with pretty fabric!
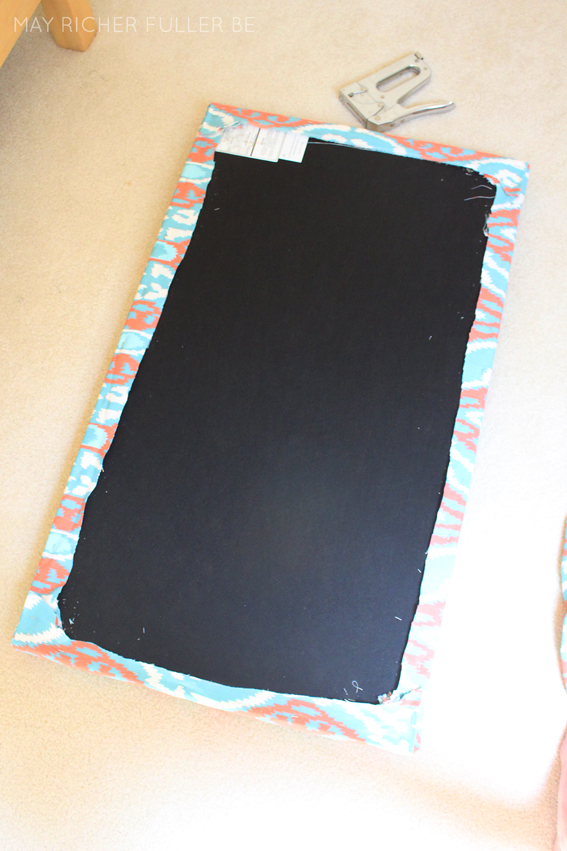
Upholstering this headboard was really straightforward. I started by placing the headboard face down on my fabric and lining it up on the pattern so it was straight and centered. Since this fabric has a repeat both vertically and horizontally, it was just a matter of shifting it around until it looked right.
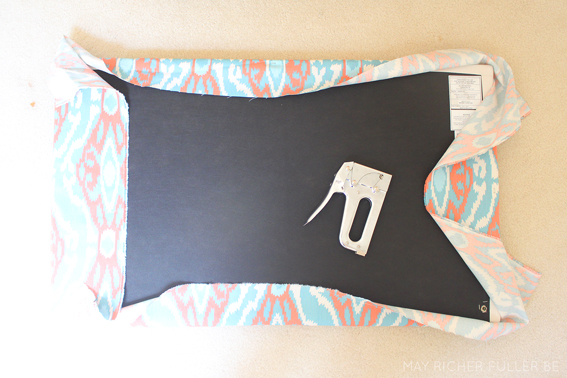
Then I pulled the fabric from the edges onto the back of the headboard and added a single staple at 12 o'clock, 3 o'clock, 6 o'clock and 9 o'clock.
I turned the headboard over briefly after adding those four staples to make sure the fabric still looked centered and straight from the front, then continued to pull the fabric taut and staple all the way around.
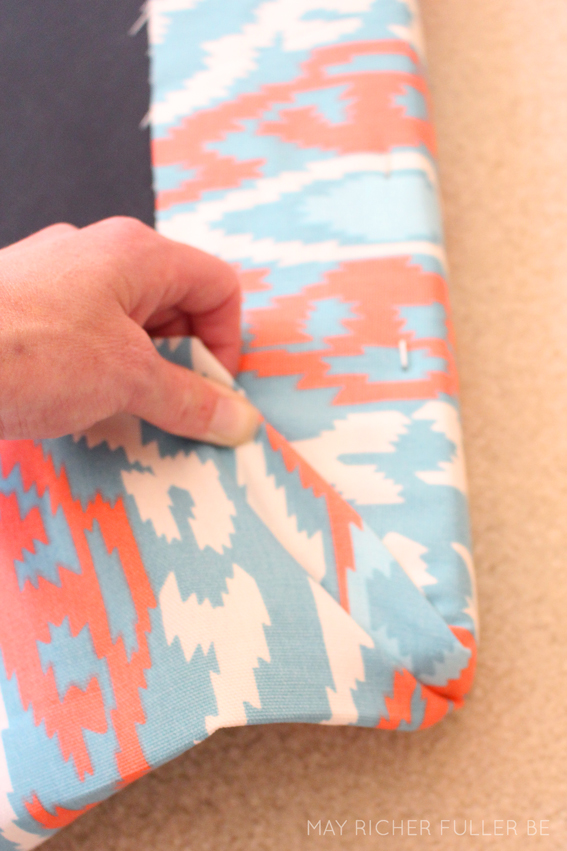
Corners can be a little tricky, but the two-fold method I use works beautifully and looks very crisp from the front. Here's how I do it:
First I grabbed the loose fabric right at the corner and folded it so that the excess is on the underside. I pulled that piece tight and laid it down flat at a 45 degree angle.
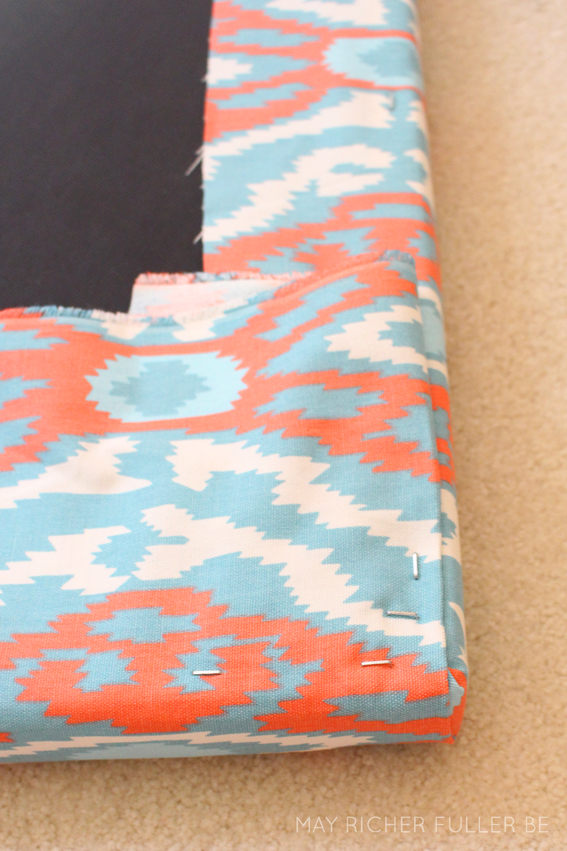
Next, while holding down that piece, I grabbed the remaining loose fabric and folded it under so that the fold at the top edge was parallel to the fabric that's already stapled down. I then laid that down flat on the piece I was holding at a 45 degree angle. I used one hand to hold it all together while I used the other to add a few staples to keep everything in place.
These are the key staple placements to keep those folds in place:
It's kind of like wrapping a present, but you have to mess with the fabric a little bit to get it to lay smooth and flat.
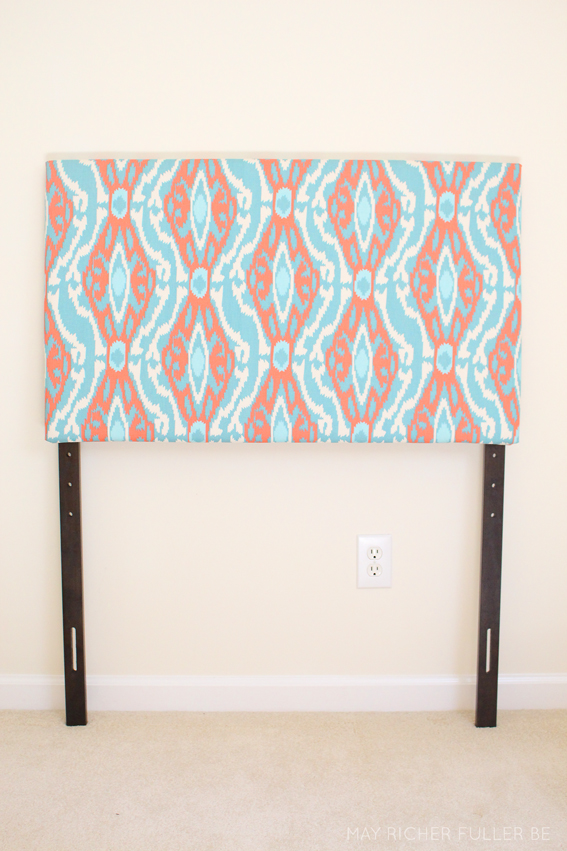
Then I trimmed the excess fabric off from the edges, attached the legs and voila, I was done!
Hello pretty headboard!
I love how they turned out. It was definitely worth it to take the shortcut with this project. The headboards really will be the focal point of the room with that zippy, fun fabric. Each one took maybe 30-45 minutes to do, so that means I whipped out two upholstered headboards in only a couple of hours - that's a winner in my DIY book! Even if you're not a DIYer, I encourage you to try this method if you're in the market for an inexpensive upholstered headboard (each one cost approximately $75 total). If you're feeling more adventurous and would like to build the frame yourself, check out my post on how to do that here.
I'll be putting the twin bedroom together this week. I can't wait to share the results with you soon!
Curious about the before photos and design plan for this room? Check out the intro post for details!
5.28.2015
River House Twin Bedroom Makeover {Before + Design Plan}
Over the next couple of weeks, I'm going to be tackling a bedroom makeover at my parents' river house. One of the upstairs bedrooms is in need of some color and style, and my mom has given me the go ahead to take on the project. She's my partner in crime on this one and we've already had a ton of fun putting together ideas and getting our supplies together and making selections on beds, lamps, etc. I'm so excited to get started!
I thought it would be fun to share the makeover in "real time" starting with the before photos and design plan today, an update or two along the way, and then a final reveal when we finish. Ready to see the see the room?
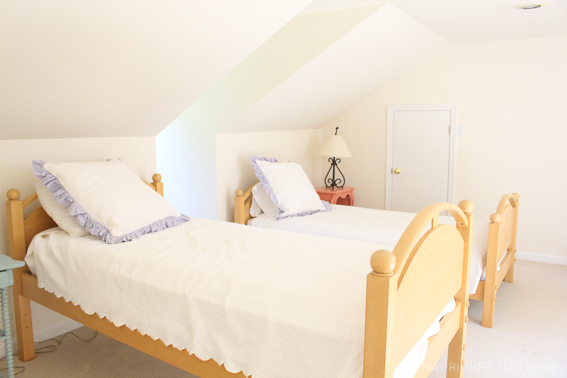
The upstairs of this house has two bedrooms: one with a queen bed and one with two twins. The second floor has some tricky angles due to the roofline and dormers making space planning a challenge.
The only good place for the beds is where they are now under these dormers. The twin beds snuggle in nicely there though, so that's good!
It's a fairly large room, but with those tricky angles it's a little tough to "fill" the space well. One thing this room has going for it right now though is the incredible natural light it gets from a skylight and a window. During the day, you don't have to turn lights on up there, which is amazing, don't you think?
All in all, it's a very functional room, but it's time to infuse some color!
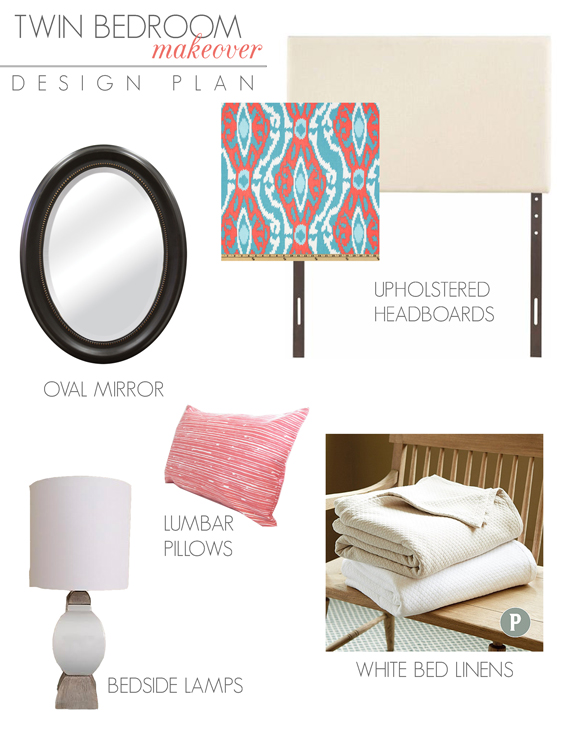
The plan is to try to use some of the existing pieces and shop the house to keep it budget-friendly, but we're adding several new pieces as well. Those honey-colored wood beds (they used to be my brother's bunk beds when he was a kid - that's the reason they're different heights) are being replaced with some awesome upholstered headboards I'm DIYing. There will be new bed linens and table lamps as well. I'll have more details on the specifics of what we chose for the room once we get a little farther along in the project, but for now, here's the design plan for the space:
We've already ordered nearly everything for the project and now the hardest part begins - waiting for it all to arrive. I've still got a few items to source, but I think we're in good shape so far. Stay tuned for updates over the next couple of weeks!
Want to see more of the river house and the projects I've done here? Try these posts!
I thought it would be fun to share the makeover in "real time" starting with the before photos and design plan today, an update or two along the way, and then a final reveal when we finish. Ready to see the see the room?
The upstairs of this house has two bedrooms: one with a queen bed and one with two twins. The second floor has some tricky angles due to the roofline and dormers making space planning a challenge.
The only good place for the beds is where they are now under these dormers. The twin beds snuggle in nicely there though, so that's good!
It's a fairly large room, but with those tricky angles it's a little tough to "fill" the space well. One thing this room has going for it right now though is the incredible natural light it gets from a skylight and a window. During the day, you don't have to turn lights on up there, which is amazing, don't you think?
All in all, it's a very functional room, but it's time to infuse some color!
The plan is to try to use some of the existing pieces and shop the house to keep it budget-friendly, but we're adding several new pieces as well. Those honey-colored wood beds (they used to be my brother's bunk beds when he was a kid - that's the reason they're different heights) are being replaced with some awesome upholstered headboards I'm DIYing. There will be new bed linens and table lamps as well. I'll have more details on the specifics of what we chose for the room once we get a little farther along in the project, but for now, here's the design plan for the space:
Want to see more of the river house and the projects I've done here? Try these posts!
- Living Room Tour
- Dining Room and Den Tour
- Updating Shutters With Paint
- Hand-Painted House Sign
- Transforming a Dated Brass Light Fixture
- Vintage Kitchen Cart Makeover
5.11.2015
Modern Coastal Home Inspiration
![]() |
| {Coastal Living} |
Hey there friends! I hope you all had good weekends. My husband finished his first year of grad school last week and we packed up and headed out to spend some time at my parents' river house (remember these posts from last summer?). Being here is always such a treat and nice change of pace compared to the hustle and bustle of city life. We'll actually be "stationed" here for a bit so there may not be many projects on the blog for awhile, but I've got one big, fun one planned for when we get back, so stay tuned! For now, I'll be spending my time enjoying the view of the water from the screen porch and relaxing after a very busy season in our lives.
Being in my parents' beautiful home with coastal-inspired decor got me dreaming about "modern coastal" style - a style I'm certainly drawn to - so I thought I'd share a few of my favorite images with y'all today. When I think of that style, I think casual cozy spaces and furniture, fresh white shiplap paneling, nautical touches, rough-hewn woods, stripes, a range of blues, etc. It has a lot of overlap with the farmhouse look too. I hope you'll be inspired by these pretty shots and maybe infuse a little "modern coastal" into your homes this summer!
![]() |
| {West Elm via Open House Modern Beach Design} |
![]() |
| {Unique Home Stays} |
![]() |
| {Hannah Blackmore Photography for Adore Home} |
![]() |
| {HGTV} |
![]() |
| {Coastal Living} |
![]() |
| {Garden and Gun} |
![]() |
| {Homepolish} |
![]() |
| {Curtains Made Simple} |
![]() |
| {Martha Stewart} |
Have y'all have great starts to your weeks!
7.14.2014
River House Shutters Update {Before & After}
6.11.2014
{Giveaway} Lydock Cocktail Table From Holly & Martin!
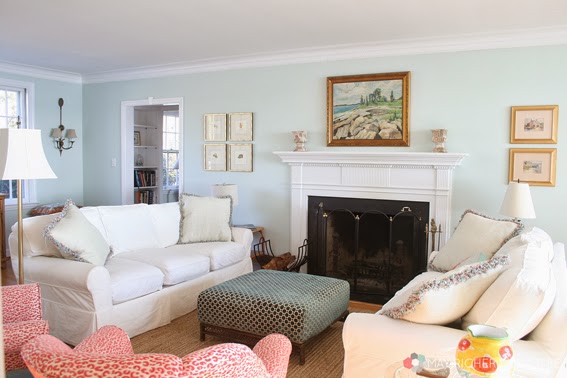
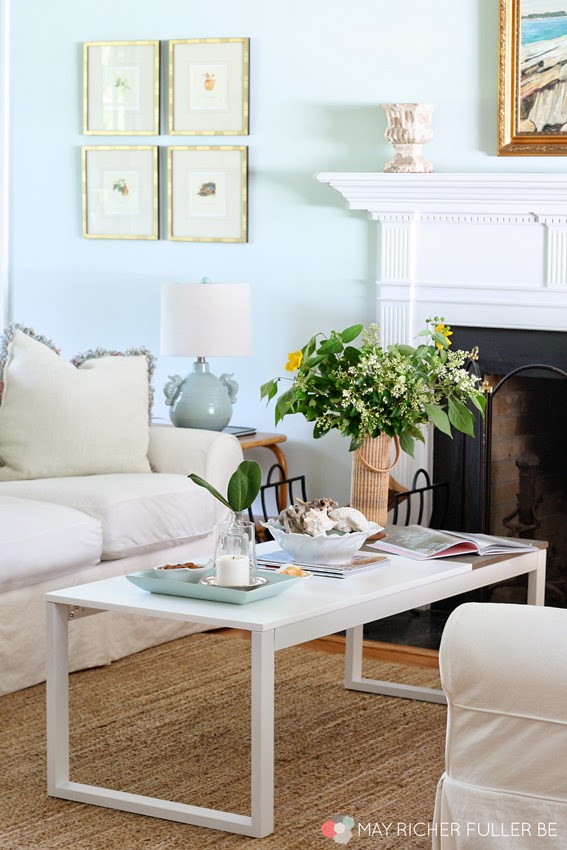
Welcome, welcome! Today's the big giveaway day! Last week I showed y'all my new Lydock cocktail table and how I styled it in my parents' already lovely living room at the river house.
I love this table, y'all. It really is beautiful in person, a great size, easy to put together and is something I'm going to enjoy for a long, long time.
Subscribe to:
Posts (Atom)