Showing posts with label DIY. Show all posts

4.20.2016

Make It: DIY Sputnik-Style Light Fixture

*Psst! Thanks to everyone who entered Mix & Match Design Company's e-design giveaway! I'm hard at work going through the submissions and it's going to be SO hard to choose just one. Y'all have such awesome homes and I can't wait to work with one of you!


If you saw my Instagram from last week, you'll know I've been working on a fun little DIY light fixture for my office. It's been way too long since I've DIY'd something and shared it here, so I figured it was high time to get 'er done to show y'all!

https://www.instagram.com/p/BEHbwwQyWE7/?taken-by=mayricherfullerbe

I've been a fan of Sputnik-style light fixtures for awhile now. They're modern, kinda funky and fixtures with exposed bulbs are definitely "in" right now. I needed a ceiling fixture to replace a sad-looking fan in my office, but wasn't ready to commit to spending the big bucks on a new fixture just yet.

Then on Pinterest (of course!) I spotted Little Green Notebook's DIY branch light and I thought a variation on that would be the perfect thing! I made a couple of modifications to make it work for my space and the step-by-step is below in case you want to make one yourself.

Supplies needed: (* Denotes an affiliate link. That means I get a tiny commission when you purchase through my link. There's no cost to you - thanks for supporting this little blog. :))


Putting this light together is a little bit like building with legos - it's super straightforward and you really can't mess up. You get to be as creative as you want!

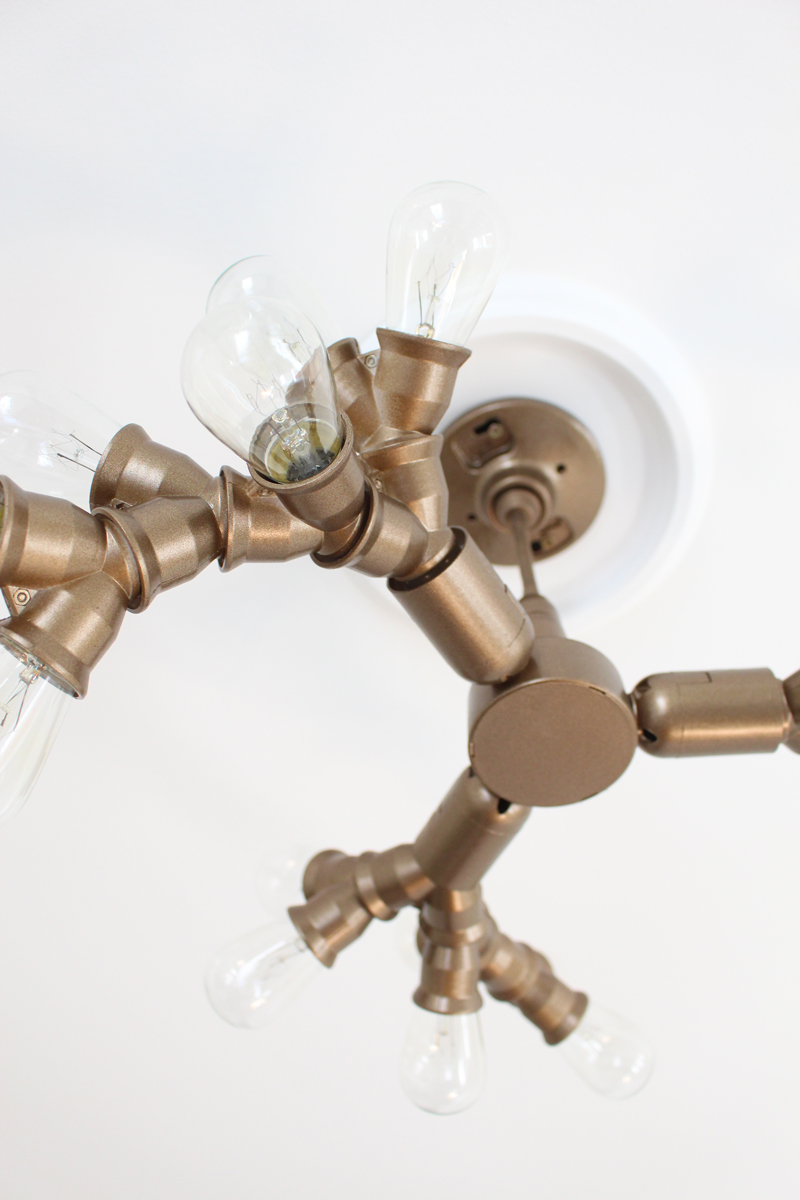
Start with the 3-in-1 socket adapter and screw a Y socket splitter into each end.
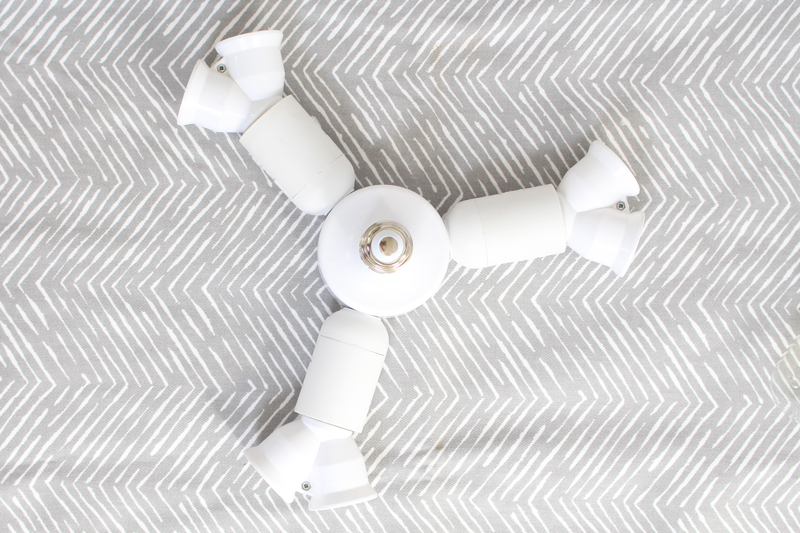

Keep adding additional Y socket splitters to open ends until you get to the look you want. I ended up using 15 and gave it a pretty symmetrical look. What can I say - I like balance!
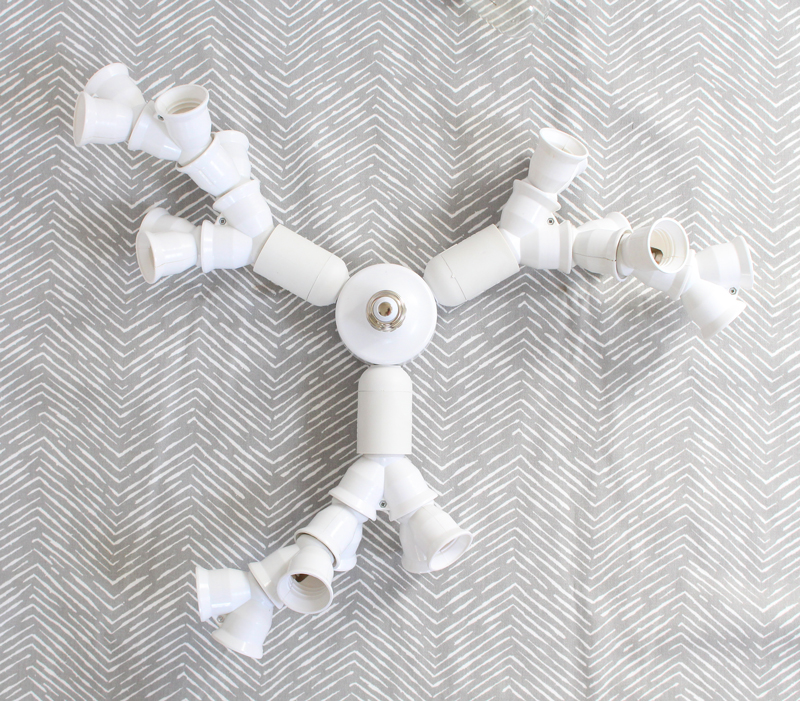

Once you finish attaching the Y splitters in a pattern you like, add lightbulbs to the remaining open sockets. You'll take these out to paint the fixture (unless you want to leave it white, which is pretty too!), but I liked seeing how it would look in its final form before heading to that step.
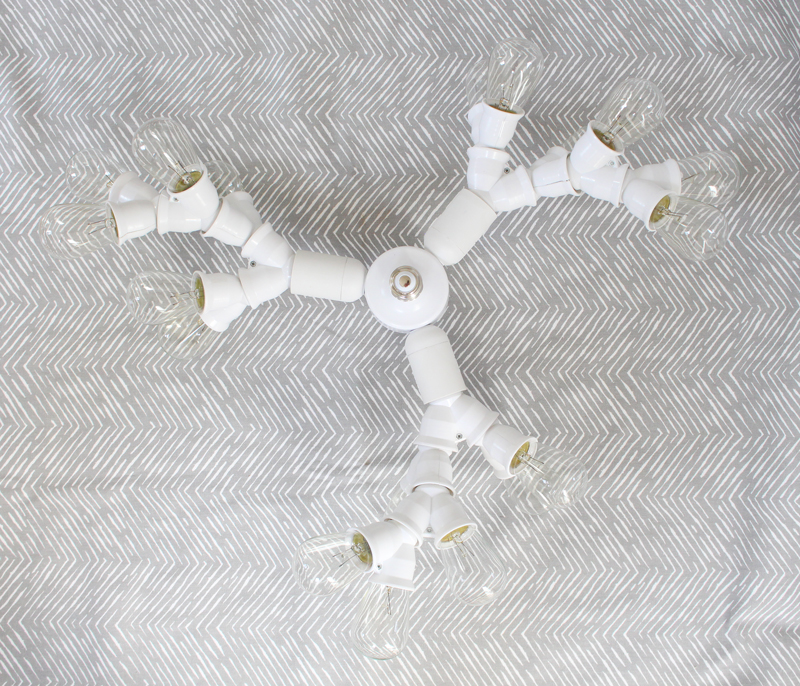

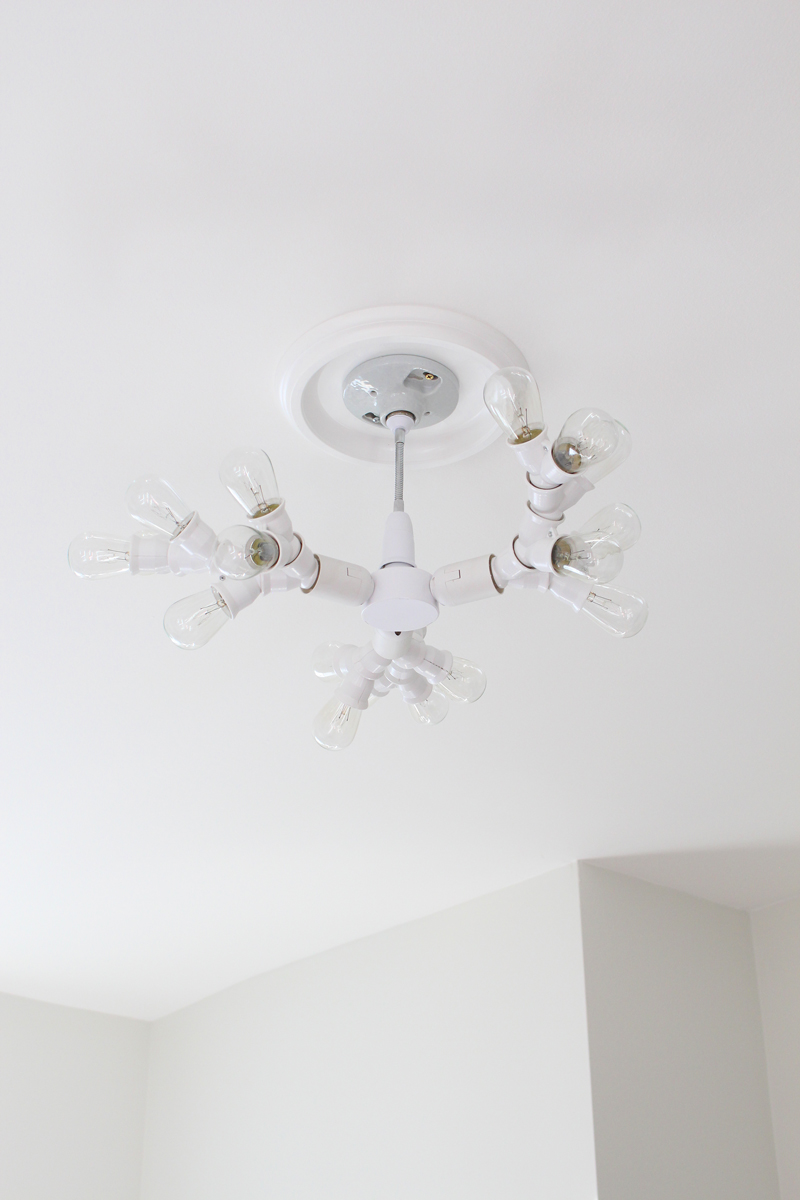
Finally, screw on the flexible extender and outlet box mount to finish the assembly before painting. Here it is before I got my spray paint on.


Before taking it out to paint, I installed it temporarily to make sure I was really happy with the scale and amount of light it gave out. My office isn't huge, but I found that with my original design, it wasn't quite bright enough. No big deal - I just added a few more Y splitters and bulbs to increase the amount of light.

Onto the painting!

But, here's one other pre-painting step that's very important!! Make sure to stuff the sockets with some newspaper to protect the light bulb contacts. It would be a shame to finish painting, screw in those bulbs, and then have the fixture not work!
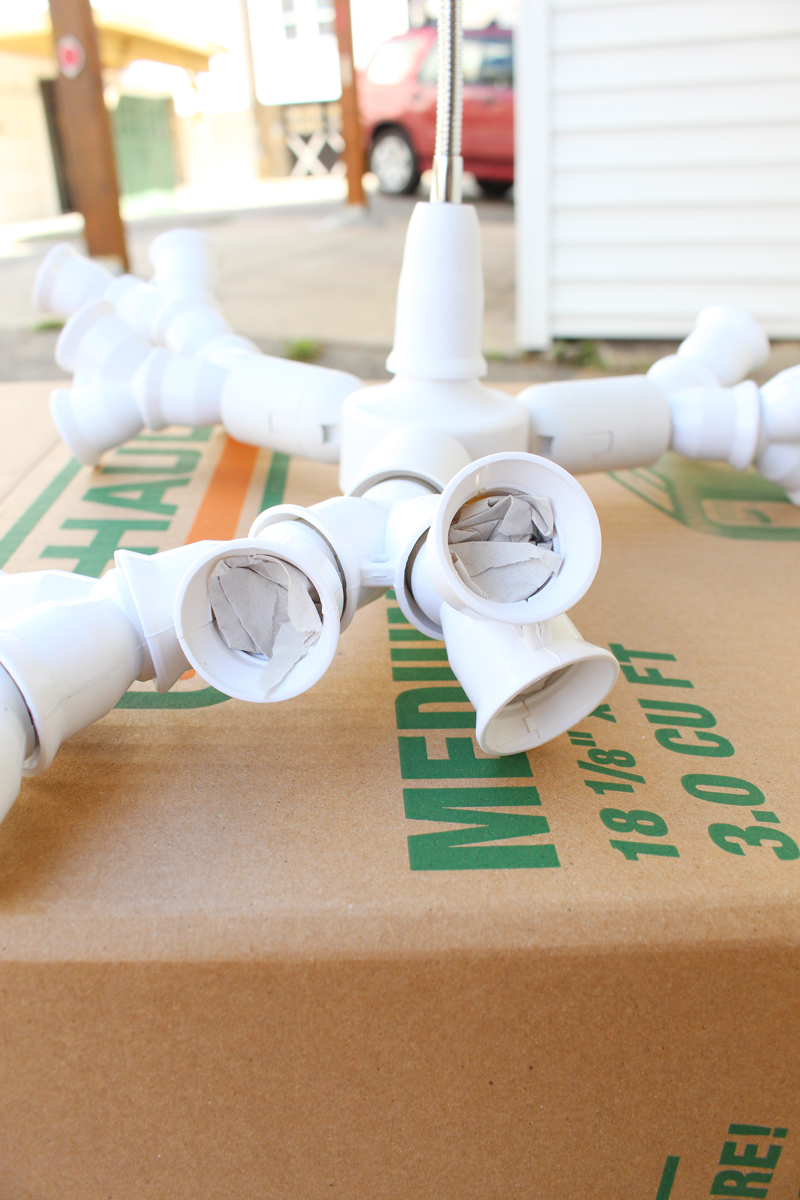

I decided to spray my fixture metallic coppery-gold and since it was a tricky fixture to paint, I used a cardboard box as a makeshift paint shed - it worked perfectly to prevent overspray from getting on the concrete and helped it stand up for painting and drying purposes. I made sure to use multiple light and even coats and rotated the fixture several times to make sure all surfaces were well-covered.
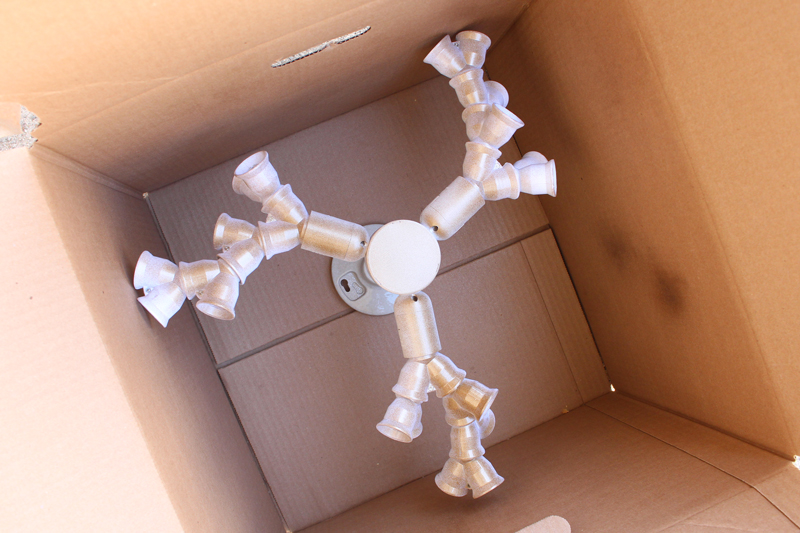
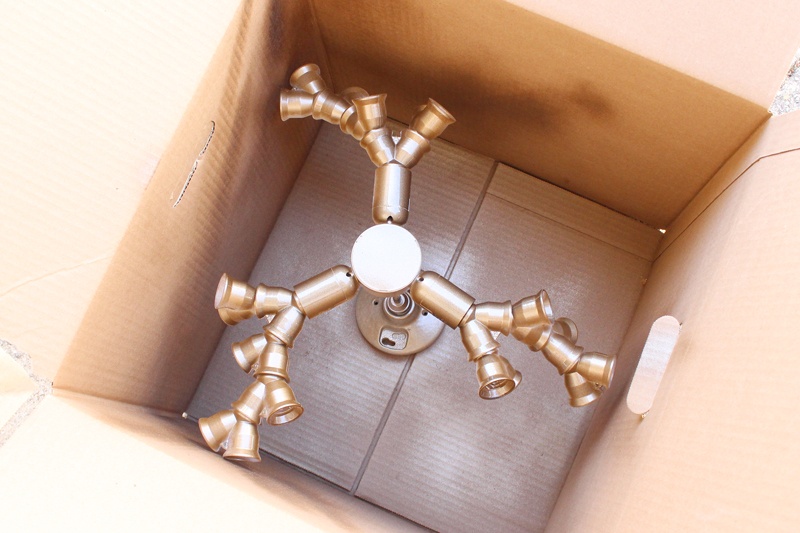

(Side note: for those who are wondering about priming prior to spraying the metallic paint...I skipped that step. Should I have? Probably not, but since this fixture is installed on the ceiling, durability isn't an issue and I decided to be a total rebel and not prime. Many of these pieces are plastic though, so it will chip if you scratch at it. So far so good though!)

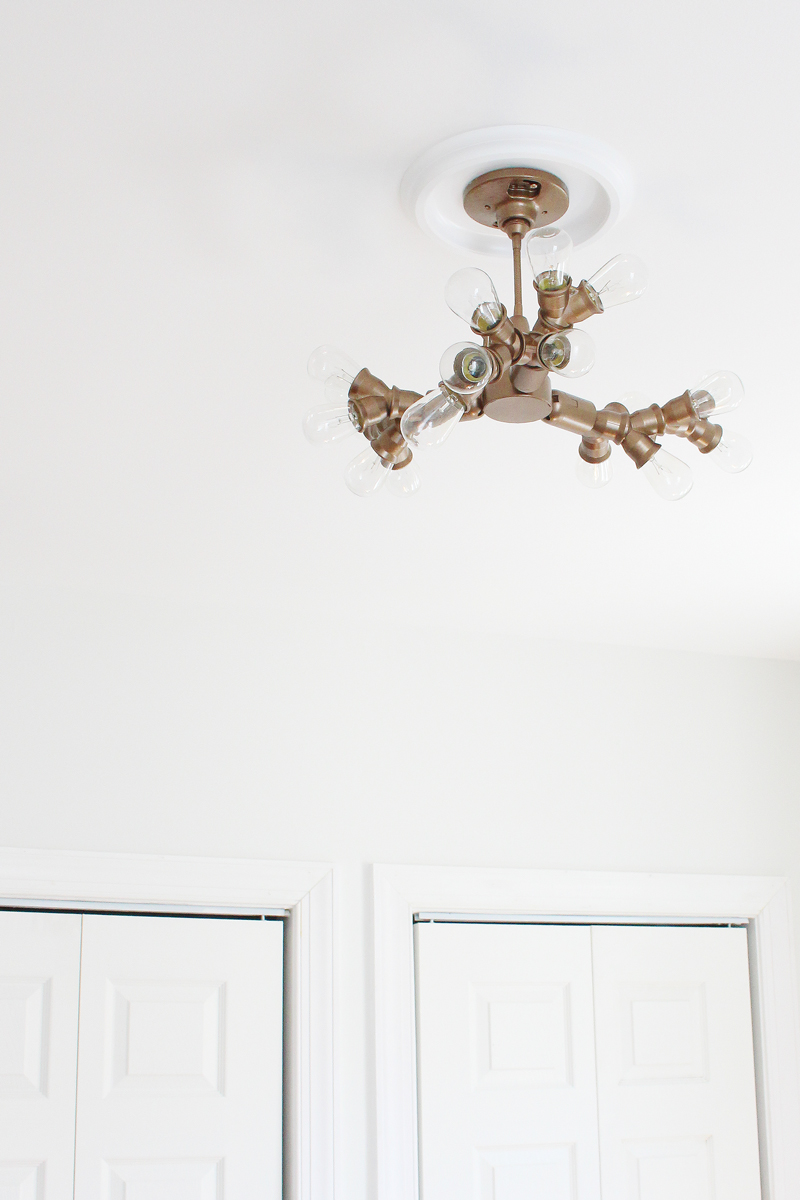
Now let's get to the good part - seeing it after installation! (Outlet mount boxes are super easy to install - just follow the directions in the box. If you don't feel comfortable with that, definitely hire an electrician!)


I added a ceiling medallion to really finish it off around the outlet box and I think it looks great. Here's how it looks with my office area in the background:
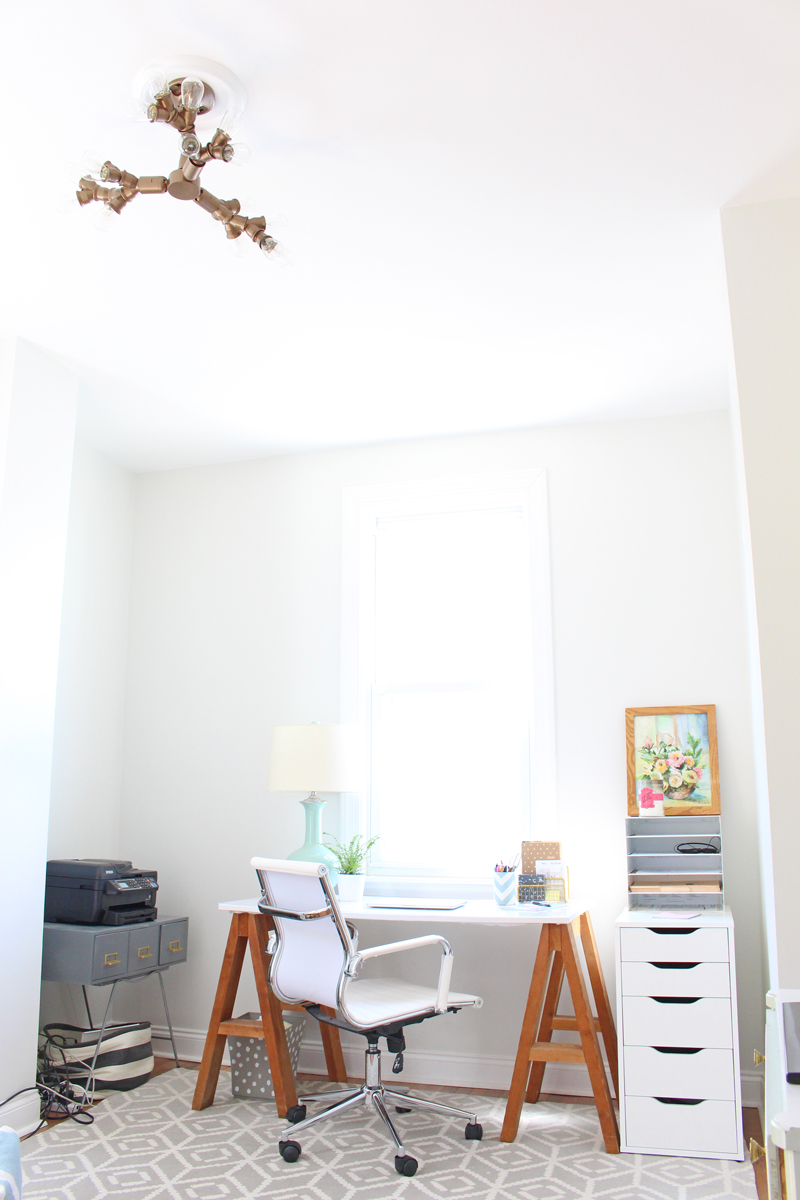

Love all those fun bulbs!
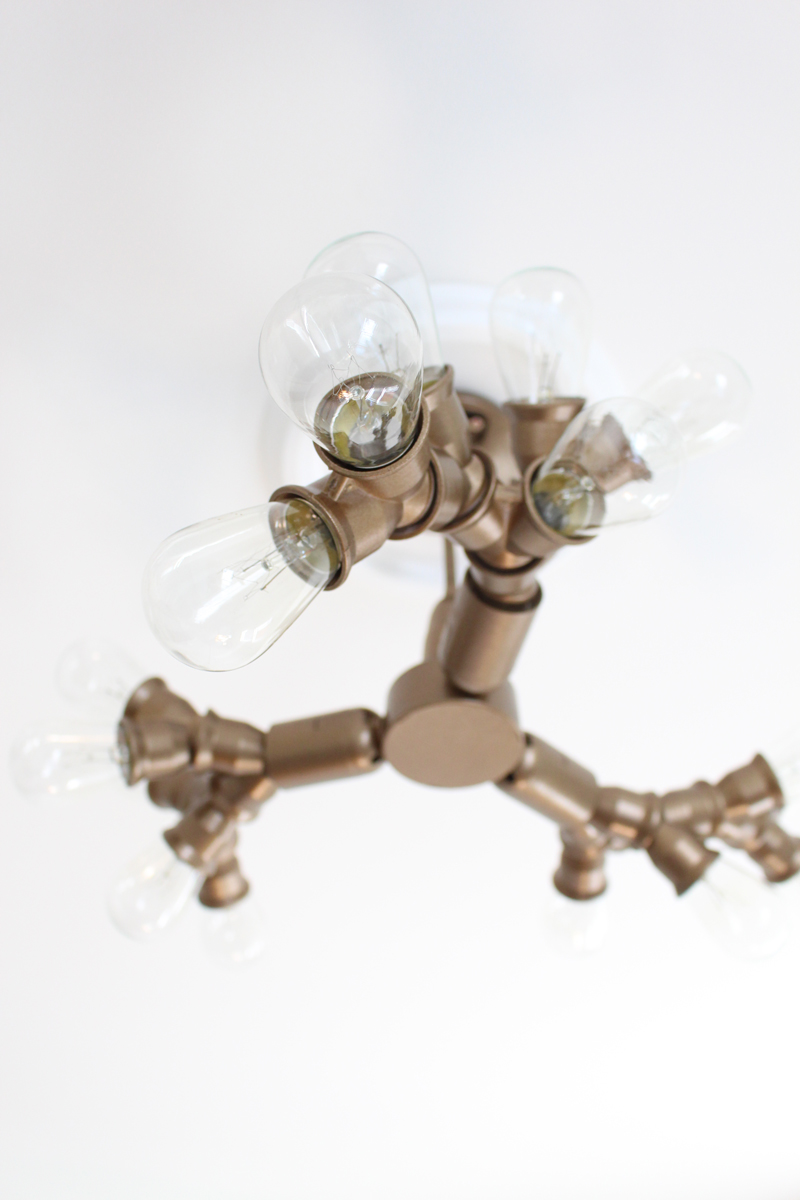


I'm thrilled with how it turned out. It brings such unexpected personality to the room!


Hooray for successful DIY projects! What have you been DIYing lately?


Enjoy what you read today?  Enter your email address below to subscribe to May Richer Fuller Be!  Delivered by FeedBurner

Pin It!

3.25.2016

DIY Large Scale Art & A Few Styling Tips

(Note: Modern Masters provided the Pale Gold metallic paint for this project, but I was not otherwise compensated. All opinions are my own, as always!)

Art. It's a key part of making a room look finished, adds style and personality, and can unfortunately cost a pretty penny for good, quality pieces. I'm all about investing in beautiful pieces that you love, but sometimes that's just not in the budget.

Enter DIY art: the affordable alternative that lets you flex your creative muscles as well! Making art can be totally fun and therapeutic even if you're not what you'd call, ahem, artistic. You can make some beautiful stuff for your home. Promise.

I talked about a bunch of options for DIY-able art here, so if you're ready to take a project like this on, try my idea below or check out the other ones in that post.

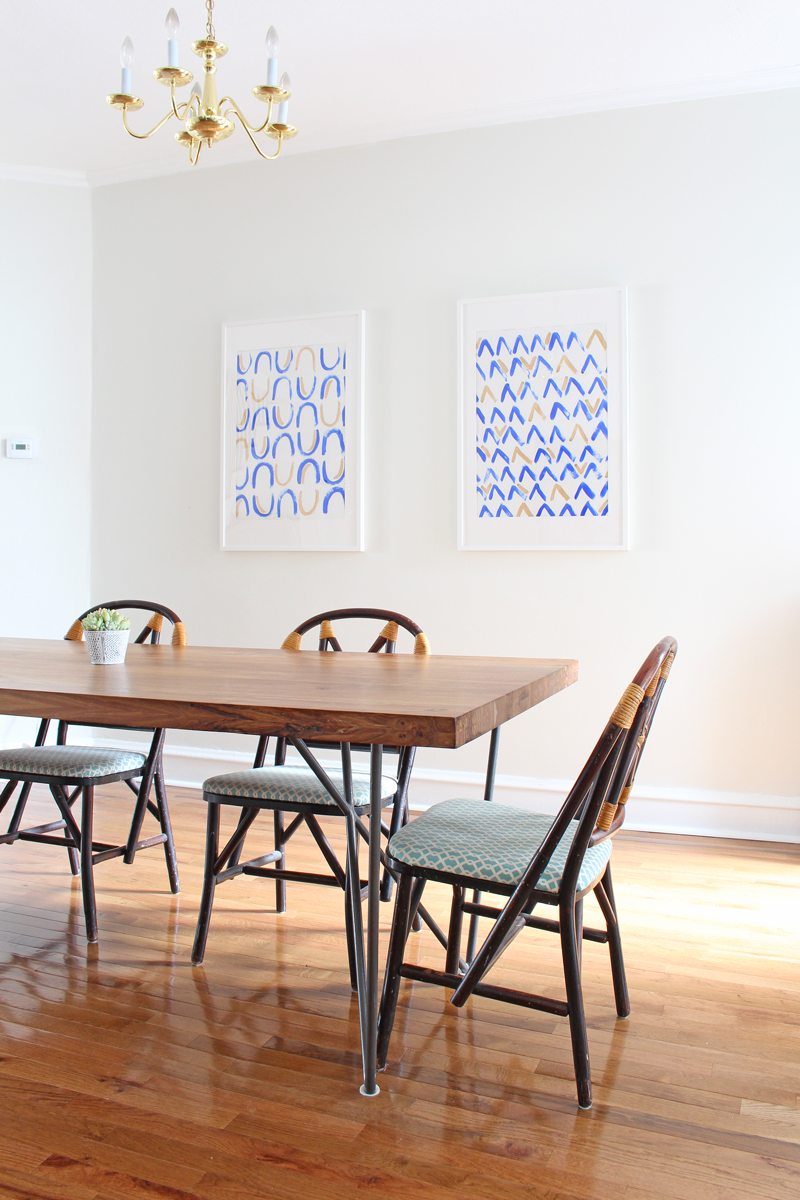
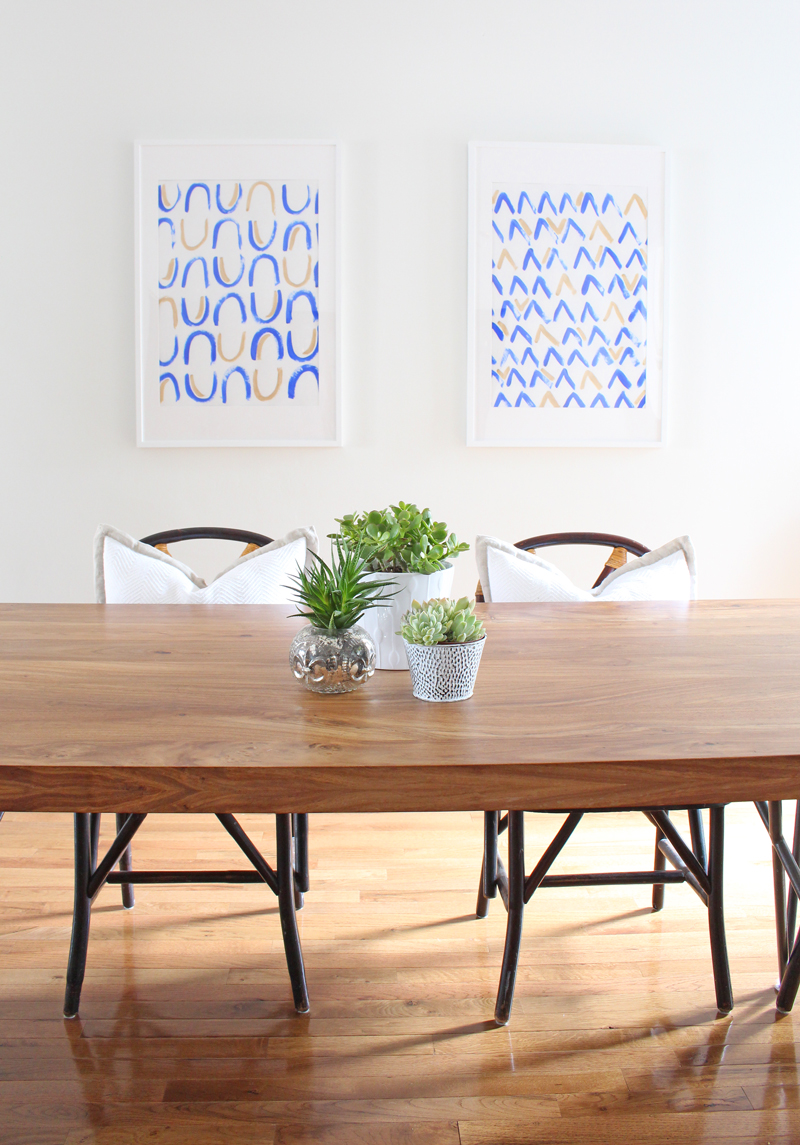
In our dining room update earlier this week, I mentioned that I created these two pieces of large scale art for one of the big ole blank walls in there. Here's where they are:


(*Side note: ugh, I just can't handle that brass chandelier - it's high on the list to replace!)

Let's take a closer look at those two pieces. They're super simple to make.


Here are the supplies I used if you'd like to try your hand at making some of your own:
  • Royal blue acrylic craft paint
  • Modern Masters Pale Gold paint from their Metallic Paint Collection
  • Craft paint brush - I used a fat round one
  • White poster board - yep, nothing fancy here! If you mess up, it'll only cost you about 25 cents to start over.
  • IKEA Ribba frame - these are the 24"x35 3/4" size and the poster board fits perfectly in it
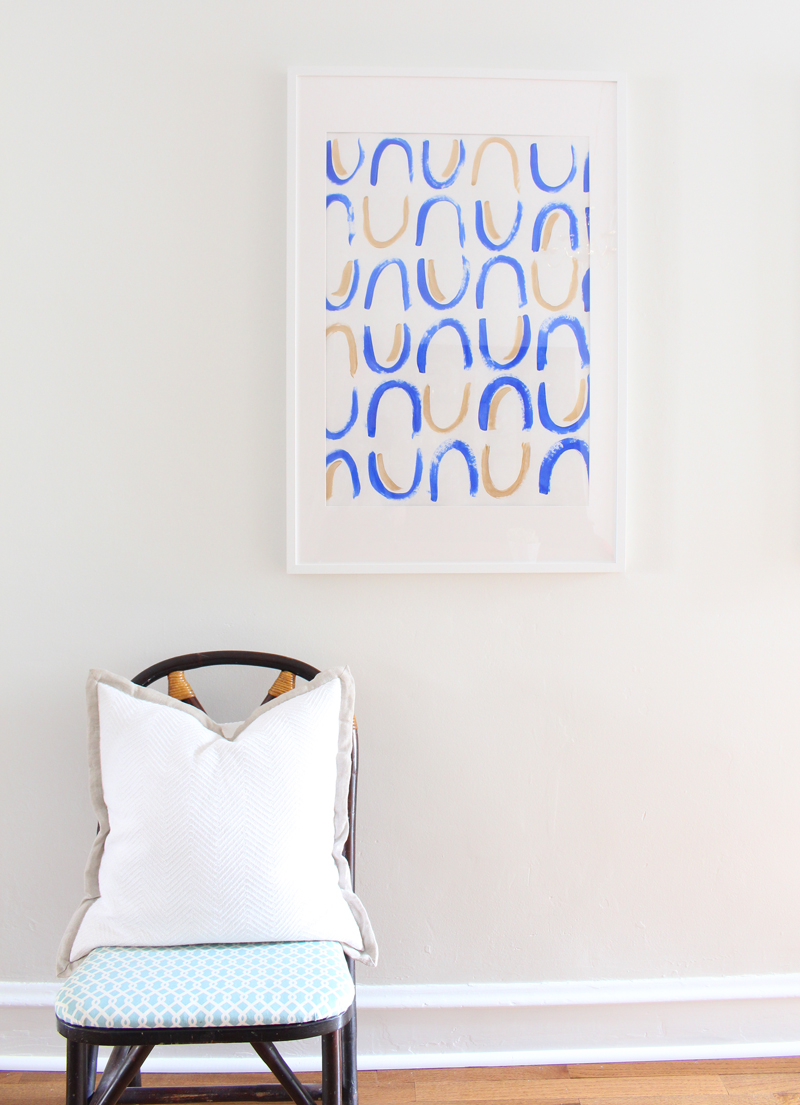
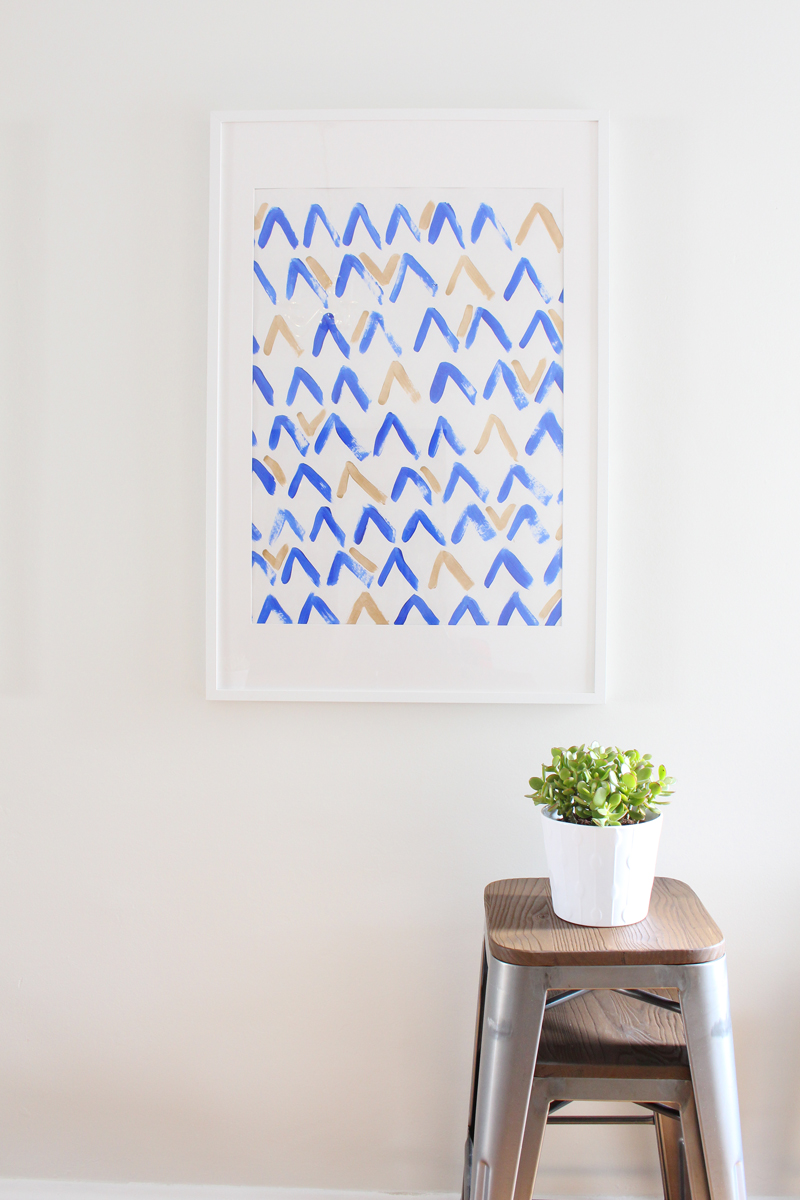
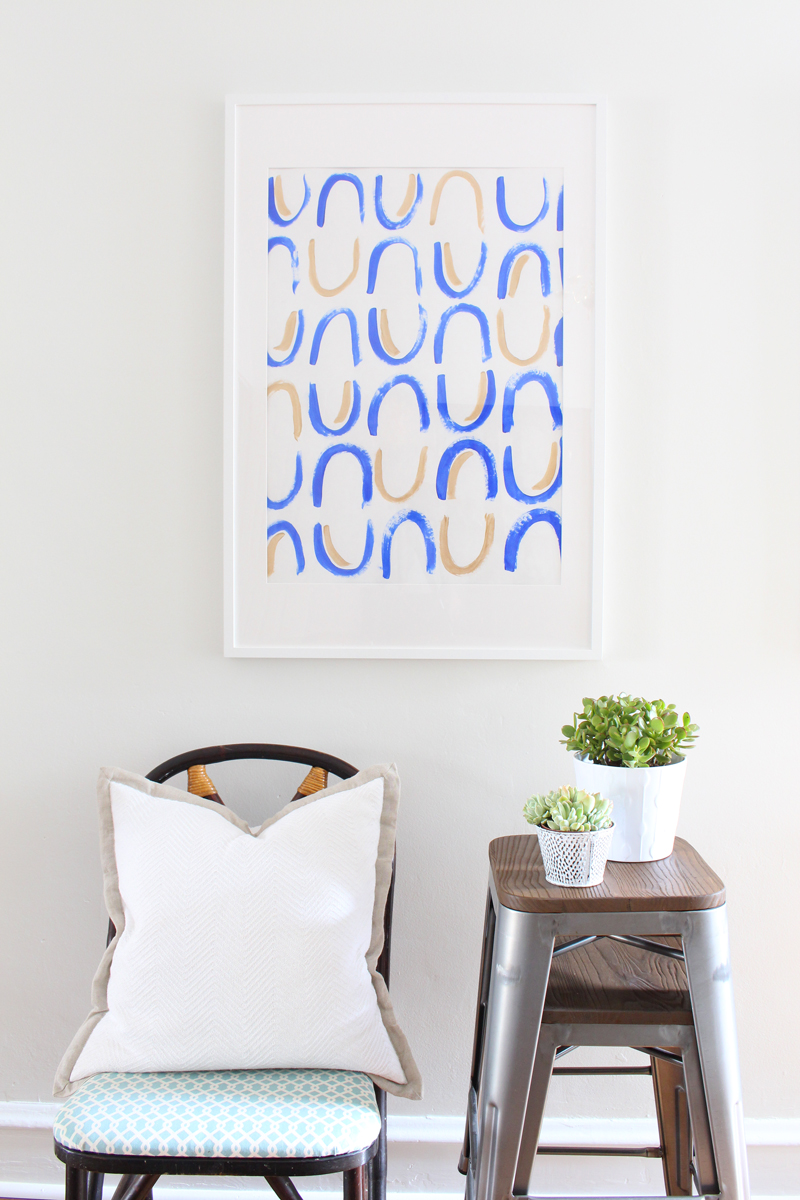
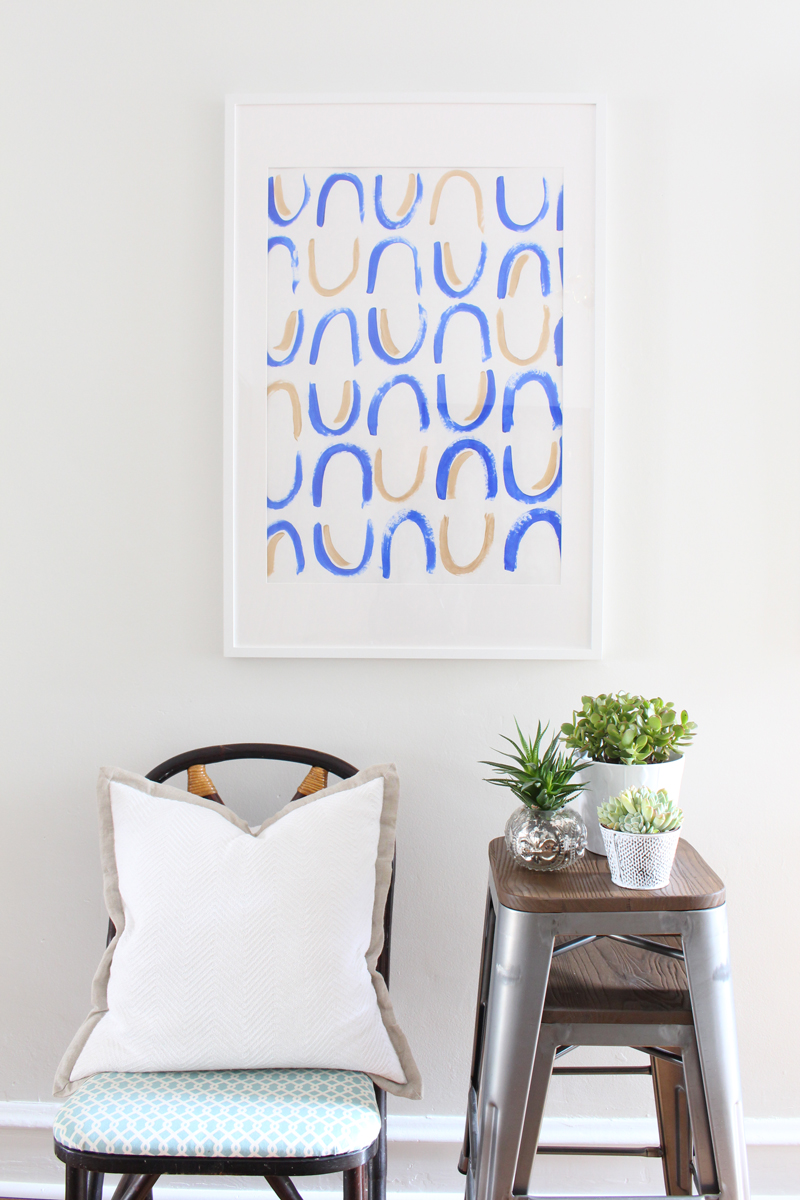
I decided to make two patterns: one "U" pattern and one "V" pattern. I sketched these out on a smaller scale first to make sure I liked them and then just went right at it. I chose blue as the predominant color and gold as an accent color, adding it in randomly when it felt right. I was inspired by the mud cloth and shibori looks that are so popular right now and wanted the patterns to look more on the imperfect side. I think I achieved that! 

Plus, perfection is overrated sometimes. ;)

After the paint dried, I popped them in the frames, securing them to the mat with washi tape at each corner.


I like how these two complement each other in color and style, but that the patterns are still distinct from one another. Also, that Modern Masters Pale Gold paint was the perfect metallic touch - it ties the art into the nearby kitchen pendants and the overhead lighting in the living room, all of which helps make these rooms look cohesive, but not matchy matchy. The gold paint is such a dream to work with: it goes on smoothly and is a true metallic with beautiful reflective qualities. Open floor plans can be tricky sometimes!

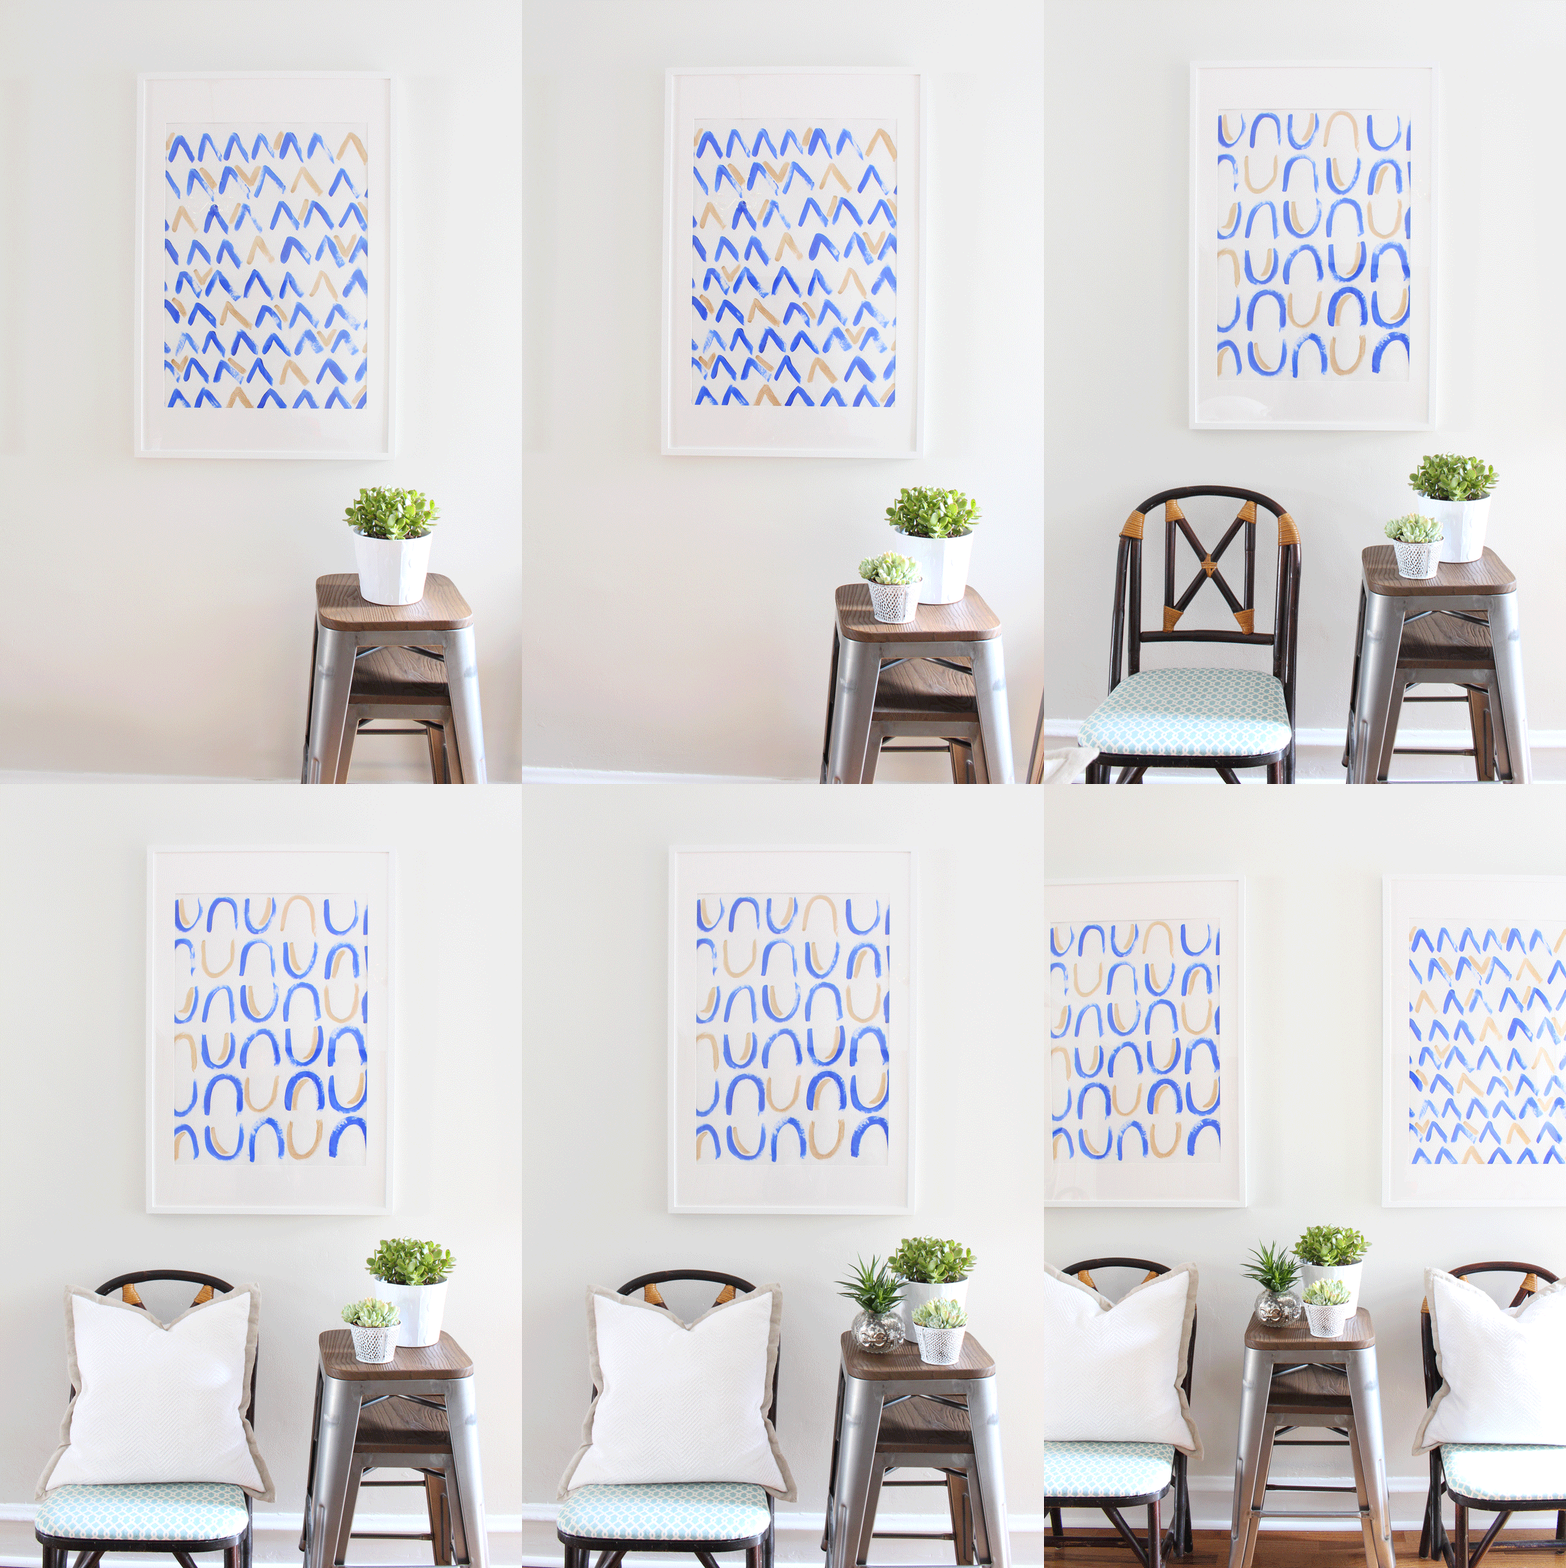
I had a lot of fun figuring out how to style these pieces for photos - styling is always a trial and error process for me - and thought I'd share my process as a fun little bonus for this post! I even made a gif for it - I think that's a first for MRFB! If you can't see the gif, just scroll down. The photos are there individually too.


I started with two stacked stools from our bar area and topped them with a potted succulent (jade)...


Added a second potted succulent...


Brought in a dining room chair...


Then a pillow...


And finally, one more plant for good measure.


I'm not an expert styler by any means, but I've learned a few things that are important to make vignette look great:

  1. Always include something living - either a plant or flowers.
  2. Vary the textures. Here I've mixed in metal, wood and soft fabrics.
  3. Gather items in groups of threes.
  4. Mix up the height of objects.


I hope you'll try some DIY art! It's a fun project that can totally transform a space.

Have a great weekend, y'all!

Enjoy what you read today?  Enter your email address below to subscribe to May Richer Fuller Be!  Delivered by FeedBurner

Pin It!

2.11.2016

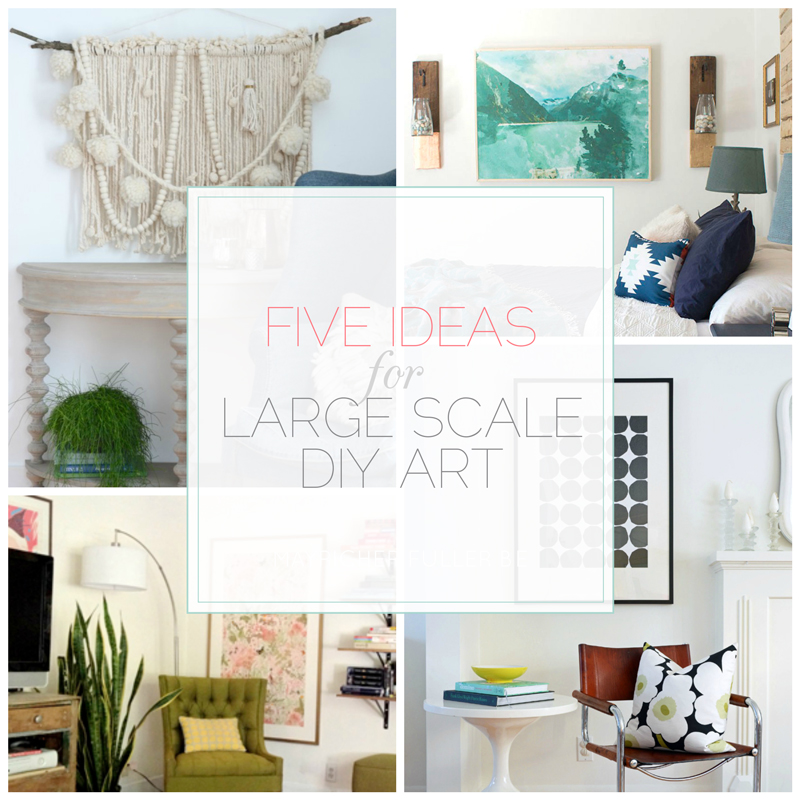
Five Ideas For Large Scale DIY Art {That Don't Look DIY'd}

If you caught my last post about my thrifted china cabinet makeover, you might have read that I'm in the market for some large scale art to flank either side of it. In an effort to keep costs down, I'm strongly considering DIY'ing a couple of pieces. I find that if you're purchasing art, most large scale stuff is either a) expensive if it's original work or b) cheesy if it's inexpensive. (Those two are the extremes of course - I know there's some great, reasonably priced large scale art out there.)

DIY art, on the other hand, can be more wallet-friendly, but I find that the problem with DIY'ing art is that it often looks DIY'd - do you know what I mean? (Hint: not the good kind of DIY.) It can be challenging to make it look really good - at least, that's my opinion.

There IS hope though! 

I found some really great examples of large scale DIY art that I think most anybody can recreate and can be confident that it will look awesome. I've split them up into five categories and have an example or two of each to give you (and myself) some inspiration. Let's get to it!

ABSTRACTS: 

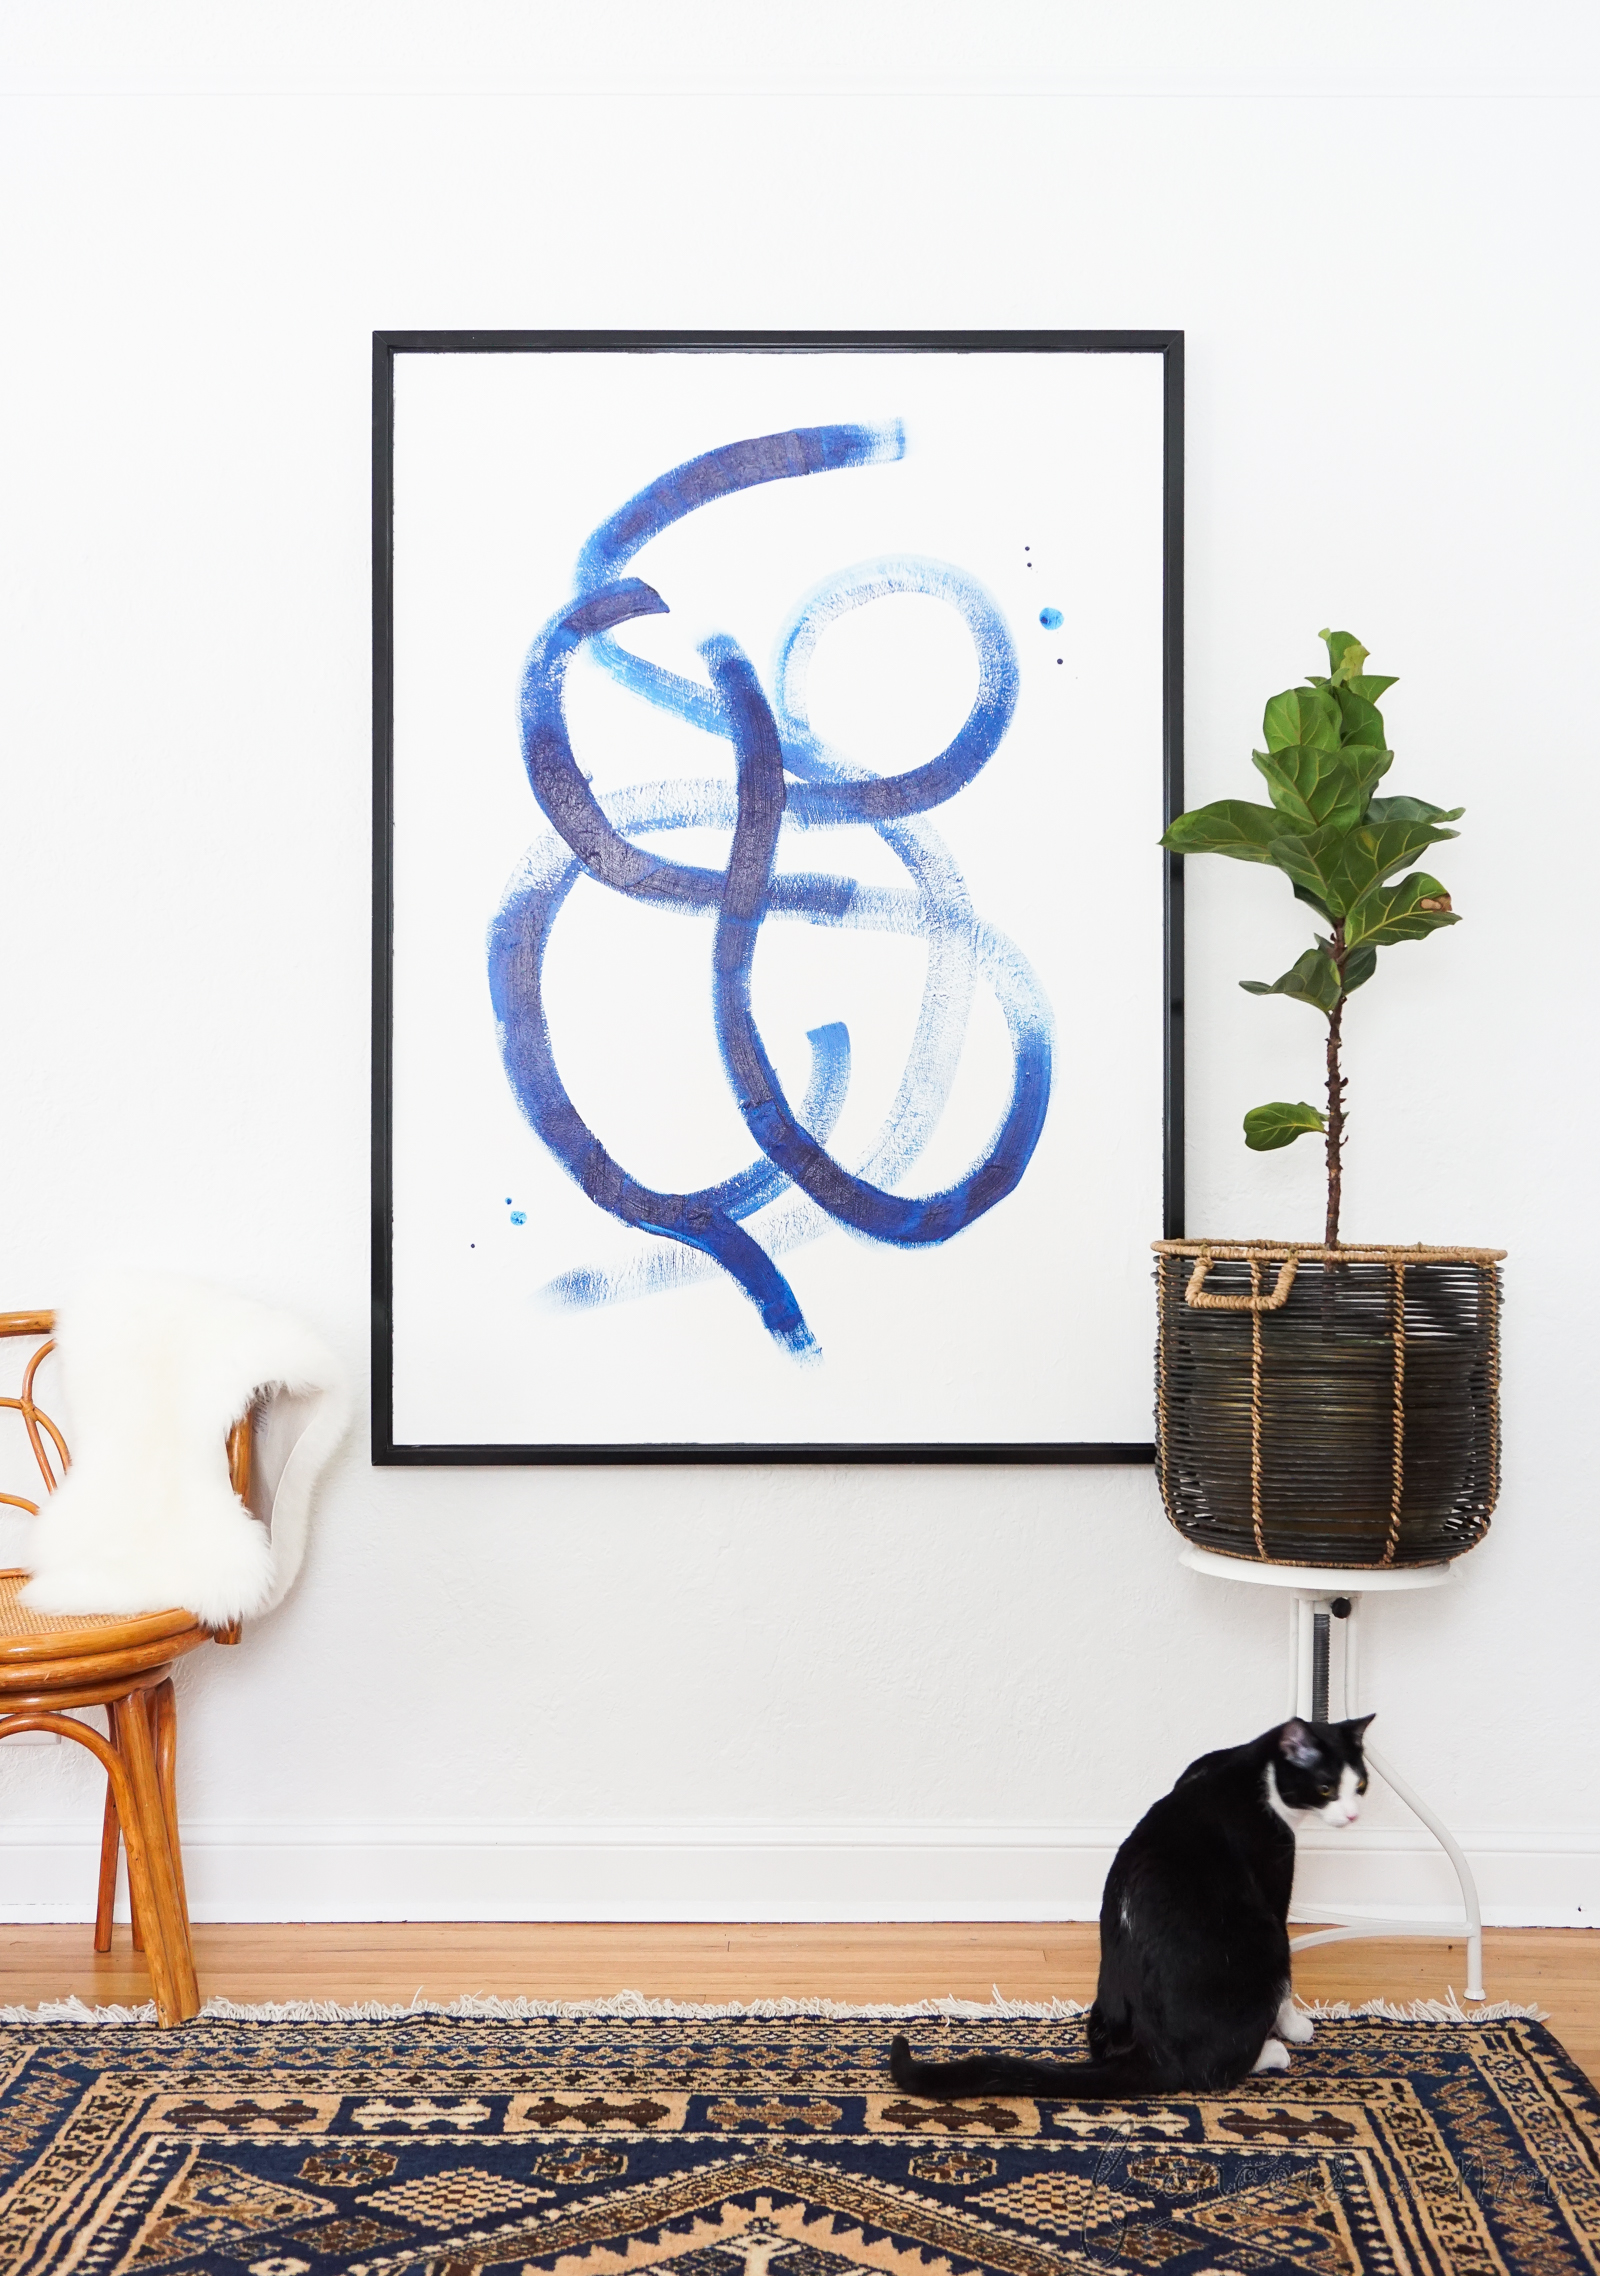
Oh abstracts - how tricky you can be! I painted one that's currently hanging in our living room and am pretty happy with the way it turned out. I'm no artist - I just experimented until it looked the way I wanted it. I'd like to try my hand again soon! There are many, many kinds of abstract art that range from very simple (like the brushstroke art below) to more complex (like the series of three below). Try your hand at both!

Simple Example | Francois et Moi 
{Francois et Moi}
Complex Example | Dans Le Townhouse
{Dans Le Townhouse}

ENGINEERING PRINTS:

Engineering prints are simply large scale copies printed economically on lower quality paper (think blueprints). Black and white ones are super inexpensive, but color ones are also available and are pretty affordable considering the size (the example below was $23). You can have these printed at office supply stores like Staples and then frame them (or don't - your choice!). If you're in the market for a simple, large frame, try the RIBBA from IKEA.

Black and White Example | House By Hoff

{House By Hoff}
Color Example | Mountain Modern Life

{Mountain Modern Life}

FRAMED WALLPAPER OR GIFT WRAP:

There are so many beautiful wallpapers and gift wraps out there these days. Wallpapers can get pricey, but you can search Etsy for remnants that are much more affordable. Wrapping paper on the other hand is more budget-friendly, and its easy to find in small sheets from places like Paper Source and Rifle Paper Co.

Example | Nalle's House

{Nalle's House}
Example | Mint Design Blog
{Mint Design Blog}

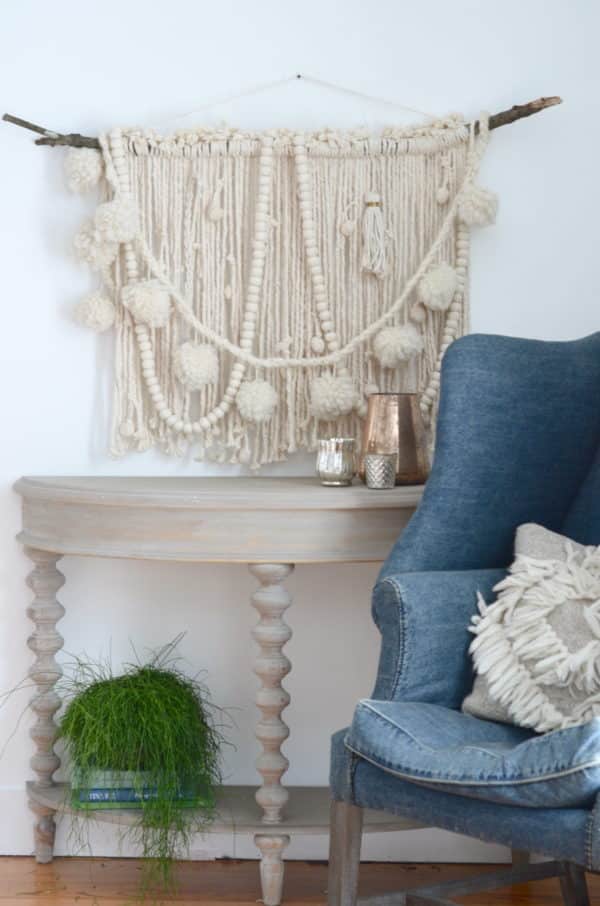
SCULPTURAL WALL HANGING:

The Nester has a fantastic step-by-step tutorial showing you how to make one of these, which starts as - you'll never guess - a mop as its base!

{The Nester}

OVERSIZED TYPOGRAPHY:

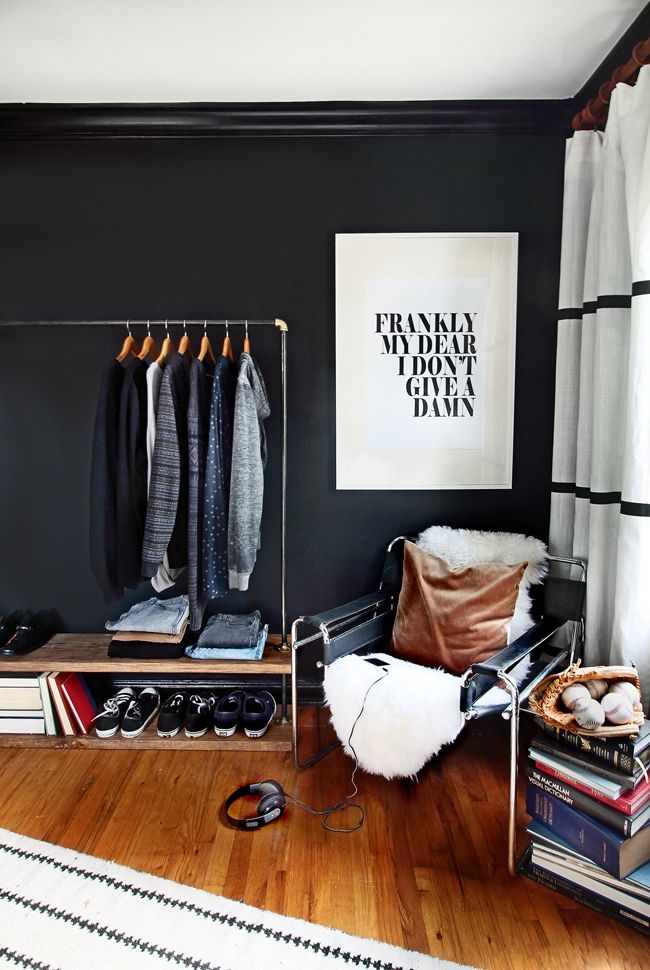
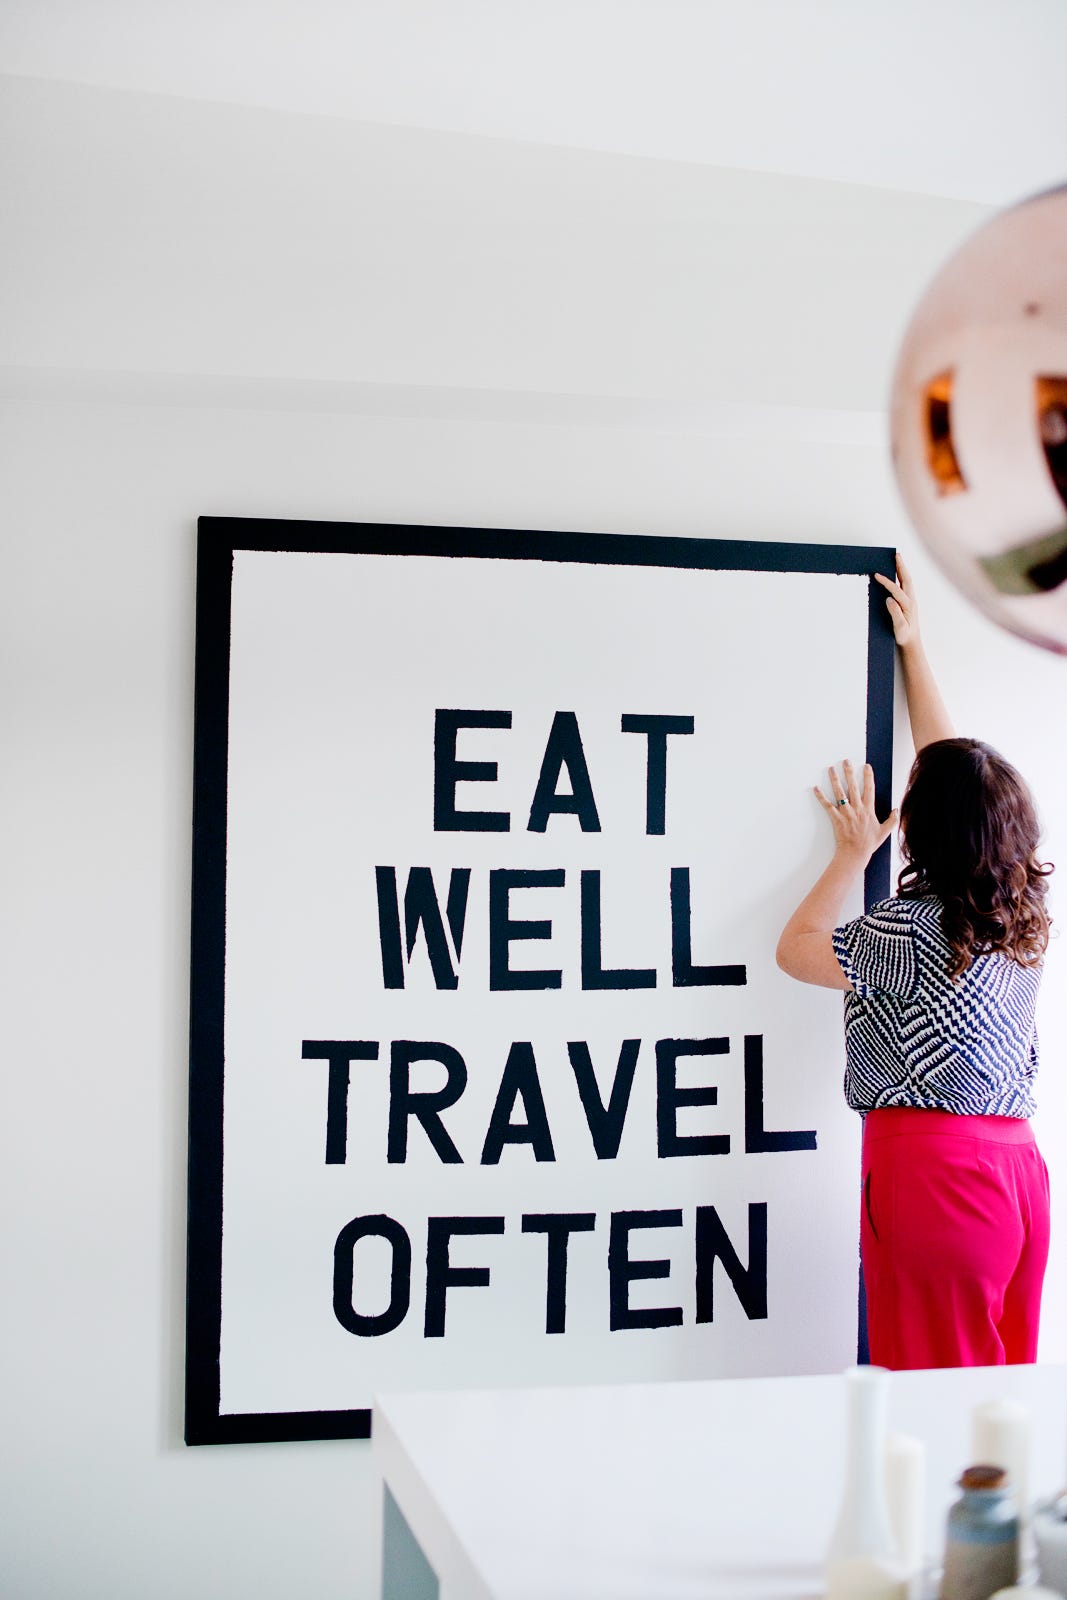
If you have Microsoft Word, Powerpoint, or just good handwriting you can do this! Choose your favorite phrase, type it out and have it printed at your local copy place, or write it straight onto a canvas. My best advice? Keep it simple for the biggest impact.

Example | The Hunted Interior

Kristen purchased this print with the iconic phrase from Gone With The Wind from Letters on Love (a shop that doesn't seem to exist anymore, unfortunately!), but you could certainly recreate something like this yourself.

{The Hunted Interior}
Example | Katalina Mayorga via Refinery29

{Refinery29}

Well! My creative wheels are definitely spinning now with all this research I've done, and I'm thinking it might be time to create something for my dining room. How about you? Are you ready to make some art? Do you have other DIY ideas you think I should try?

Enjoy what you read today?  Enter your email address below to subscribe to May Richer Fuller Be!  Delivered by FeedBurner


Pin It!

2.08.2016

Thrifted China Cabinet Update

Remember that vintage mid-century modern-ish china cabinet I picked up a few weeks ago for a song at my favorite second-hand furniture store? 


Well, she received a simple makeover last week and I'm excited to share this super simple project with you today! Can you see what changed? 

Yep, it's the inside of the glass cabinet area!


It went from wood to white by using one simple material: contact paper. No mess, no fuss, hardly any cleanup, and I was done in an hour. Told you it was simple!

I had some Whitewood Matte Wood Grain contact paper left over from this project in our rental house and it was perfect for this application.

All I did was:
  • Measured and cut lengths of contact paper to fit the area I wanted to cover
  • Removed a small section of the backing to expose the sticky side
  • Lined up the contact paper so it would lay straight on the wood (leaving a little extra sticking up along the edges to trim off later)
  • Smoothed down the contact paper with a plastic smoother tool while being careful to avoid bubbles (I pulled the paper backing off as I went along - I found that worked best for a smooth application)
  • Used a utility knife/razor blade to trim off the overhang so that the edges were sharp and clean
That's it! Unfortunately I did this project by myself, so I couldn't take any process photos, but I think applying contact paper to a smooth surface is pretty self explanatory! :)

I love how the white background makes all the glassware, serving pieces, china, barware etc. pop rather than recede into the background.


I can't believe how much storage space this hutch gives us - I still have space in the bottom cabinets that I haven't filled!  One thing I'm particularly excited about is that I finally have a place to display the "fancy china" I inherited from my grandparents.

The next step for this dining room is to add some art on either side of the hutch. I'm not sure what that will be yet, but I want to it be large, but inexpensive. I'm open to ideas!


Enjoy what you read today?  Enter your email address below to subscribe to May Richer Fuller Be!  Delivered by FeedBurner

Pin It!

1.13.2016

Upholstered Headboards - DIY or Buy?

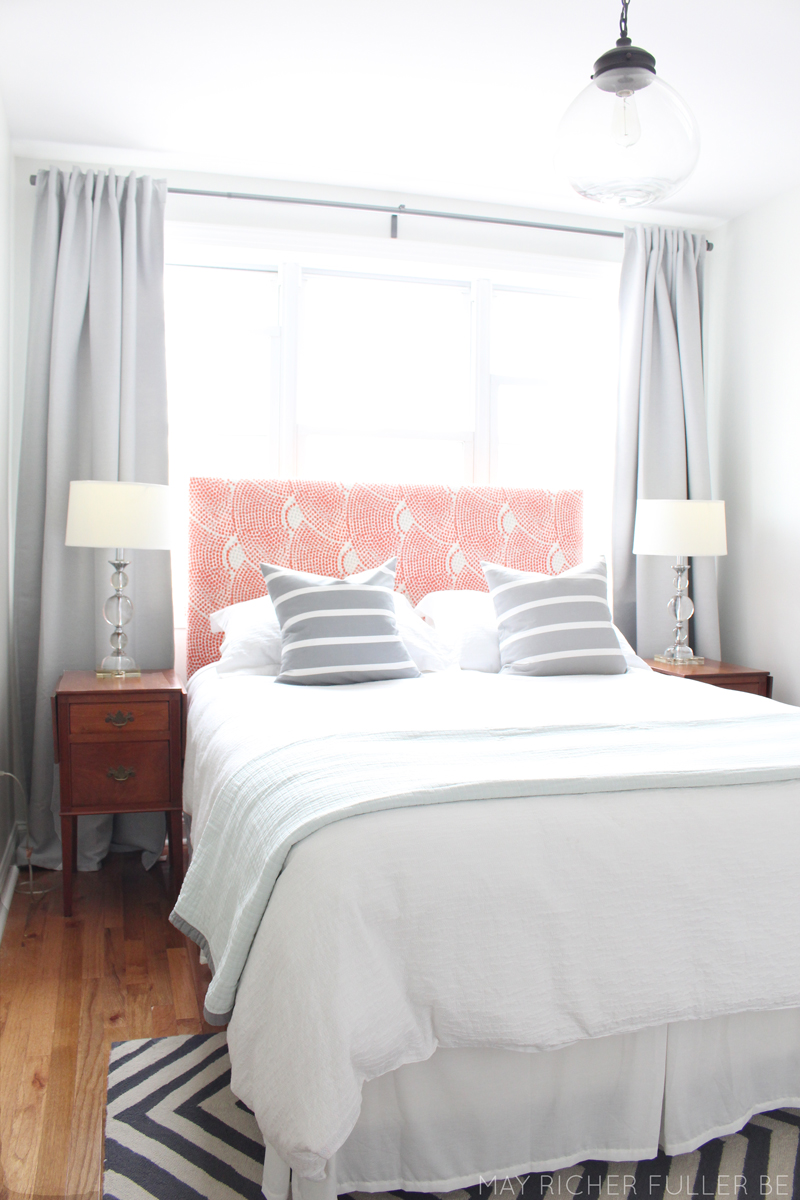
After one post on the progress we've made in our master bedroom and another on the guest bedroom, the topic of headboards sure has come up a lot recently. I think a headboard is a vital part to making a bedroom look put together and "finished," and it's driving me crazy not having the right one for our master and not one at all (gasp!) in the guest bedroom. I hope to remedy that situation soon and I've been going back and forth between DIYing another headboard and buying one.

I've DIY'd several headboards in the past and it can be a pretty quick and straightforward process if you keep the design simple. An added bonus is that you get to choose your fabric, making it a completely custom piece. Y'all seem to be into making your own headboards too, considering that the one I made that's currently in the master is one of my most popular posts ever!


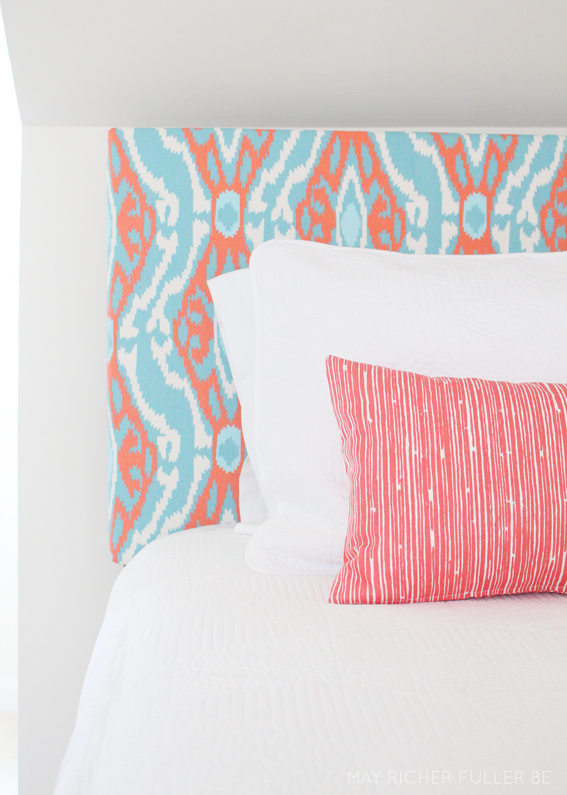
In other headboard-making adventures...last summer, rather than DIY from scratch, I cheated and bought two very inexpensive ones from Walmart and reupholstered them in an adorable patterned fabric for a room in my parents' river house (read all about that here and see the finished room here). Boy, was that project a breeze!


This time around, I'm toying with buying a new one for our master that's ready to go right out of the box, but the DIYer in me is protesting a little at that idea :). To appease my DIY side, I'm probably going to reupholster the one in the master and move it to the guest bedroom.

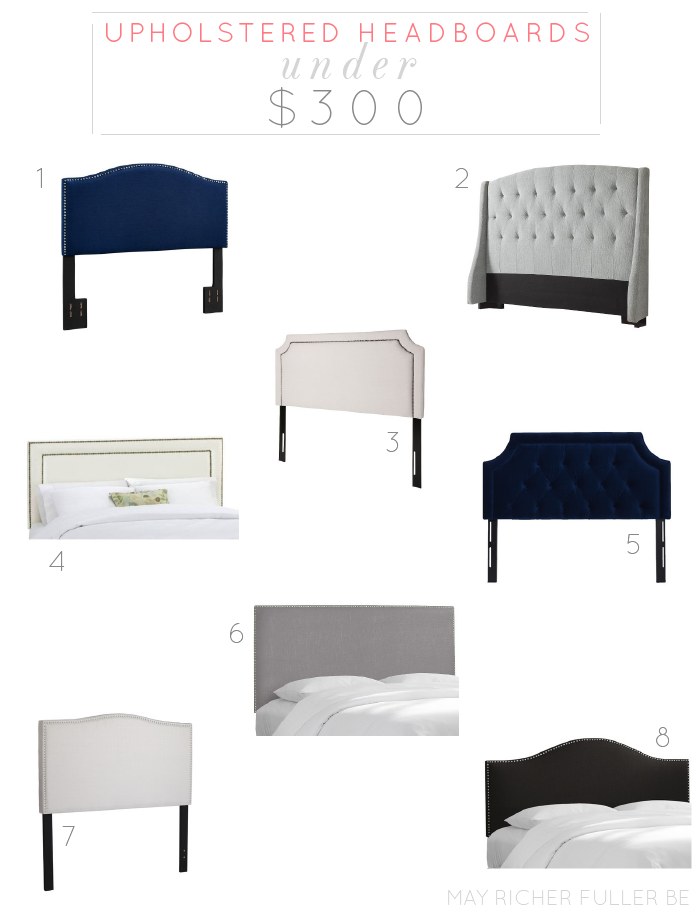
So! Where do we go from here? Find some upholstered headboard options, of course! As per usual, I'm always trying to keep things on a reasonable budget, so I started to take a look at what my options are for upholstered headboards under $300. There are a surprising number of good lookin' ones out there in that price range. Check these out:


I'm going to mull these options over for a bit and I'll be sure to keep you updated on the decision! Thanks for letting me brain dump here on headboards today. It's kind of fun to share my thought process on "house stuff" every once in awhile!

Enjoy what you read today?  Enter your email address below to subscribe to May Richer Fuller Be!  Delivered by FeedBurner

Pin It!
Related Posts Plugin for WordPress, Blogger...
Blogging tips