
*UPDATE! I found an even better solution for this wall. Read about it over here!
The beadboard wall is officially up for good! Well, I guess I should say that it's temporarily up for good since we live in a rental :). Last week, I showed off the progress in this post, but with the caveat that it was held up with painter's tape for the time being until I figured out a better solution. In my mind, the ideal, non-permanent solution was double stick tape, but I worried about the adhesive residue that might leave behind. Plus, I wanted something a little heftier so I wouldn't have to use a bajillion pieces of it. After googling around, it turns out

Mind. blown.
So that's what was on its way to my house when we last talked about this beadboard wall. Once it arrived, I got to work, praying it would be the magic bullet to sticking this beadboard wallpaper to the giant wall o' tile in smooth, straight sheets.
And it worked! Sorta...Let me show you how I used the tape, and then I'll elaborate on why it didn't end up being the perfect solution.
I started on the far left end of the wall and removed one sheet of beadboard at a time from my previous installation attempt.
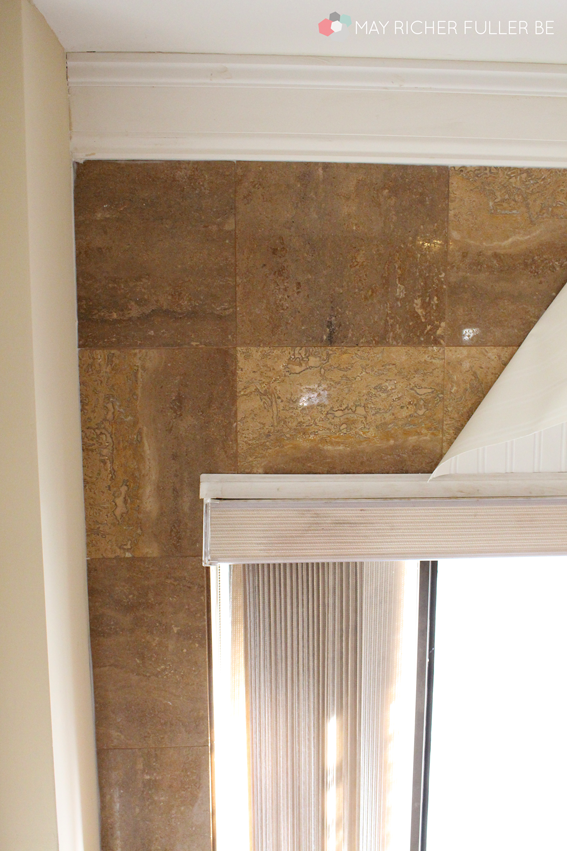
You can see above that one sheet is gone, and the one next to it is still hangin' on with a little bit of painter's tape. I removed one at a time so I could keep the sheets straight vertically by matching up the edges since I had already done that part in my last installation attempt.
Then I added four pieces of the ZipWall tape that were a little wider than the beadboard wallpaper so that I could seal the edges of adjacent pieces together. The red paper covers the stickier side when it's on the roll and I removed it to reveal the tape when I was ready to put up the piece of wallpaper.

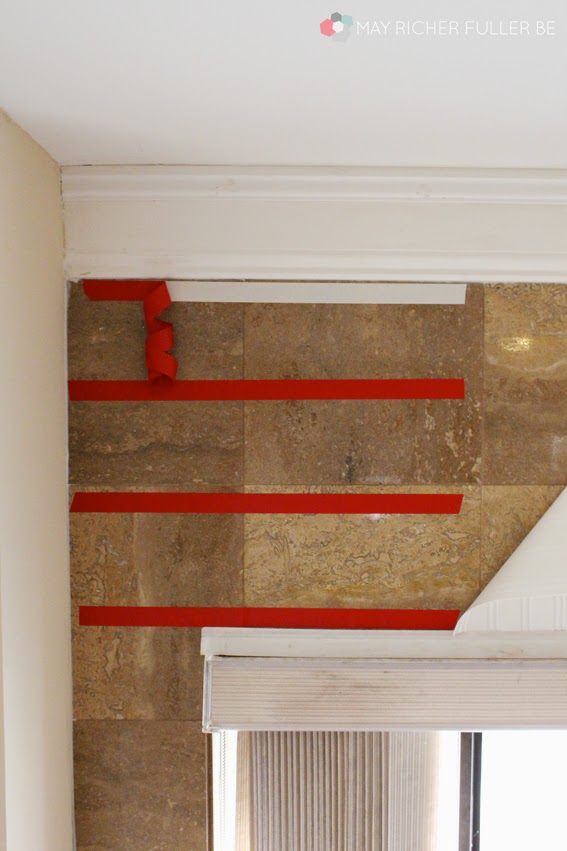
I placed the wallpaper sheet on top of the tape once I lined up the top edge with the bottom edge of the molding. See the pieces of tape sticking out on the ends? The edge of the next piece of wallpaper goes right on top of those to help seal up the gap that you inevitably have with wallpaper.
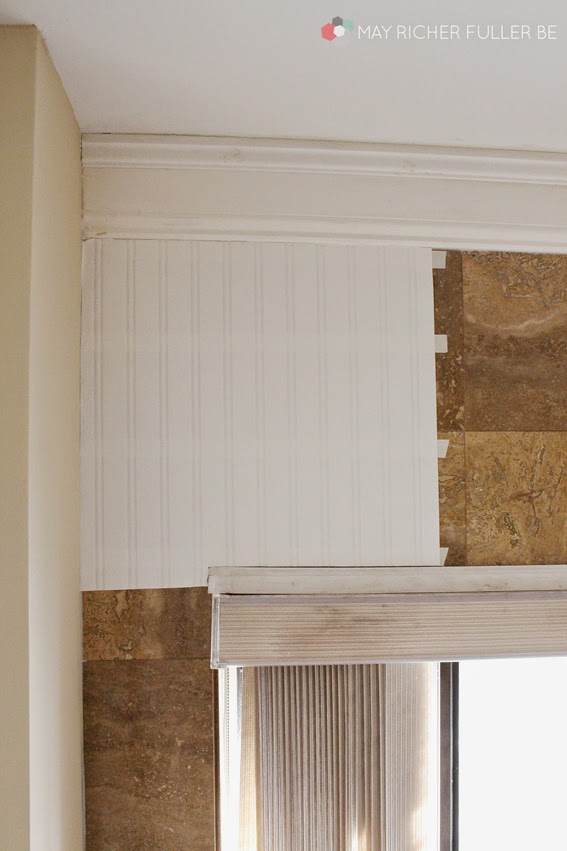
In order to get the wallpaper as smooth and taut as possible, I started by smoothing the top edge down and then pulled the bottom taut with one hand while smoothing it down from top to bottom with my other hand. If I didn't get it right the first time and there was a bubble or something, that was ok - I just pulled it back off the tape and re-smoothed it down. The tape is pretty forgiving and didn't damage the wallpaper at all when I pulled it back off.
P.S. Take a good look at those vertical blinds. Aren't they nice? Just kidding...see why I want to find a way to hide them too?
I then worked my way across the wall putting the wallpaper back up using the new ZipWall tape and it was looking so so good!
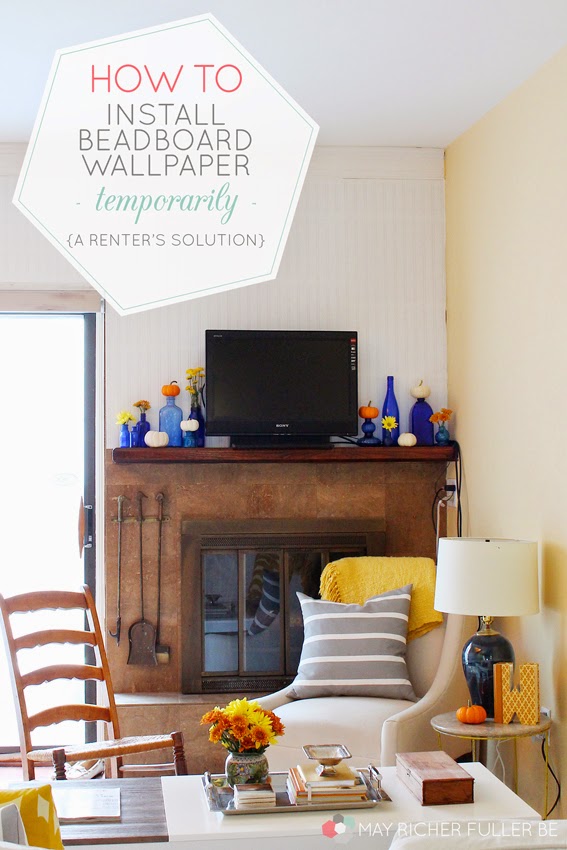
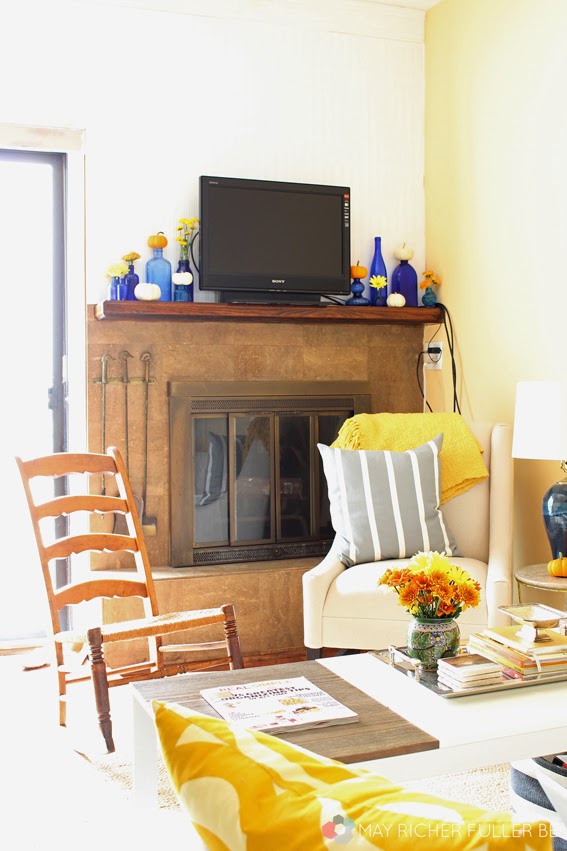
After placing a few pretty things on the mantle to fall-ify it (I'll talk about those next week), I snapped a few photos. I was really happy with how it turned out! The tape made it look really smooth and almost like it was installed for real. :)
Then, the next morning, I came downstairs and...
Two pieces had fallen off the wall.
Dum dum dum.
I was so disappointed! Turns out the texture of the back of the wallpaper and ZipWall tape weren't totally meant to be. Never one to give up without a fight, I brainstormed for a bit and settled on trying to remedy the problem by adding a few short strips of regular ole clear double stick tape right on top of the ZipWall tape just at the very top of each piece. And you know what? It worked like a charm. Nothing has fallen down or come loose in the four days it's been since I added the clear double stick tape. Mission accomplished. See why it took a little bit of trial and error? Thankfully, the persistence paid off and I now have a beautiful beadboard wall!
Let's get to the fun part now - the photos!

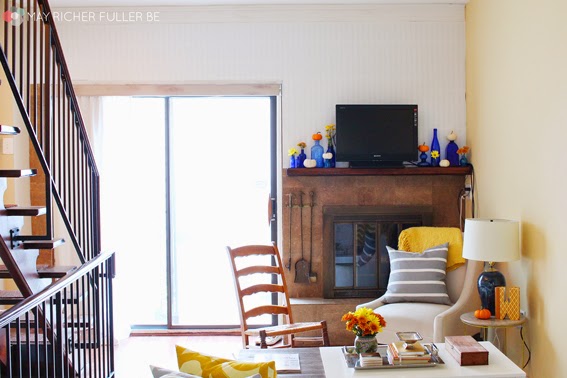
(The lighting in that last photo is totally weird - hello bright sunshine from the big glass doors!)
It's looking pretty good on that wall now - I'm so glad to have that little project done! It just goes to show that a little creativity in a rental can go a long way into making it a place that feels more like YOU. Even if you can't knock down walls or make any major changes, sometimes all you need is a few bucks and a fun idea and then you're off!
Thanks for following along with me on this project, y'all. I'll be back tomorrow with some fun links to kickstart your weekend!
linking up to: DIY Showoff, Rain on a Tin Roof, Home Stories A to Z, Uncommon Designs, If It's Not Baroque, Liz Marie Blog, Blissfully Ever After, Design, Dining and Diapers, Crafty Scrappy Happy, Craftberry Bush, The Shabby Creek Cottage, Tatertots and Jello, Serenity Now, It’s Overflowing, House of Rose, Love of Family and Home, Dear Creatives, Madigan Made, First Home...Love Life, Simply Dream and Create, Whipperberry, Sparkles and A Stove, Making Home Base, Naptime Creations, Remodelaholic, Work it Wednesday, Living Well Spending Less, The Makers

It looks so great! Glad you found a solution that worked.
ReplyDeleteAnnabode.com--Design for the Thrifty & Uninitiated
This is AMAZING! What a great find! Plus I'm always excited to find a fellow blogger who rents! Great job!
ReplyDeleteThat tape is a great find and your beadboard looks awesome! Found you on the Remodelaholic's link up! Kyla @ http://houseofhipsters.com/
ReplyDeleteI love it! I'm a renter so I'm always looking for temporary ideas. Where did you find that tape?
ReplyDeleteLooks great! I am curious--a few months later, how has it held up?
ReplyDeleteThe beadboard ended up not being the perfect fit for that wall and the pieces started falling down in strips due, I think, to temperature fluctuations. Since it's an exterior wall, the adhesive I used expanded and contracted as the outside temperatures changed. I ended up finding an even better solution recently. You can read about it in this post if you're curious!
Deletehttp://www.mayricherfullerbe.com/2015/06/living-room-fireplace-wall-makeover.html
Becoming rich through owning rental properties is a vision many of us have. It's one of the absolute best methods to cultivate wealth because it can be fairly low risk and the barrier for access is less than it can be with many other ways of getting rich.
ReplyDeleteLethbridge real estate
Do not let those fears get to you - it is possible to certainly start out small and still generate a great income! Multi-unit properties are the way to go, regardless of whether you own 1 of them or 10 of them.click this
ReplyDeleteSugar, spice and everything nice! That’s what the blog is about.poconohouse
ReplyDeleteI absolutely agree with all that was being said above! So you might be interested in checking this for the reference as well.
ReplyDeleteI understand it is costly and I understand there are instances it does not generate phone calls but if you are going to persist in the real estate investing business sector just place it in there and leave it. read more
ReplyDeleteIt really looks great. Even, you have improved the look of your home. Using the tape for the decoration purpose gives the amazing background. Just like that double roller blind bracket is being used.
ReplyDeleteExcellent blog here! Additionally your site lots up fast! What host are you the use of? Can I get your affiliate link to your host? I want my website loaded up as quickly as yours lol https://www.trainingroomsg.com
ReplyDeleteJust pure classic stuff from you here. I have never seen such a brilliantly written article in a long time. I am thankful to you that you produced this! Whitby Party Bus
ReplyDeleteI'm constantly searching on the internet for posts that will help me. Too much is clearly to learn about this. I believe you created good quality items in Functions also. Keep working, congrats! Toronto Party Bus
ReplyDeleteDo you have a spam problem on this website; I also am a blogger, and I was wanting to know your situation; we have developed some nice practices and we are looking to exchange strategies with others, why not shoot me an email if interested. Boulevard 88 Price
ReplyDeleteI read this article, it is very useful information thanks for sharing great information, for Background Checks Malaysia
ReplyDeletePre Employment Screening
Background Screening Malaysia
Hello there! This is kind of off topic but I need some advice from an established blog. Is it very difficult to set up your own blog? I’m not very techincal but I can figure things out pretty fast. I’m thinking about making my own but I’m not sure where to begin. Do you have any points or suggestions? With thanks expats
ReplyDeleteGreat home decoration tips. Thanks for sharing.
ReplyDeleteIt is very useful information thank you so much for sharing this Article.
ReplyDeleteMVD International