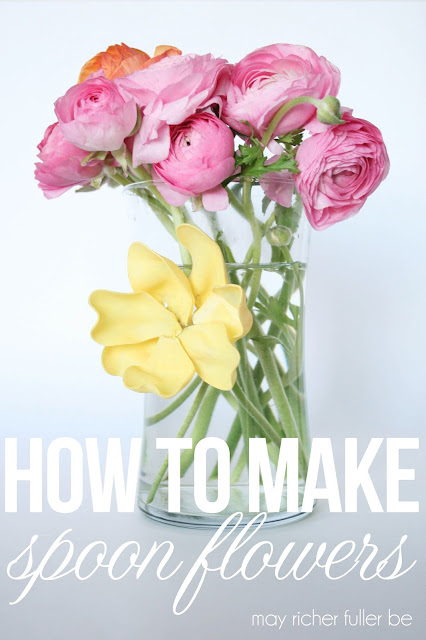
What do you get when you mix plastic spoons, candles and a little craft paint? Why, spoon flowers of course! Ever since stumbling upon this idea at
Sharon Berry Design (man, that lady's talented!), I've been itching to make my own and share them with you. Sharon's are really spectacular, so you should definitely take a look. These are reminiscent of those
gorgeous Anthropologie vases with ceramic flowers that I love, but don't necessarily want spend my pennies on. This little project is a great alternative and just as pretty!
Today I'll show you how I made mine, and I promise after we're done, you're going to want to make some of your own this weekend! #craftivityalert #warningtheycanbeaddicting
Supplies needed:
- Plastic spoons
- Candle
- Lighter/matches
- Hot glue gun (optional)
- Acrylic craft paint or spray paint
- Paint brush
Step 1: Light your candle and grab a plastic spoon.
Hold the spoon an inch or two above the candle, moving it around so the heat distributes as it warms up and starts to melt the plastic. After a few seconds, you'll notice that it'll start to bend, wrinkle and curl up.
It'll start to resemble a flower petal. While the plastic is still warm, it'll maintain its pliability and you can (CAREFULLY - it's hot!) mold it a little if it's not quite the shape you like.
Step 2: Detach the handle from the bowl of the spoon.
I'm sure there are many ways to do this, but I actually found the easiest way to break off the handle was to melt it. Hold the handle over the candle in the area you want to break it off. Once it starts to bend and melt, twist the handle off. It'll break fairly cleanly and you don't have to worry about cracking the "petal" you just made.
Step 3: Repeat steps 1 and 2 until you have enough petals to make a flower. (I used six petals for each flower.)
Step 4: Attach your petals to one another to form a flower.
You've got two options here to form the flower: melting more plastic, or using a hot glue gun. I used the former method, but the latter is probably easier (ha!).
I had to use both hands for this part, so I didn't take any photos, but the basic process for attaching the petals to one another is to hold the handle end of the "petal" over the candle until it melts and becomes "sticky." Take a second petal and stick its handle to the end of the one you just melted. The melted plastic acts like glue, and hardens up in a few seconds. Those petals are officially stuck! Continue this process until you've formed a six-petaled flower.
This part took a little bit of artistry and finesse, but I found it worked really well once I got going. There's no wrong way to form the flower - just keep adjusting it until you think it looks right!
Step 5: Paint 'em!
I used yellow and hot pink acrylic craft paint to paint these guys (and left one the original clear). If you want a more polished look, I'd use high gloss spray paint. I liked the matte, imperfect paint look, so I went with that.
It took about three coats of paint to get the coverage I wanted. Make sure you let each coat dry before painting again. I got impatient and tried to paint faster, and it didn't work very well!
Step 6: Attach a flower to a vase.
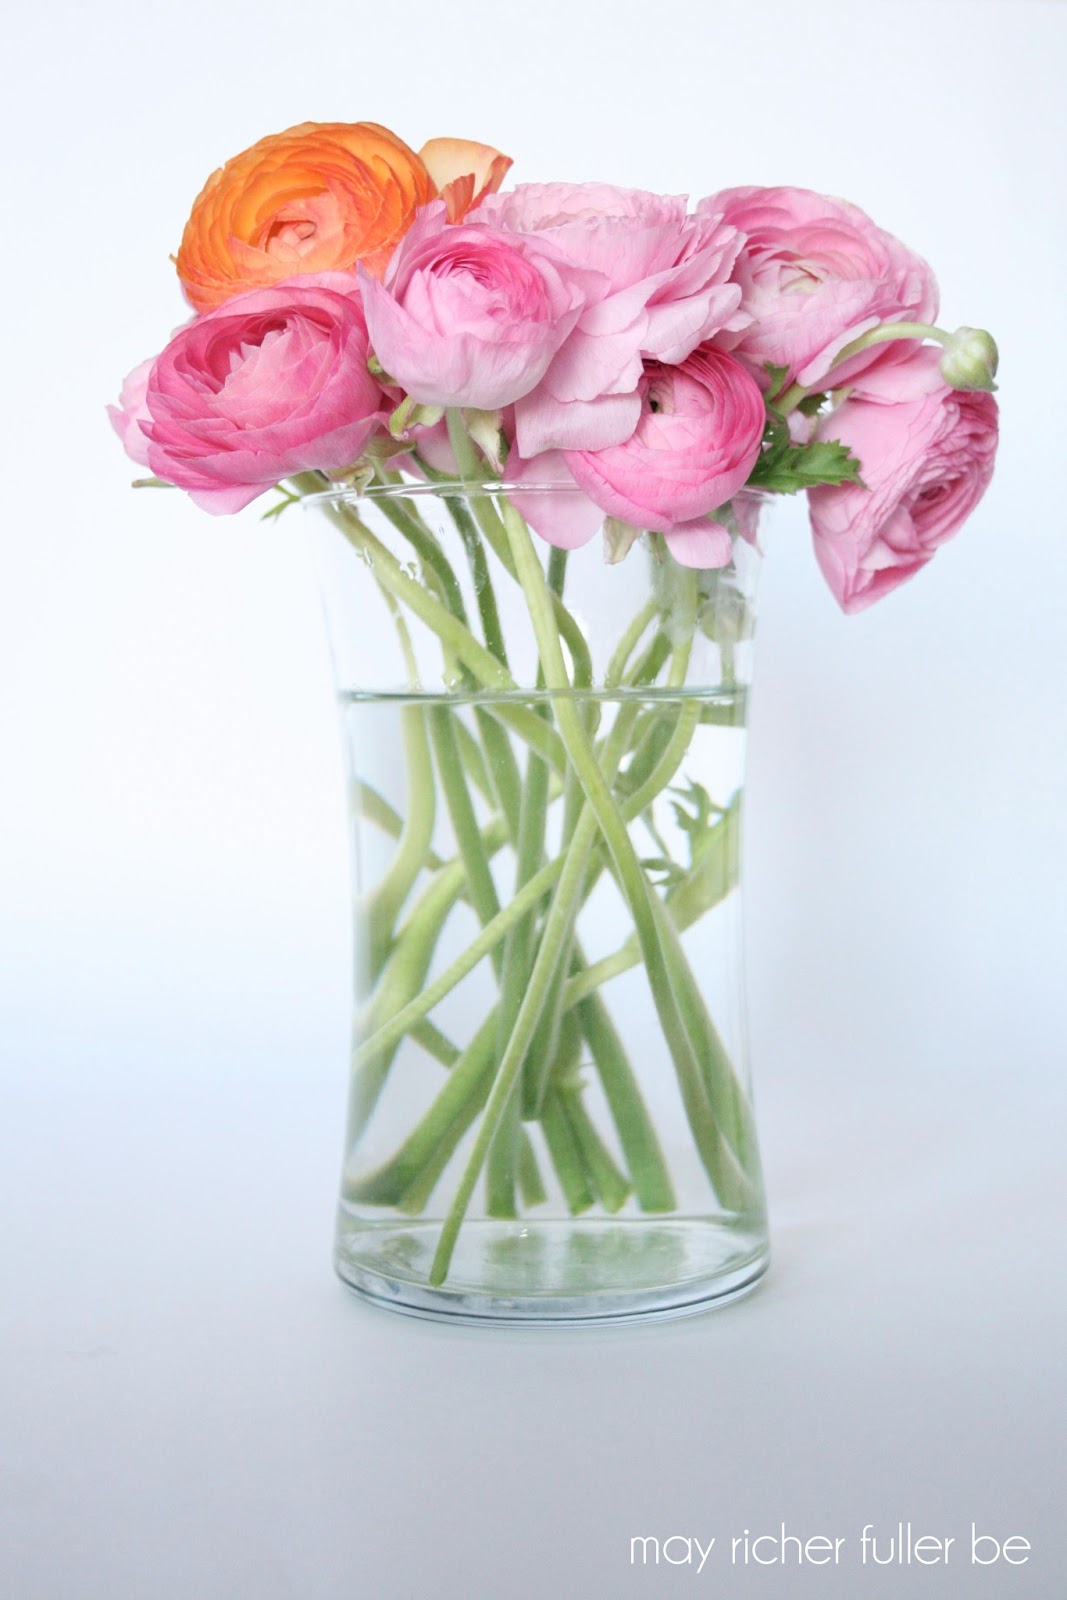
I bought a bunch of beautiful ranunculus at Trader Joe's and put them in a clear vase. Let's just admire the beauty of these flowers for a moment, shall we?
Ok, back to step 6. Attach a flower to the vase using a dot of hot glue.
All done! Admire your handiwork and pat yourself on the back for a job well done.
Now for a photo explosion...I thought these turned out so well that I couldn't resist having a little spoon flower photo shoot. Here it goes!
Hope you enjoyed this little tutorial and eye candy. Now go get yourself some plastic spoons and get crafting!
If you make some of these spoon flowers yourself, I'd love to know about it. Leave a comment, tweet me a photo, or link to your blog post! Have a great weekend!
---------
Shabby Creek Cottage, Tatertots and Jello, Serenity Now, It’s Overflowing, House of Rose, Love of Family and Home, Dear Creatives, Suburbs Mama, First Home...Love Life, Love Bakes Good Cakes, With a Blast, Madigan Made
featured on:
First Home...Love Life