

Le sigh.
BUT, after a lot of back and forth on what to do about the decrepit shutters and pricing out their options for board and batten, my parents decided to move forward with a THIRD option - make over the existing shutters! Didn't see that coming, did ya? I sure didn't. They put their own DIY skills to work and I'm back today to share the results of their incredible efforts! I love that they decided to use what they had, even if it meant a little (ok, a LOT) more elbow grease to get the results they wanted.
This isn't really a how-to post, but I will share the general process. Also, I can't take any of the credit for this project - I think I helped with about 10% of it total :).
Let's start with the before.
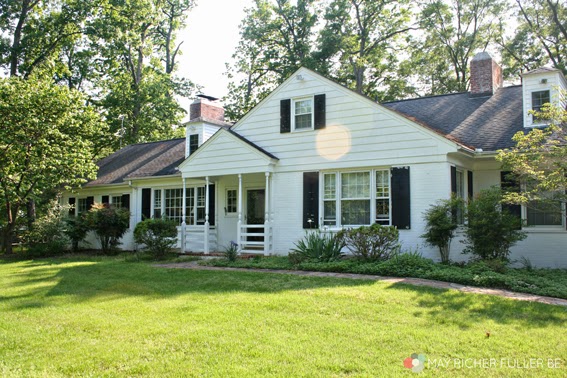
The shutters were peely, faded and dirty black ones that had definitely seen better days. They're louvered, which meant lots of slats. Yikes. Repainting them seemed like a lot of effort, but the cost-savings of doing that won out against getting new ones - even if the louvered look wasn't originally what they were hoping for.
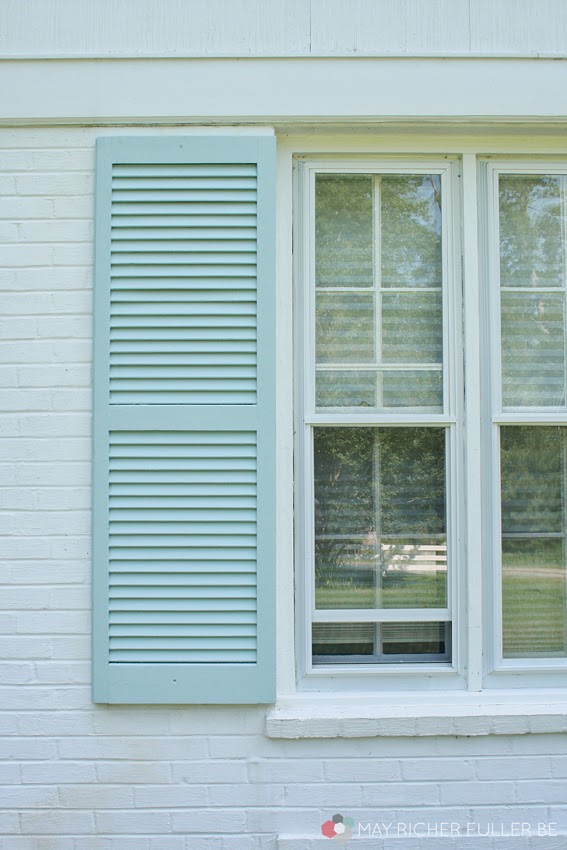
Let's look at one of those yucky shutters close up, shall we?
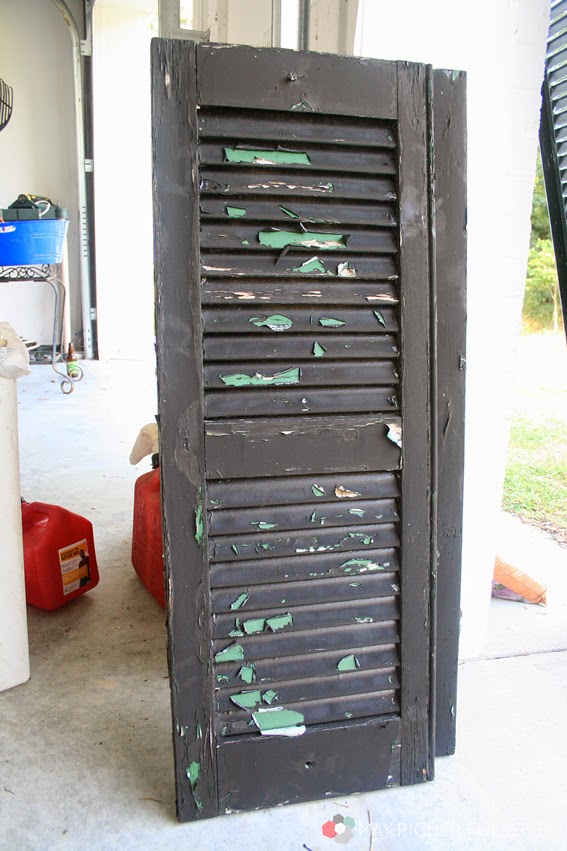
Oh yeah. Lookin' good. Especially with that even older green paint rearing its ugly head under the layer of black.
Over the course of several days, my parents took all of them down, cleaned them, and sanded them in preparation for repainting.
Even after the sanding stage, they were looking so much better. P.S. I can only imagine what that lovely green looked like originally.

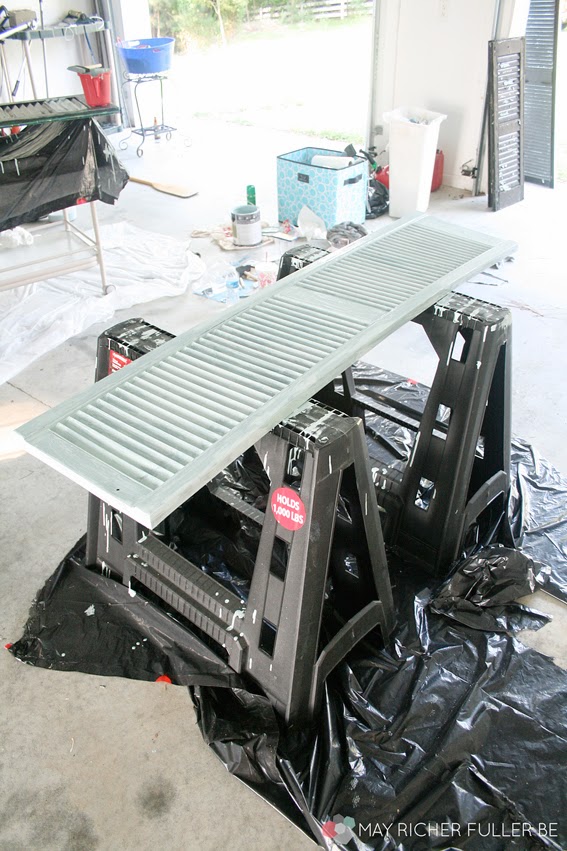
After sanding, it was time for a few good coats of paint. The paint was Behr Premium Plus Exterior in Rain Washed for those of you that are curious. It's such a pretty light blue/green/aqua color. It really goes well with the light, bright, beachy vibe they have going in the rest of the house.
For the most part, they used a combination of brushing (coat one) and spraying (coats two and three) to get a nice, even, smooth finish. They ended up straight-up spraying (no brushing) all the coats of the last few shutters, which seemed to work best of all. Thin and even coats gave the best finish!
After one coat...
Two coats...

And three coats (the touched up areas are still drying on this one)...
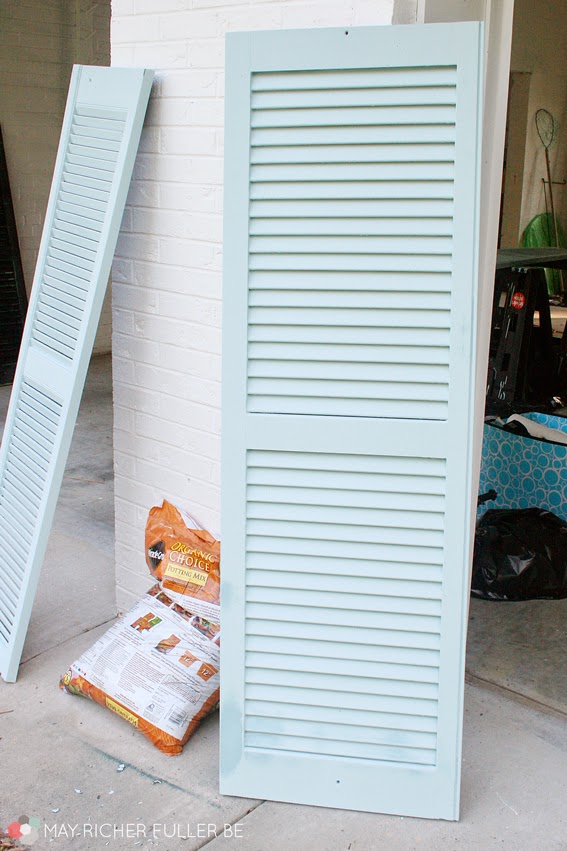
They let the paint fully dry and then back up they went on the house. Gorgeous!

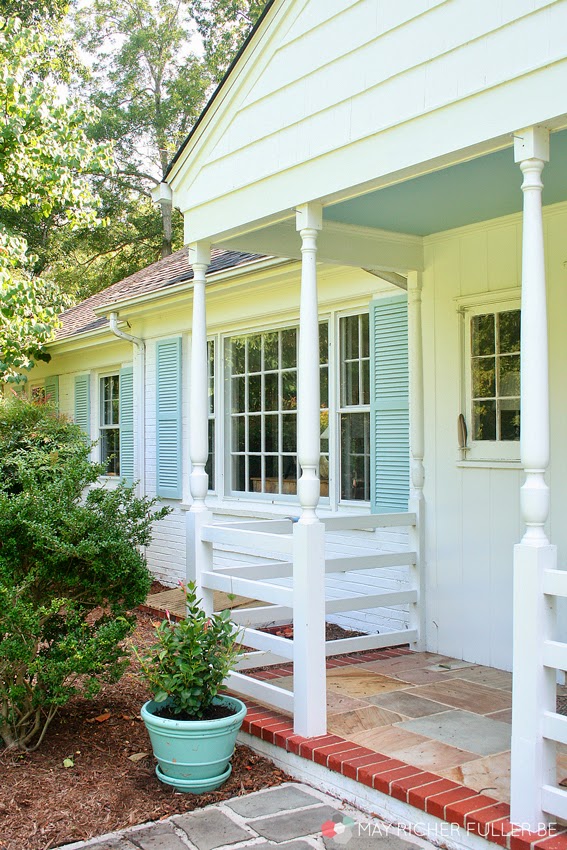

Didn't my parents do a fabulous job?! The new paint on the shutters makes the house look so fresh and clean. I still do a double take every time I look at them and think to myself, wow, is this the same house?
Here's the before and after shot again so you can really compare. Shutters, you've come a long way, baby!
Ah, the power of paint.

Nicky offers his insight on outside painting and other home change points at joins Tarpon Springs house painters from above painting contractual worker site through articles and asset materials on different subjects.
ReplyDeleteLove how the house turned out. Thank you for sharing!
ReplyDeletehotmail login account
Thank you for being a constant source of inspiration and motivation. Your passion and dedication are truly admirable and have pushed me to Geometry Dash Wave strive for greatness.
ReplyDelete