

Happy Monday, y'all! I'm excited to introduce you to a fun mini-series I've put together for this week. It's a week full of book page crafts! These are all easy to do and you don't even need to be "crafty" to make them, promise. :)
So why book pages, you ask? Well, first of all, old books are cheap (usually about a dollar or less at thrift stores), there is a ton of paper to work with, I love the neutral look of the off-white pages, and heck, why not? I picked up a book for free at a local thrift store and made all five of the crafts I'll share with you out of it. Talk about a budget-friendly set of projects!
To kick off the series, we're making a book page "cone" garland.

Supplies needed:
- Book pages
- Exacto knife
- Scissors
- Tape
- Embroidery needle
- Embroidery thread or string
Step 1: Cut book pages out of the book.
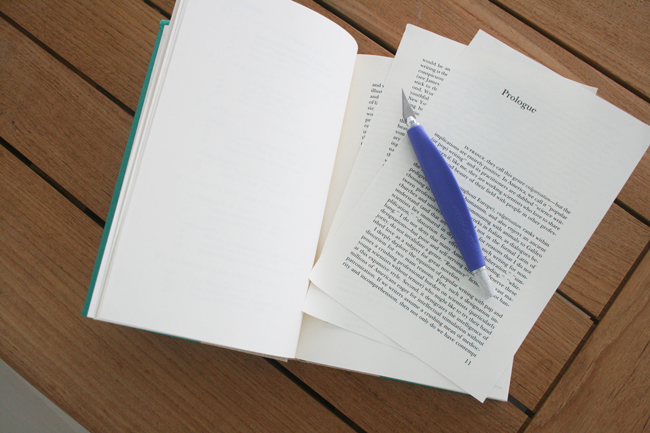
Pretty self explanatory, huh? Just use your exacto knife to cut a bunch of pages out of the book. Don't worry about straight lines or perfectly cut pages - you just need enough surface area from each page to cut out some circles.
Step 2: Cut circles out of book pages.
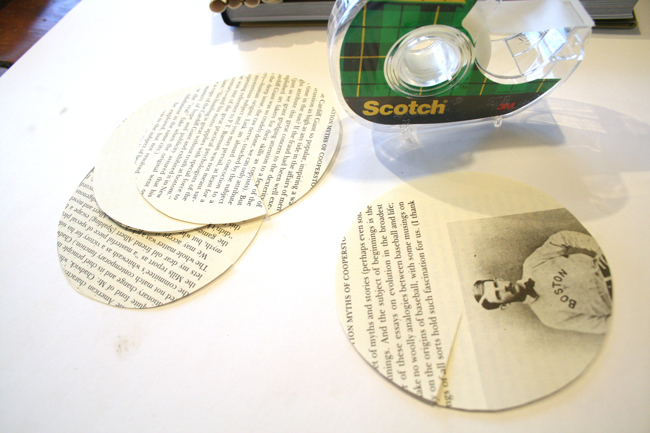
Take some scissors and cut some circles (2 per page) out of the book pages. Again, no exact cutting needed here - just go make sure they at least look kind of round :). Imperfect circles of varying sizes are actually perfect for this craft. To save yourself some cutting time, stack five or so pages together and cut them all at once. Then, while you still have the circles you cut in stacks of 5 or so, cut a straight line from one edge toward the center of the circle. The bottom right circle with that Boston dude on it shows you a good example.
Step 3: Form cones out of your circles.

Take each circle and fold it in on itself until forms this cone shape you see above. Put a little piece of clear scotch tape on the edge to hold it together. Repeat this step a million times until have a million little cones. Ok, that might be an exaggeration, but just keep making cones until you have enough for a nice long garland. I honestly didn't count, but I kept making them until I thought my garland looked full enough. You'll need more than you think. This is a great "sitting in front of the TV watching your favorite show" activity.
Step 4: String the cones together with embroidery thread.
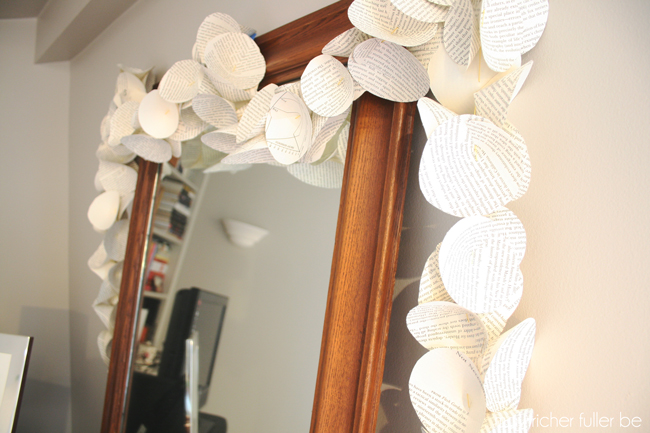
Thread an embroidery needle with some thread or string, and start "sewing" the cones together. Refer to the photo from step four to see where to place the needle. I strung them together through the tops.
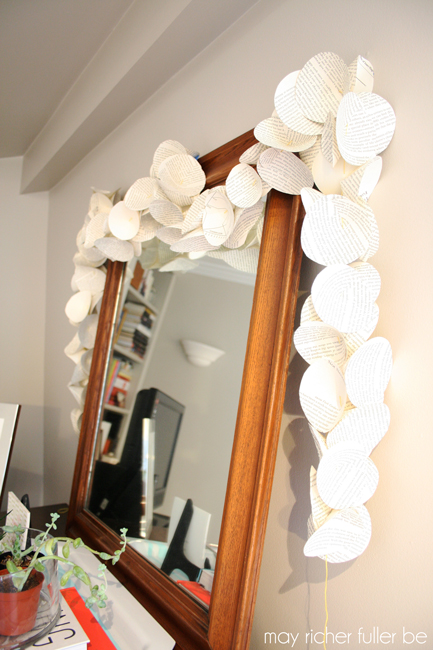
Repeat this step many, many times. Bunch up your paper cones tightly together as you go so it looks nice and full. It does get a little monotonous, but it's worth it when you end up with a beautiful garland like this!
That wraps up our first of five book page crafts - hope you enjoyed it! I'll be back tomorrow with another fun one!
// Click here to go to Day 2's project! //
Have a great week, y'all!
---------
linking up to: DIY Showoff, Rain on a Tin Roof, Home Stories A to Z, Uncommon Designs, If It's Not Baroque, Liz Marie Blog, House of Hepworths, Blissfully Ever After, Design, Dining and Diapers, Crafty Scrappy Happy, Craftberry Bush, The Shabby Creek Cottage, Tatertots and Jello, Serenity Now, It’s Overflowing, House of Rose, Love of Family and Home, Dear Creatives, Madigan Made, First Home...Love Life, Simply Dream and Create, Whipperberry, Sparkles and A Stove, Making Home Base, The Chicken Chick, A Peek Into My Paradise

This is so cute! Love it!
ReplyDeleteThanks Kathryn!
DeleteI might have to make some of these to decorate my classroom (English teacher alert... you had me at 'book pages' :).
ReplyDeleteNice! I happen to have a love of garlands AND of upcycled books, so this is definitely something I will be doing. Thanks for sharing.
ReplyDeleteSuch a pretty idea! I'm hosting a Wall Decal giveaway that you should enter! http://homecomingmn.blogspot.com/2013/08/wall-decal-giveaway.html
ReplyDeleteSeveral times I visit this blog, and indeed much of the content to educate. maybe this blog could be our reference, thanks.
ReplyDeleteobat isk
obat nyeri sendi di jari tangan
obat herbal kudis
obat herbal miom
cara mengobati infeksi saluran kemih
Interesting Blog! Thank you for sharing them!
ReplyDeleteEmbroidery Machine
pusat penjualan furniture di bandung Rumah dengan desain minimalis yaitu rumah pilihan masa kini, rumah minimalis toko furniture di sukajadi bandung konsep minimalisnya. Maka, jual furniture minimalis murah minimalis, wajib kita ketahui kiranya tutorial toko furniture minimalis bandung ini supaya ruangan kita kelihatan nyaman dan luas sofa minimalis murah di bandung sebagai tempat tinggal dan hunian kita.
ReplyDeleteberapa biaya bikin kitchen set Keluarkan semua imajinasi kita dalam menata ruangan minimalis, kitchen set murah dan minimalis dan membuat penguninya nyaman dan bahagia. Hal pertama yang wajib kitchen set minimalis apartemen semua tatanan rumah kita serta furniturnya sesuai dengan dinding rumah, serta buat seminimal mungkin.
Skin care flek hitam setelah itu dalam menata ruangan minimalis yang nyaman, gendongan bayi hanaroo di bandung, gunakan peralatan seperlunya aja, jangan biarkan perabot menumpuk sehingga kelihatan jorok dan tak rapi. jasa pembuatan furniture unik minimalis namun bagus dan indah.
nice
ReplyDeleteSo lot to occur over your amazing blog. Excellent post. I was always checking this blog, and I’m impressed! Im grateful for the article post. Really thank you! Will read on Feel free to visit my website; 토토사이트
ReplyDeleteLoved loved loved it! I have always been into fine arts and my sister is all into literary work. I always tell her that my work has to be done all by my own self but you can get your work done by Pay For Someone To Do Your Online Class. But nobody is complaining here.
ReplyDeleteThe "Makeshift" Mantel, available this autumn, turns any space into a comfortable retreat. Seasonal décor combined with its rustic appeal makes it feel cozy and welcoming. It is quite versatile and easy to put up, making it ideal for showcasing your fall décor. A lovely touch that perfectly conveys the spirit of the season.General law encompasses rules and regulations established by governments to maintain order, protect rights, and ensure justice. It includes civil, criminal, and administrative law, governing areas like contracts, property, and personal conduct. Law serves to resolve disputes, penalize unlawful actions, and provide a framework for societal functioning, ensuring fairness and security within the community.
ReplyDeleteCriminal Lawyer Fairfax VA
Looking for reliable literature review help services? We offer expert assistance to help you craft a thorough and well-structured literature review for your academic work. Our team of professionals provides tailored support, ensuring that your research stands out with a comprehensive analysis of relevant sources. Get started today!
ReplyDeleteBoost your PDII exam prep with Marks4Sure! Get expert practice tests, clear explanations, and confidence to ace your certification. Start your journey today and achieve success effortlessly!
ReplyDeletehttps://www.marks4sure.co/PDII-exam.html