
 |
| {Proverbs 31 Girl} |
I made an abbreviated tutorial of sorts, so if you want to create your own, you can get the idea from these basic steps. If you don't plan on making your own, you can just skip to the bottom to see my finished product.
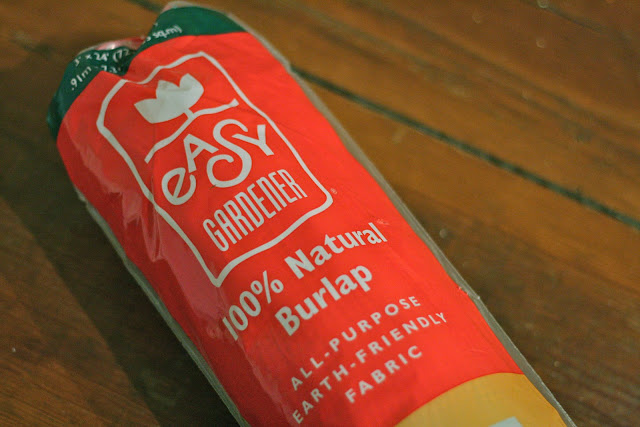
I started with some burlap purchased from my local hardware store.
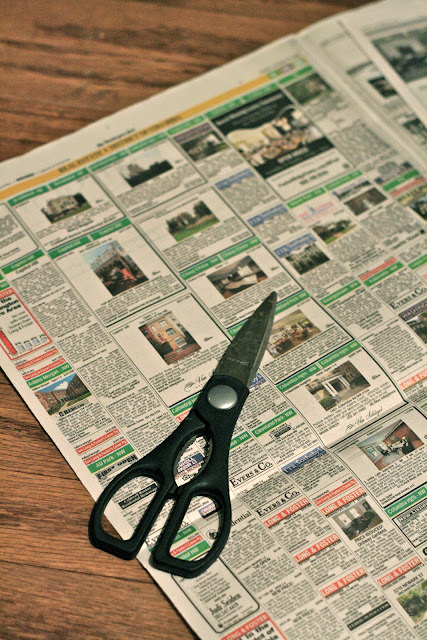

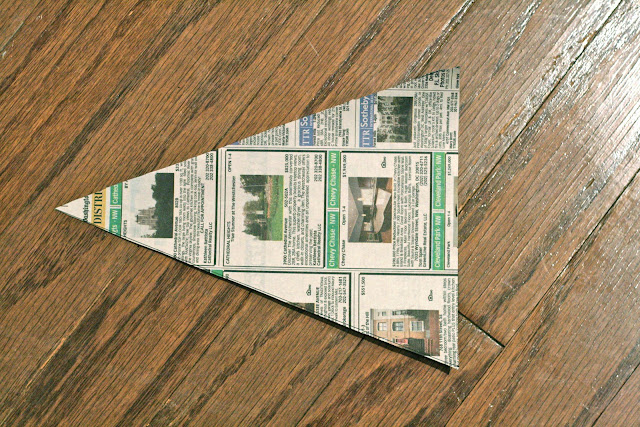

Got out some newspaper, scissors and a ruler to cut out a template so that all my little bunting flags would be approximately the same size.


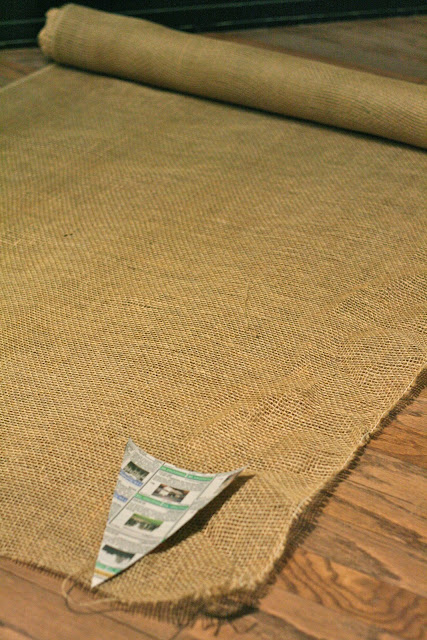
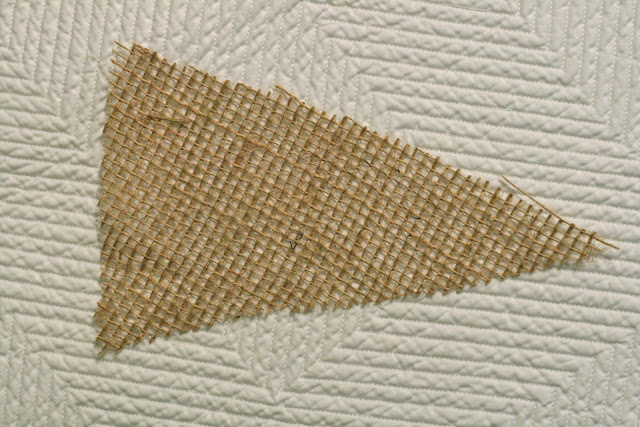
I then laid out my template on my burlap and cut around it to create a series of little flags...

...like this one:

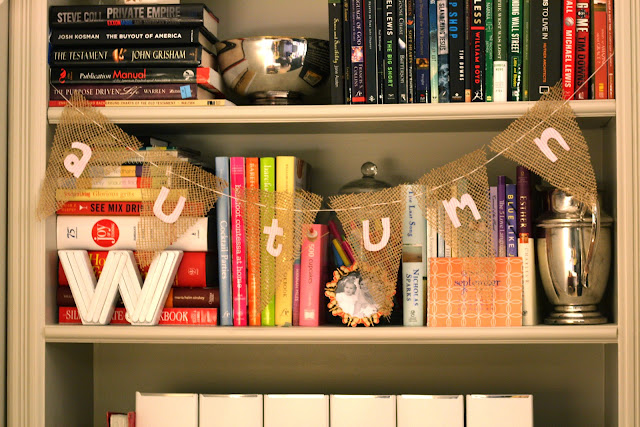
Then, I missed a few steps of photography. Oops! But the next steps were easy. I used an old oxford shirt (that I accidentally bleached) to cut out letters spelling "autumn" and pasted them onto the flags using glue dots. I wove some embroidery floss through the little holes in the burlap to string it up. And voila! I had myself some burlap bunting.

I love it. It's just the touch of fall I wanted for our house. Simple, and certainly not perfect. But that's how burlap is meant to look, right? I'm definitely planning on using more burlap for other projects around here. I do have about 25 more feet in my roll to use up... :)
Yay fall!

No comments:
Post a Comment
If you enjoyed this post, have a question, or just want to say hey, please leave a comment! I read each comment and love to respond (usually by email), so check your inbox if you don't see a response below!