

Woohoo! We're onto day two out of five for my book page craft extravaganza! If you missed day one, it's over here - it's a fun, easy garland you don't want to miss.
Today I'm showing you how to make what I'm going to call a flower pouf. I have no idea if that's the right name for this or not, but it seemed descriptive, so I'm going with it :). I can't take the credit for inventing this guy. It originally came from a book called "Playing With Books" that my dear hubby gave me for Christmas last year. I love the ideas in the book and definitely plan on making some more, but I didn't think their directions were all that great, so I'm going to rewrite them here :).
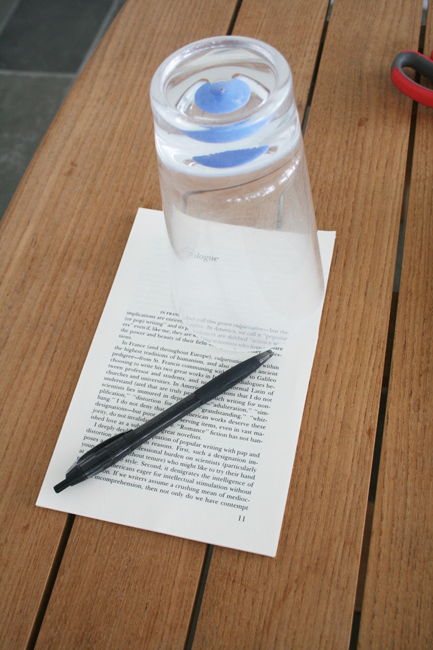
Supplies Needed:
- Book pages
- Circular object to trace (I used a drinking glass)
- Scissors (or a circle cutter if you have one - I didn't, but scissors work just fine!)
- Pen/pencil
- Double sided tape
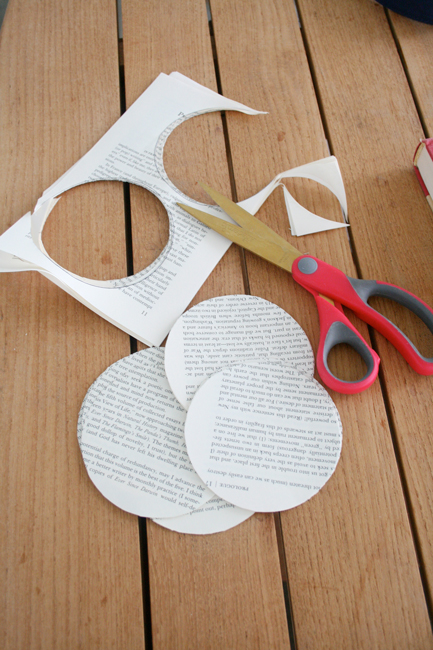
Step 1: Cut out 20 identical circles
I don't own a fancy circle cutter, so I did this step the old fashioned way. If you have one, you'll be able to do this craft a little more quickly than I could. Anyway, start by picking a nice circular object to trace. I grabbed a drinking glass from the kitchen and traced two circles onto a stack of book pages (gotta maximize cutting efficiency here). I cut out the circles from two stacks of 5 pages each so that I only had to cut out four circles total. You do want these to be as identical as possible because you have to match up their edges eventually.
Step 2: Trace an equilateral triangle onto each circle.
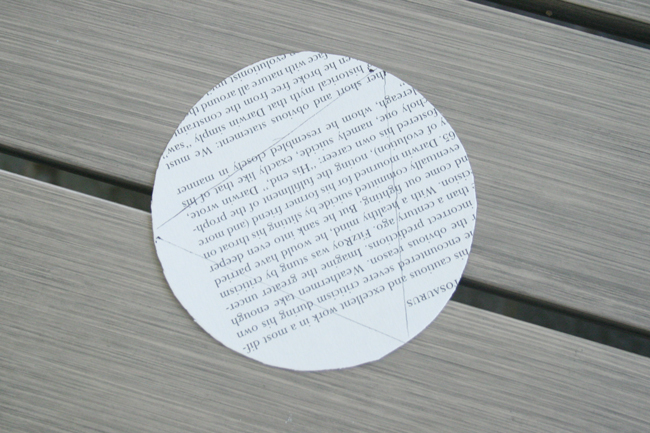
Now, you've got two choices here on making an equilateral triangle: do math or fly by the seat of your pants and guess.
I chose option b since math is definitely not my strong suit :). I promise nothing horrible will happen if you approximate the dimensions of an equilateral triangle. I'm sure there's a way to do this (feel free to do some math for me in the comments if you'd like!), but it made my brain hurt, so I avoided math all together and just eyeballed it. I did make a little triangle stencil once I thought the dimensions looked right, and that made this step go fairly quickly.
Step 3: Fold up the three sides of the circle along the lines of the traced triangle.
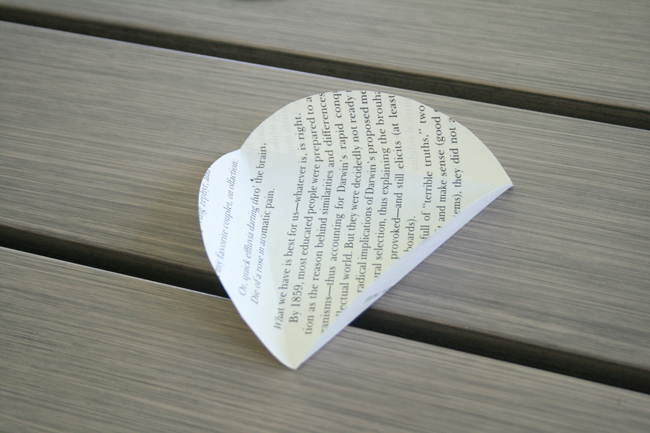
Make sure you do your folding so that the pencil lines are outside of the creases (on what will be the inside of the pouf). Fold all 20 circles in the same way.
Step 4: Make two "hats" out of 5 circles each.

Form the top and bottom of the pouf out of five of your circles. Match up the folded edges from two circles and place a piece of double stick tape in between to hold them together. Continue around until you've joined all five together to form these hat-looking thingys. They kind of look like flowers, yes? I think that's why I'm calling it a flower pouf.
Things are starting to come together now! You're almost done.
Step 5: Join ten circles together in a straight line.

Match up the edges of the triangles alternating between a fat edge facing in and a point facing in. This will make sure you're creating a straight line. Stick them together using double-sided tape.
Step 6: Form a circle out of the straight piece you just made.
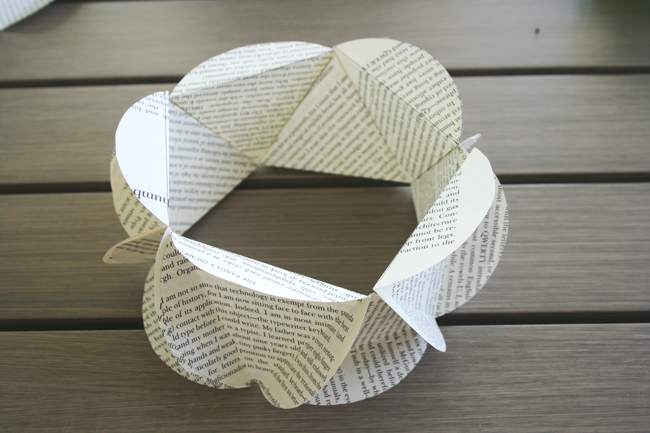
Do this by joining the free ends together. The hats you made in step 4 will fit on the top and bottom of this guy.
Step 7: Place the "hats" on the top and bottom of the circular piece from step 6.
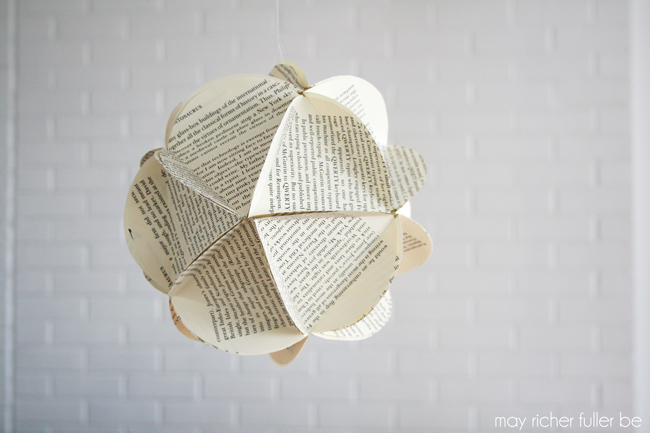
Again, use double-sided tape to stick the edges together. Now you've got yourself a pouf!
Hang it using string or fishing line for a cute little decoration for a party or just for fun. I think a set of three (or more) of these in varying sizes would make awesome decorations. Vary the size of your circles to vary the size of the poufs. As you can probably guess from the steps, these are a little time consuming to make, so I'd suggest getting a small assembly line going with a couple of friends (or your kids!) if you're planning to make more than a couple of these.
That'll wrap it up for day 2 of book page craft week - hope you enjoyed today's craft!
// Click here to go to Day 3's project! //
// Click here to go to Day 3's project! //

---------
linking up to: DIY Showoff, Rain on a Tin Roof, Home Stories A to Z, Uncommon Designs, If It's Not Baroque, Liz Marie Blog, House of Hepworths, Blissfully Ever After, Design, Dining and Diapers, Crafty Scrappy Happy, Craftberry Bush, The Shabby Creek Cottage, Tatertots and Jello, Serenity Now, It’s Overflowing, House of Rose, Love of Family and Home, Dear Creatives, Madigan Made, First Home...Love Life, Simply Dream and Create, Whipperberry, Sparkles and A Stove, Making Home Base, The Chicken Chick, A Peek Into My Paradise

cute cute cute! love this series! thanks for sharing.
ReplyDeletehttp://www.handmadeintheheartland.com
so pretty! What a fun series! Pinned!
ReplyDeleteEmily @nap-timecreations.com
So cute!
ReplyDeleteAnjana.
Nice to see you! Thanks for sharing this useful info about "Book Page Flower Pouf {5 Days of Book Page Crafts: Day 2}", I really like it! But what about studying, economics is not my game at all. That's why I let this https://www.nursingpaper.com/our-services/nursing-essay-writing-service/ writing agency control my coursework. It works diligently to provide superior work. Met deadline and produced top quality. I would highly advice!!!
ReplyDeleteA distinctive and environmentally responsible decorating item, the Book Page Flower Pouf is ideal for bringing personality to any area. Made from repurposed book pages, its retro appearance adds charm and originality. Because of its eye-catching flower design, the pouf is a great accent piece for both eco-conscious decorators and book lovers.The general law in the USA is a complex and evolving system rooted in both federal and state jurisdictions. It encompasses a wide range of legal principles, including constitutional, statutory, and case law. The system aims to balance individual rights with public order and safety. While it provides a framework for justice and legal processes, its complexity and variation across states can pose challenges. The ongoing development of laws reflects societal changes and strives to address contemporary issues, maintaining a dynamic legal landscape.
ReplyDeleteDui Lawyer Carroll County VA